- 📖 Geeky Medics OSCE Book
- ⚡ Geeky Medics Bundles
- ✨ 1300+ OSCE Stations
- ✅ OSCE Checklist PDF Booklet
- 🧠 UKMLA AKT Question Bank
- 💊 PSA Question Bank
- 💉 Clinical Skills App
- 🗂️ Flashcard Collections | OSCE, Medicine, Surgery, Anatomy
- 💬 SCA Cases for MRCGP
To be the first to know about our latest videos subscribe to our YouTube channel 🙌
This blood culture collection guide provides a step-by-step approach to obtaining blood cultures in an OSCE setting, with an included video demonstration. There is wide variation in the type of equipment used for obtaining blood cultures and you should always follow local guidance.
Gather and prepare equipment
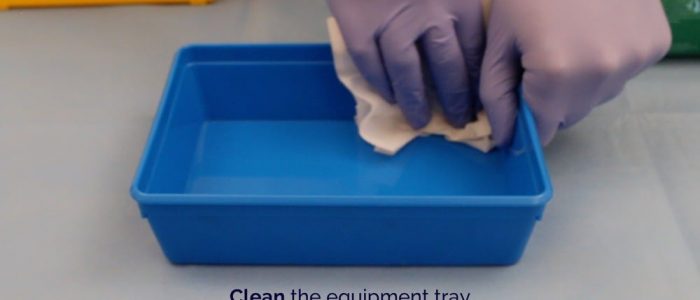
1. Clean a procedure tray with an antiseptic wipe.
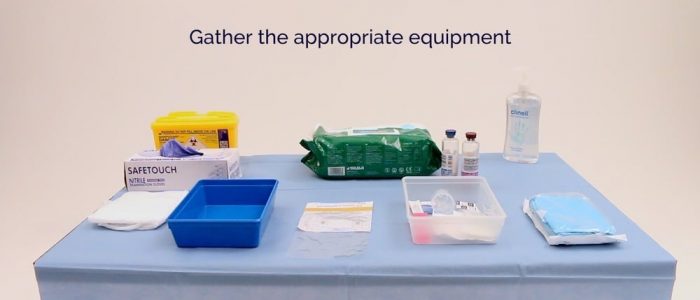
2. Collect the relevant equipment:
- Apron
- Non-sterile gloves
- Tourniquet (single-use)
- Blood sampling device with blood culture bottle adapter (e.g. winged blood collection set)
- Blood culture bottles x 2 (anaerobic and aerobic):
- Sharps container
- Cleaning swab x 3 (2% chlorhexidine in 70% isopropyl alcohol)
- Sterile gauze
- Sterile plaster
- Tape
- Laboratory forms, labels and transportation bag
3. Remove unnecessary packaging and assemble equipment maintaining aseptic non-touch technique (ANTT) prior to placing in the procedure tray:
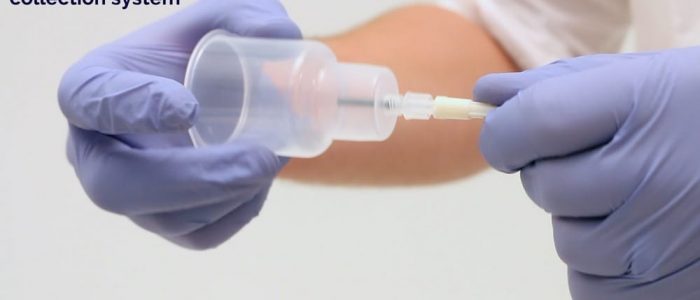
- Attach the needle to the barrel (some blood collection systems come pre-assembled).
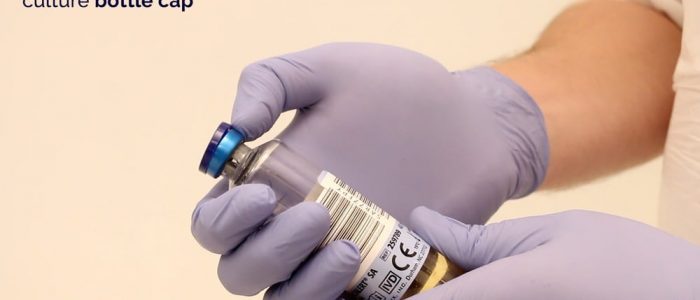
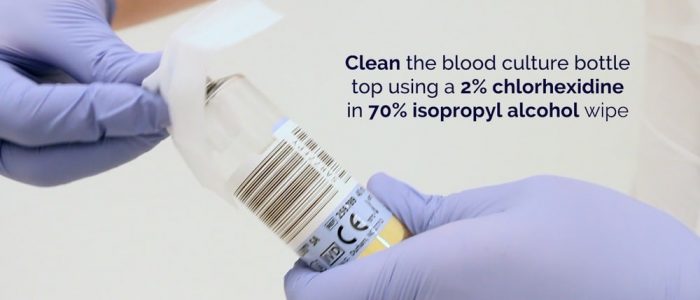
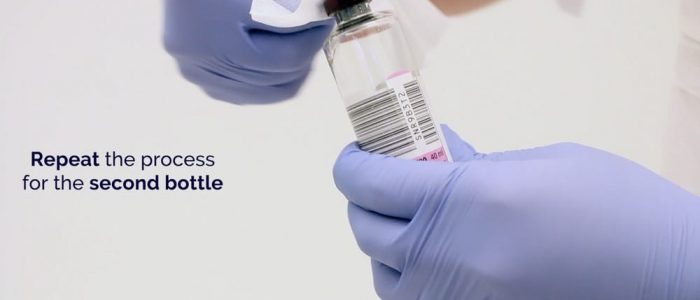
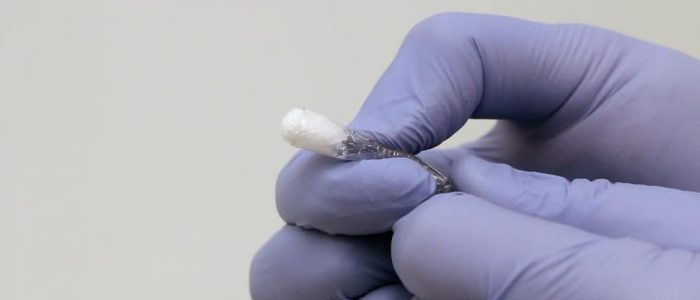
- Remove the caps from the blood culture bottles and clean the top of each with a separate cleaning swab (2% chlorhexidine in 70% isopropyl alcohol), allowing to dry before proceeding with bottle inoculation.
Introduction
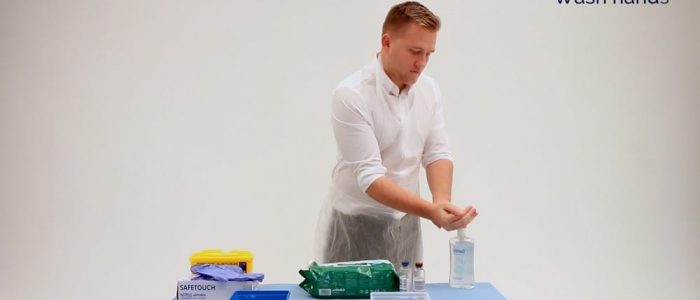
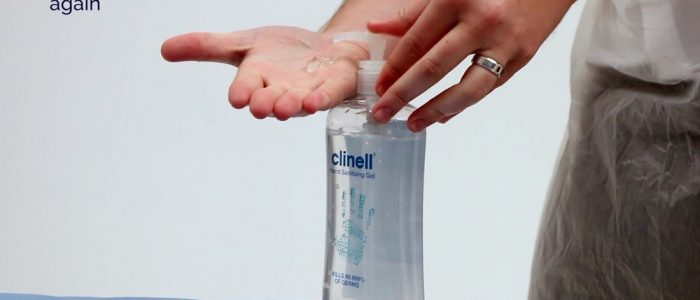
Wash your hands using alcohol gel. If your hands are visibly soiled, wash them with soap and water.
Don PPE if appropriate.
Introduce yourself to the patient including your name and role.
Confirm the patient’s name and date of birth.
Briefly explain what the procedure will involve using patient-friendly language: “Today I need to take a blood sample, which involves inserting a small needle into your vein. You may briefly experience a sharp scratch as the needle is inserted.”
Gain consent to proceed with blood culture collection.
Check if the patient has any allergies (e.g. latex).
Adequately expose the patient’s arms for the procedure.
Position the patient so that they are sitting comfortably. If a bed is available, the patient can lay down for the procedure (this is sometimes preferable, particularly if the patient is prone to vasovagal syncope).
Ask the patient if they have any pain before continuing with the clinical procedure.
Choosing an arm
1. Choose an arm to perform venepuncture on:
- You should ask the patient if they have a preference.
- Pre-existing medical conditions may prevent particular limbs from being used (e.g. arterio-venous fistula, lymphoedema, a stroke affecting the movement of a limb).
- Do not perform venepuncture on an arm that has an intravenous infusion in progress as this may interfere with the sample.
2. Place a pillow under the relevant arm.
Choosing a vein
1. Inspect the patient’s arm for an appropriate venepuncture site:
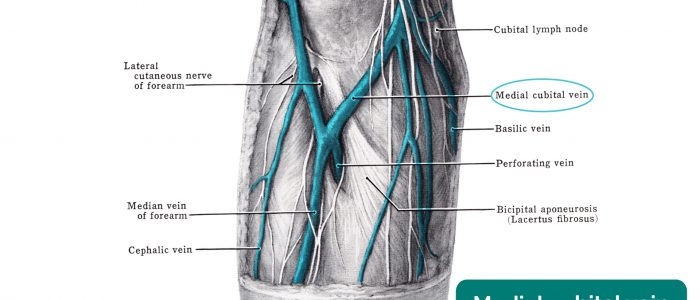
- The median cubital vein in the antecubital fossa is commonly used for venepuncture.
- Areas of broken, bruised or erythematous skin should be avoided.
- Areas in which two veins join should be avoided where possible, as valves are often present.
2. Position the patient’s arm in a comfortable extended position that provides adequate access to the planned venepuncture site.
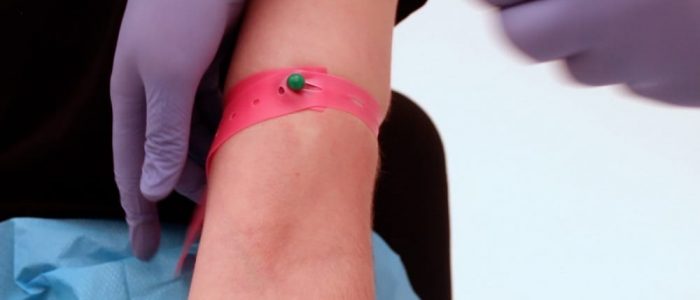
3. Apply the tourniquet approximately 4-5 finger-widths above the planned venepuncture site.
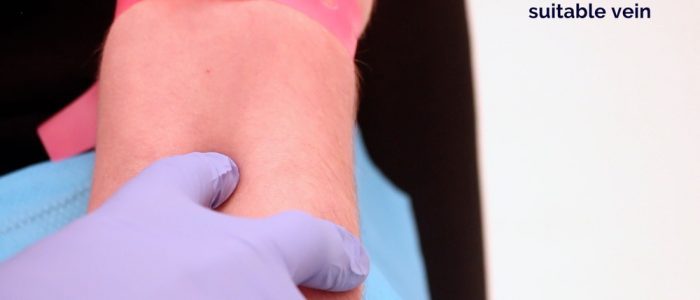
4. Palpate the vein you have identified to assess if it is suitable:
- Tapping the vein and asking the patient to repeatedly clench their fist can make the vein easier to visualise and palpate.
- An ideal vein feels ‘springy’. A vein that feels hard is likely sclerosed, thrombosed or phlebitic (inflamed) and should be avoided.
5. Once you have identified a suitable vein you may need to temporarily release the tourniquet, as it should not be left on for more than 1-2 minutes at a time.
6. Don an apron (if not already wearing one) and wash your hands again using alcohol gel and the World Health Organisation’s hand hygiene technique shown in our guide.
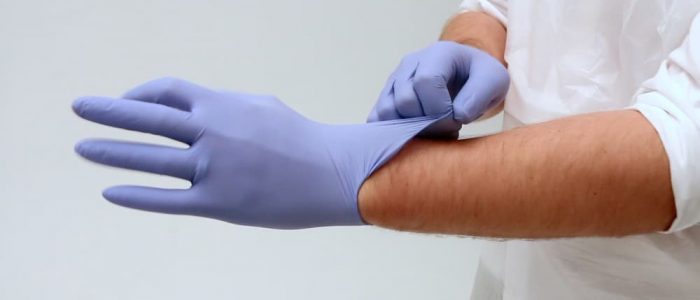
7. Don gloves.
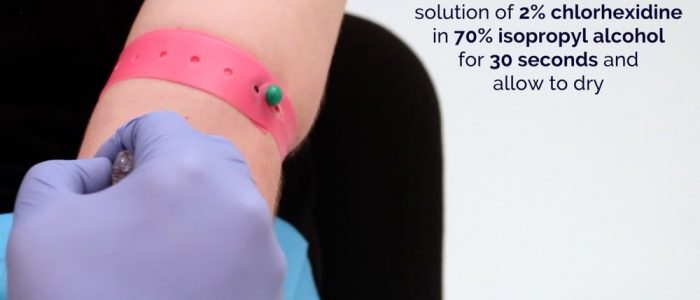
8. Thoroughly clean the planned venepuncture site:
- Use 2% chlorhexidine in 70% isopropyl alcohol to disinfect the patient’s skin and allow to dry.
- If the patient’s skin is visibly soiled use soap and water to clean the site.
- Once the skin has been disinfected you should not touch the site again (even with gloves on).
Insertion of the needle
1. Re-apply the tourniquet if removed previously.
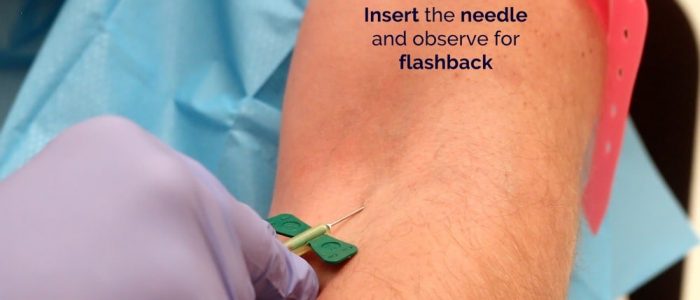
2. Unsheathe the needle.
3. Anchor the vein from below with your non-dominant hand by gently pulling on the skin distal to the insertion site.
4. Warn the patient that they will experience a sharp scratch.
5. Insert the needle through the skin at a 30-degree angle or less, with the bevel facing upwards. You should see flashback into the needle’s chamber and feel a sudden decrease in resistance as the needle enters the vein.
6. Advance the needle a further 1-2 mm into the vein after flashback is noted to ensure you are within the lumen.
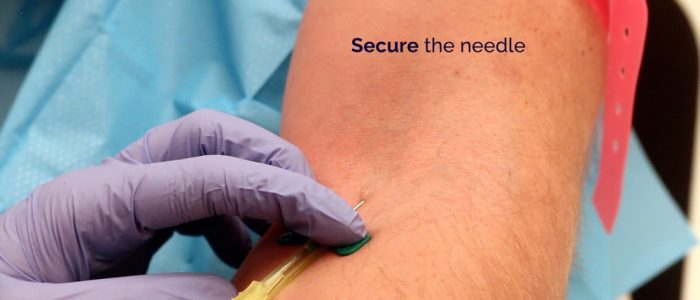
7. Lower and anchor the needle to the patient’s skin using the wings of the butterfly needle.
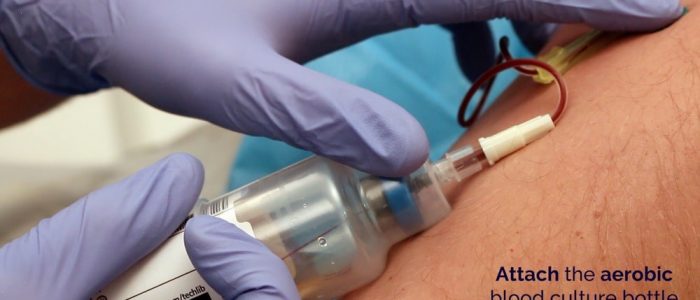
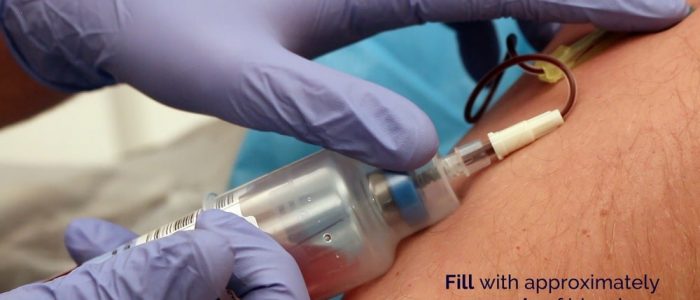
8. Use your other hand to attach the aerobic blood culture bottle to the adapter, piercing the blood culture septum and allowing the bottle to fill with 10ml of blood (using the bottle’s graduation lines to accurately gauge sample volume).
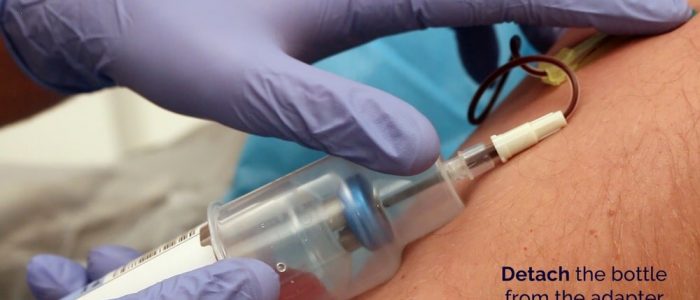
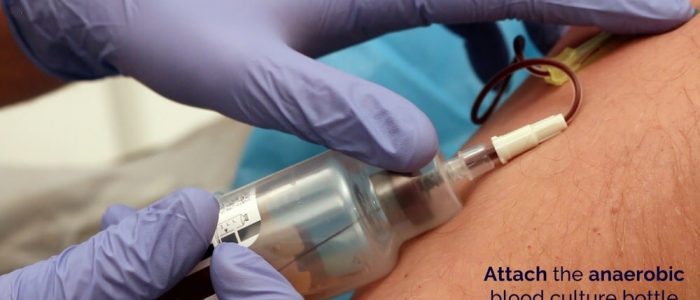
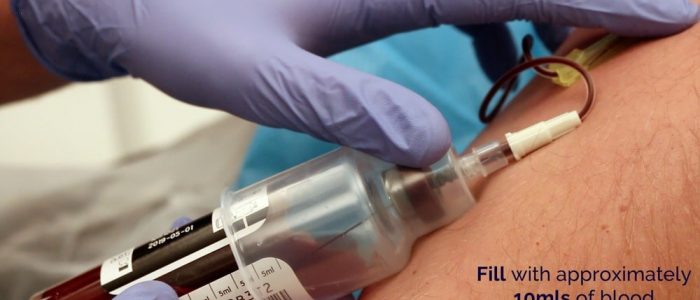
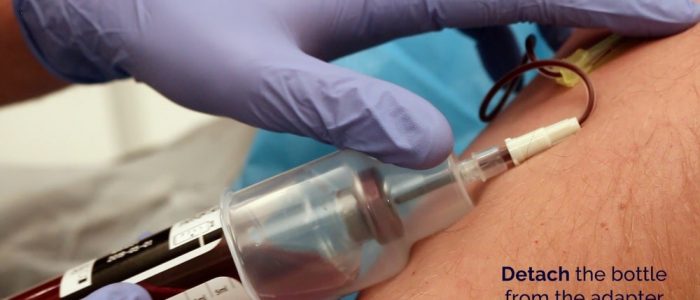
9. Remove the aerobic bottle and then attach the anaerobic bottle, also filling it with 10ml of blood. Make sure to continue to anchor the needle to the skin as you remove the first bottle from the barrel by gently pulling and twisting. If no blood begins to flow into the bottles, try slightly withdrawing or adjusting the angle of the needle.
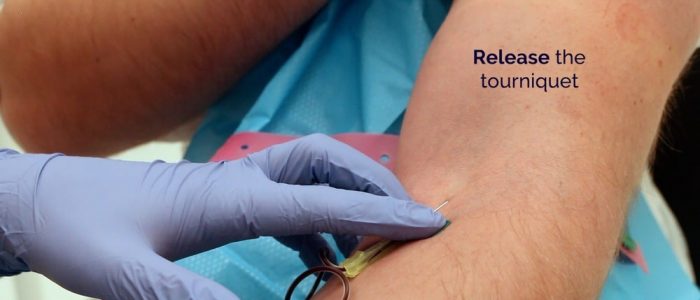
10. Release the tourniquet.
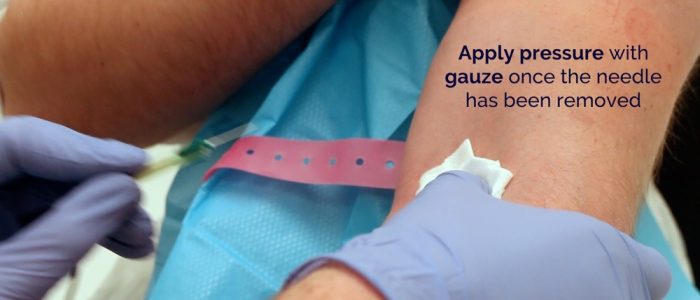
11. Withdraw the needle and then apply gentle pressure to the site with some gauze or cotton wool.
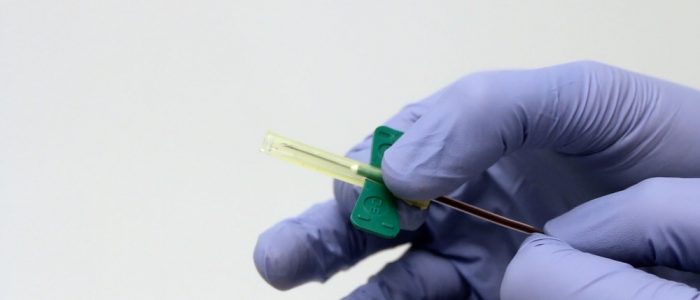
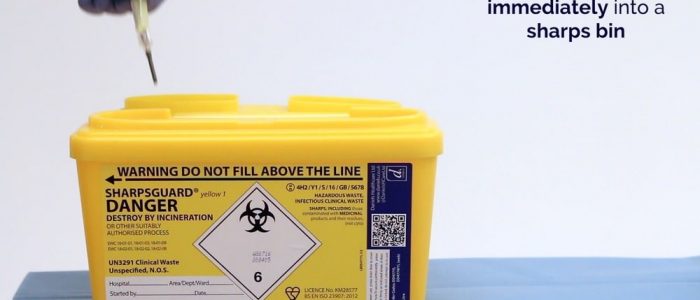
12. Ask the patient to hold the gauze or cotton wool in place whilst you dispose of the needle into a sharps container.
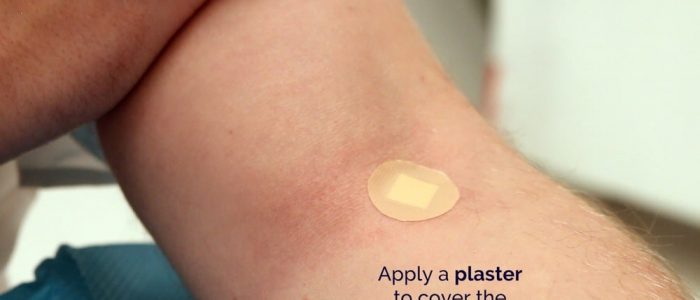
13. Apply a dressing to the patient’s arm (e.g. cotton wool, gauze, plaster).
14. Discard the used equipment into the appropriate clinical waste bin.
To complete the procedure…
Explain to the patient that the procedure is now complete and that they should seek review if the venepuncture site becomes painful or inflamed.
Thank the patient for their time.
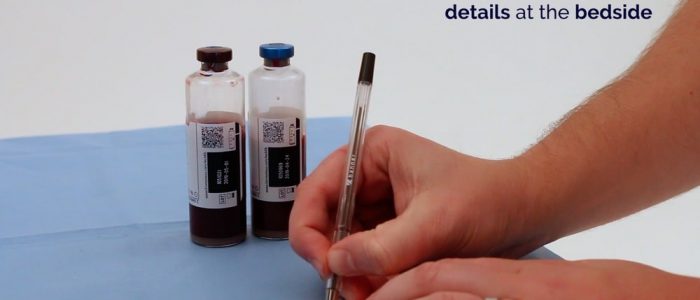
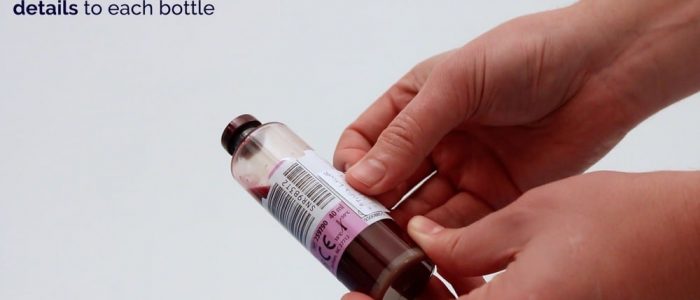
Document the patient’s details on the blood sample bottles at the bedside (using either pre-printed or handwritten labels).
Dispose of PPE appropriately and wash your hands.
Send the blood samples to the lab for analysis in an appropriate plastic leak-proof bag with the completed laboratory request form.
Document the details of the procedure in the patient’s notes:
- Reason for sample
- Time and date of sample
- Site the sample was obtained from
- Your name, signature and contact details
Reviewer
Graham Bone
Senior Clinical Lecturer in Medical Education
References
- Taking blood cultures. A summary of best practices. UK Government Web Archive. Published in 2011. Available from: [LINK].
- WHO guidelines on drawing blood: best practices in phlebotomy. Published in 2010. Available from: [LINK].
- WHO Guidelines on Hand Hygiene in Healthcare: a Summary. Published in 2009. Available from: [LINK].


