

- 📖 Geeky Medics OSCE Book
- ⚡ Geeky Medics Bundles
- ✨ 1300+ OSCE Stations
- ✅ OSCE Checklist PDF Booklet
- 🧠 UKMLA AKT Question Bank
- 💊 PSA Question Bank
- 💉 Clinical Skills App
- 🗂️ Flashcard Collections | OSCE, Medicine, Surgery, Anatomy
- 💬 SCA Cases for MRCGP
To be the first to know about our latest videos subscribe to our YouTube channel 🙌
This oropharyngeal airway insertion guide provides a step-by-step approach to inserting an oropharyngeal airway (also called a Guedel airway) in an OSCE setting. Insertion of an oropharyngeal airway may be assessed in an OSCE as an individual skill, in combination with other airway management skills or as part of an ABCDE assessment.
Oropharyngeal airways
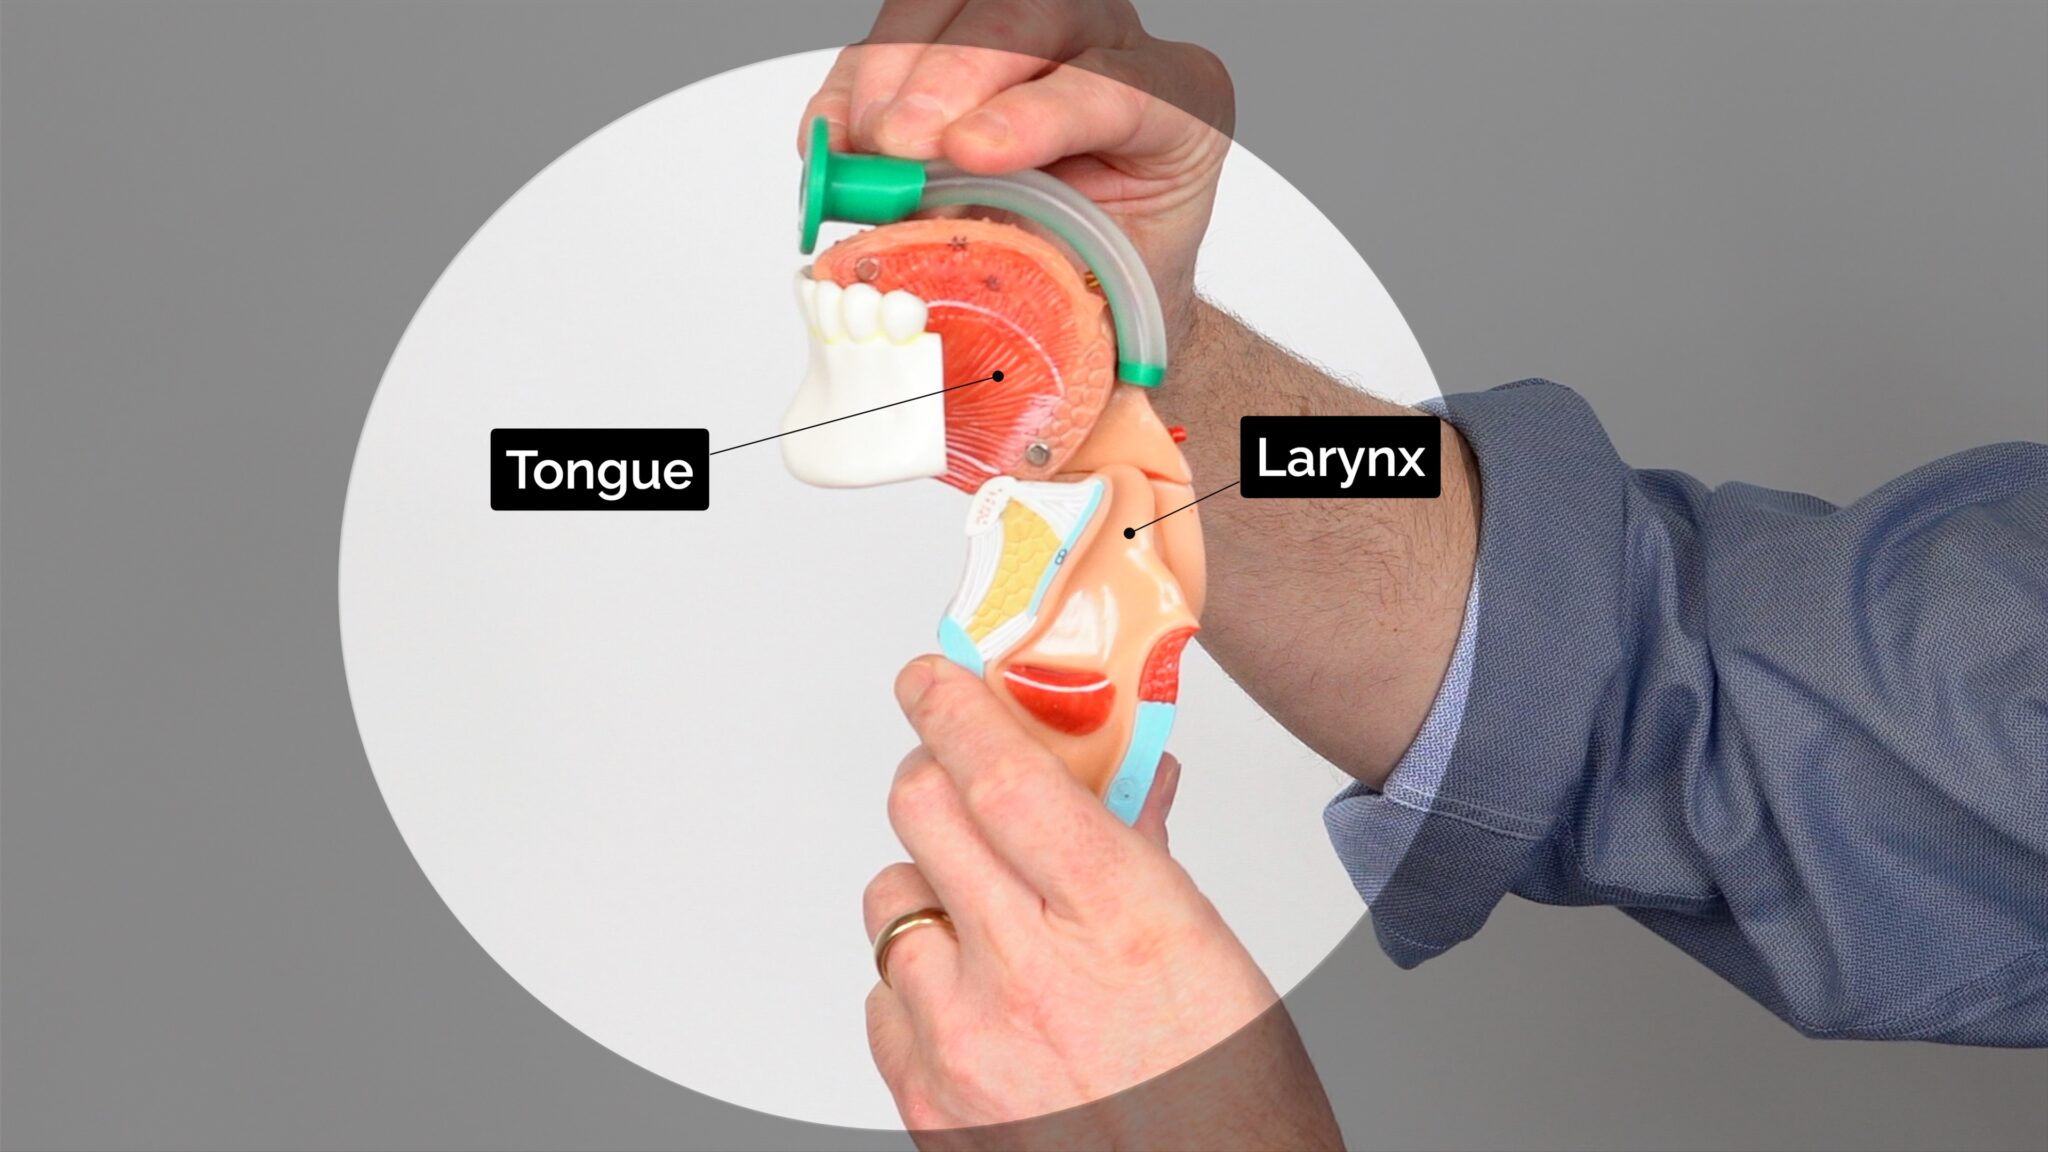
An oropharyngeal airway is a curved plastic tube with a flange on one end that sits between the tongue and hard palate to relieve soft palate obstruction.
Oropharyngeal airways are also known as Guedel airways. This name comes from the inventor of the device, Arthur Guedel who was an American anaesthetist.
Oropharyngeal airways should only be inserted in unconscious patients, as it is otherwise poorly tolerated and may induce gagging and aspiration. In contrast, nasopharyngeal airways are less likely to stimulate the gag reflex and may be more appropriate for semi-conscious patients.
There are a variety of sizes available for children and adults. It is important that the correct size of oropharyngeal airway is used.
There is a risk of trauma to the teeth and palate when inserting an oropharyngeal airway.
Insertion of an oropharyngeal airway
Sizing the airway
Choose the correct size by measuring the oropharyngeal airway against a patient’s face. When the tip is placed at the angle of the mandible (angle of the jaw) the flange should align with the centre of the top teeth (i.e. measure ‘hard to hard’).
 Measure the oropharyngeal airway from the coroner of the jaw to the centre of the top teeth.


Inserting the airway
To insert an oropharyngeal airway:
1. Open the patient’s mouth to ensure there is no foreign material that may be pushed into the larynx. If foreign material is present, attempt removal using suction.
2. Insert the oropharyngeal airway in the upside-down position until you reach the junction of the hard and soft palate, at which point you should rotate it 180°. The reason for inserting the airway upside down initially is to reduce the risk of pushing the tongue backwards and worsening airway obstruction.
3. Advance the airway until it lies within the pharynx. The flange of the airway should rest over the patient’s lips.
4. Maintain head-tilt chin-lift or jaw thrust and assess the patency of the patient’s airway by looking, listening and feeling for signs of breathing.
- Insert the oropharyngeal airway in the upside-down position


Paediatric patients
In children, the oropharyngeal airway should be inserted the right way up (i.e. not upside down), using a tongue depressor.
- Secure the tongue using a tongue depressor


To complete the procedure…
Continue to monitor the airway and deliver interventions as required (e.g. basic life support, ABCDE assessment)
