

- 📖 Geeky Medics OSCE Book
- ⚡ Geeky Medics Bundles
- ✨ 1300+ OSCE Stations
- ✅ OSCE Checklist PDF Booklet
- 🧠 UKMLA AKT Question Bank
- 💊 PSA Question Bank
- 💉 Clinical Skills App
- 🗂️ Flashcard Collections | OSCE, Medicine, Surgery, Anatomy
- 💬 SCA Cases for MRCGP
To be the first to know about our latest videos subscribe to our YouTube channel 🙌
This intravenous (IV) cannulation guide provides a step-by-step approach to performing intravenous cannulation in an OSCE setting, with an included video demonstration.
Gather equipment
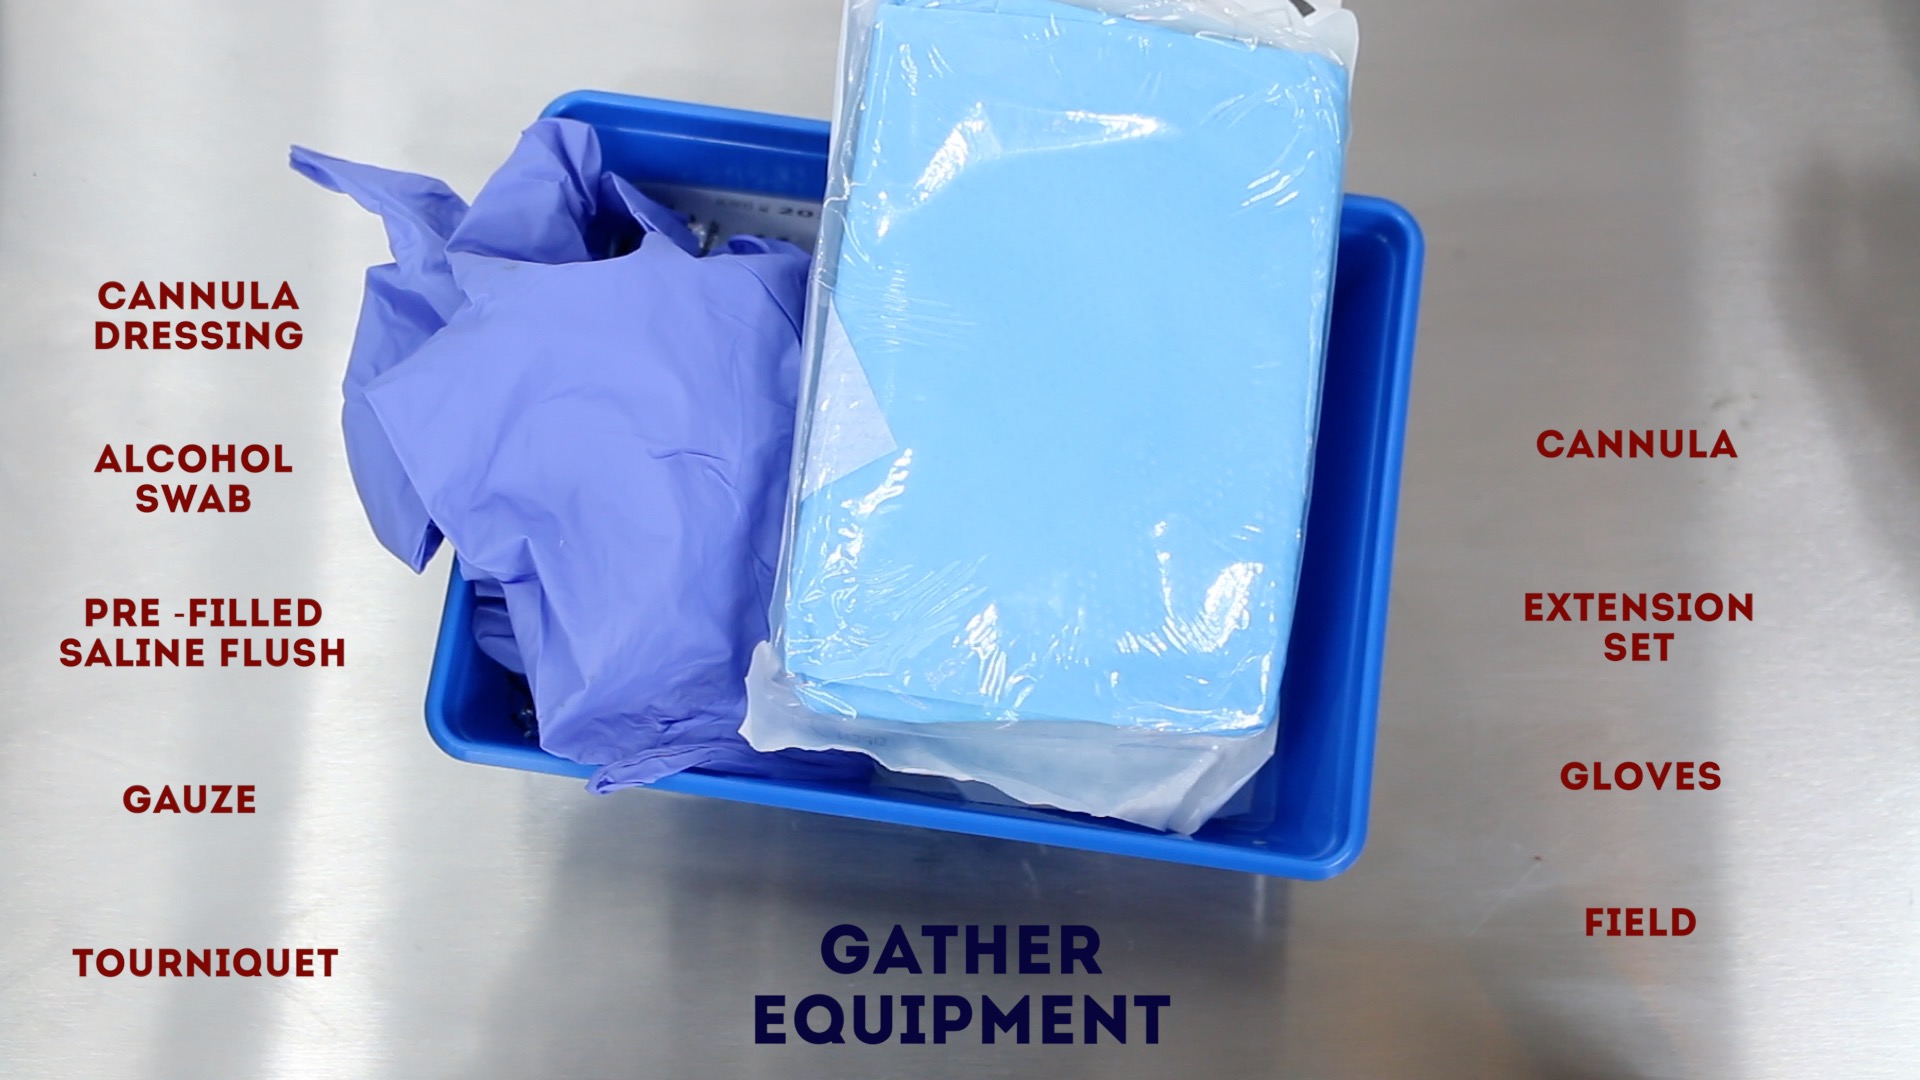
Collect the equipment required for the procedure and place it within reach on a tray or trolley, ensuring that all the items are clearly visible:
- Clean procedure tray
- Non-sterile gloves
- Disposable apron (optional)
- Tourniquet
- Cannula (size appropriate to the indication for cannulation)
- Sterile dressing pack (to provide a sterile field)
- Cannula dressing
- Luer lock cannula cap or extension set
- Gauze swabs
- Normal saline 0.9% (10 ml)
- Syringe (10ml)
- Alcohol swab (2% chlorhexidine gluconate in 70% isopropyl)
- Sharps container
 Gather equipment
Introduction
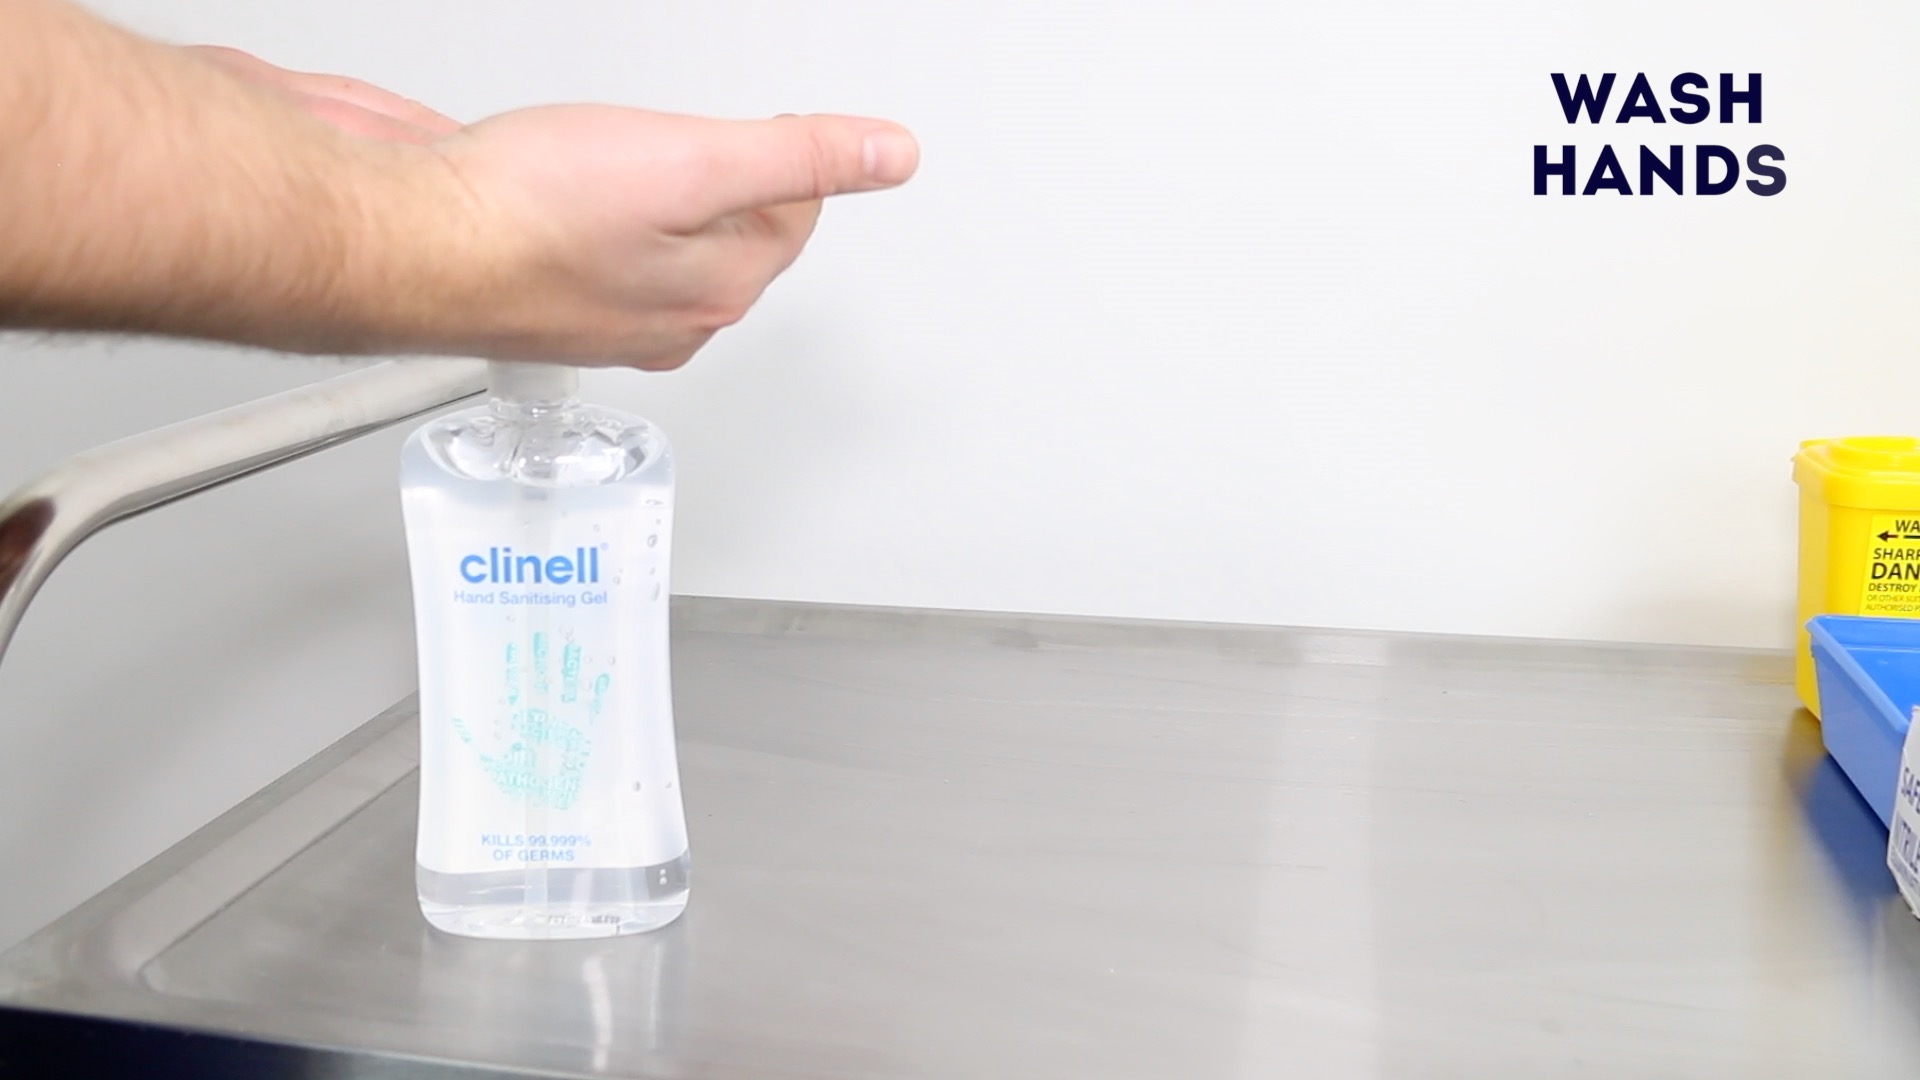
Wash your hands using alcohol gel. If your hands are visibly soiled, wash them with soap and water.
Don PPE if appropriate.
Introduce yourself to the patient including your name and role.
Confirm the patient’s name and date of birth.
Briefly explain what the procedure will involve using patient-friendly language: “Today I need to perform cannulation, which involves inserting a small plastic tube into your vein using a needle. This will allow us to administer fluids and medications via the cannula. You may briefly experience a sharp scratch as the needle is inserted.”
Gain consent to proceed with intravenous cannulation.
Check if the patient has any allergies (e.g. latex).
Adequately expose the patient’s arms for the procedure.
Position the patient so that they are sitting comfortably. If a bed is available, the patient can lay down for the procedure (this is sometimes preferable, particularly if the patient is prone to vasovagal syncope).
Ask the patient if they have any pain before continuing with the clinical procedure.
Preparation
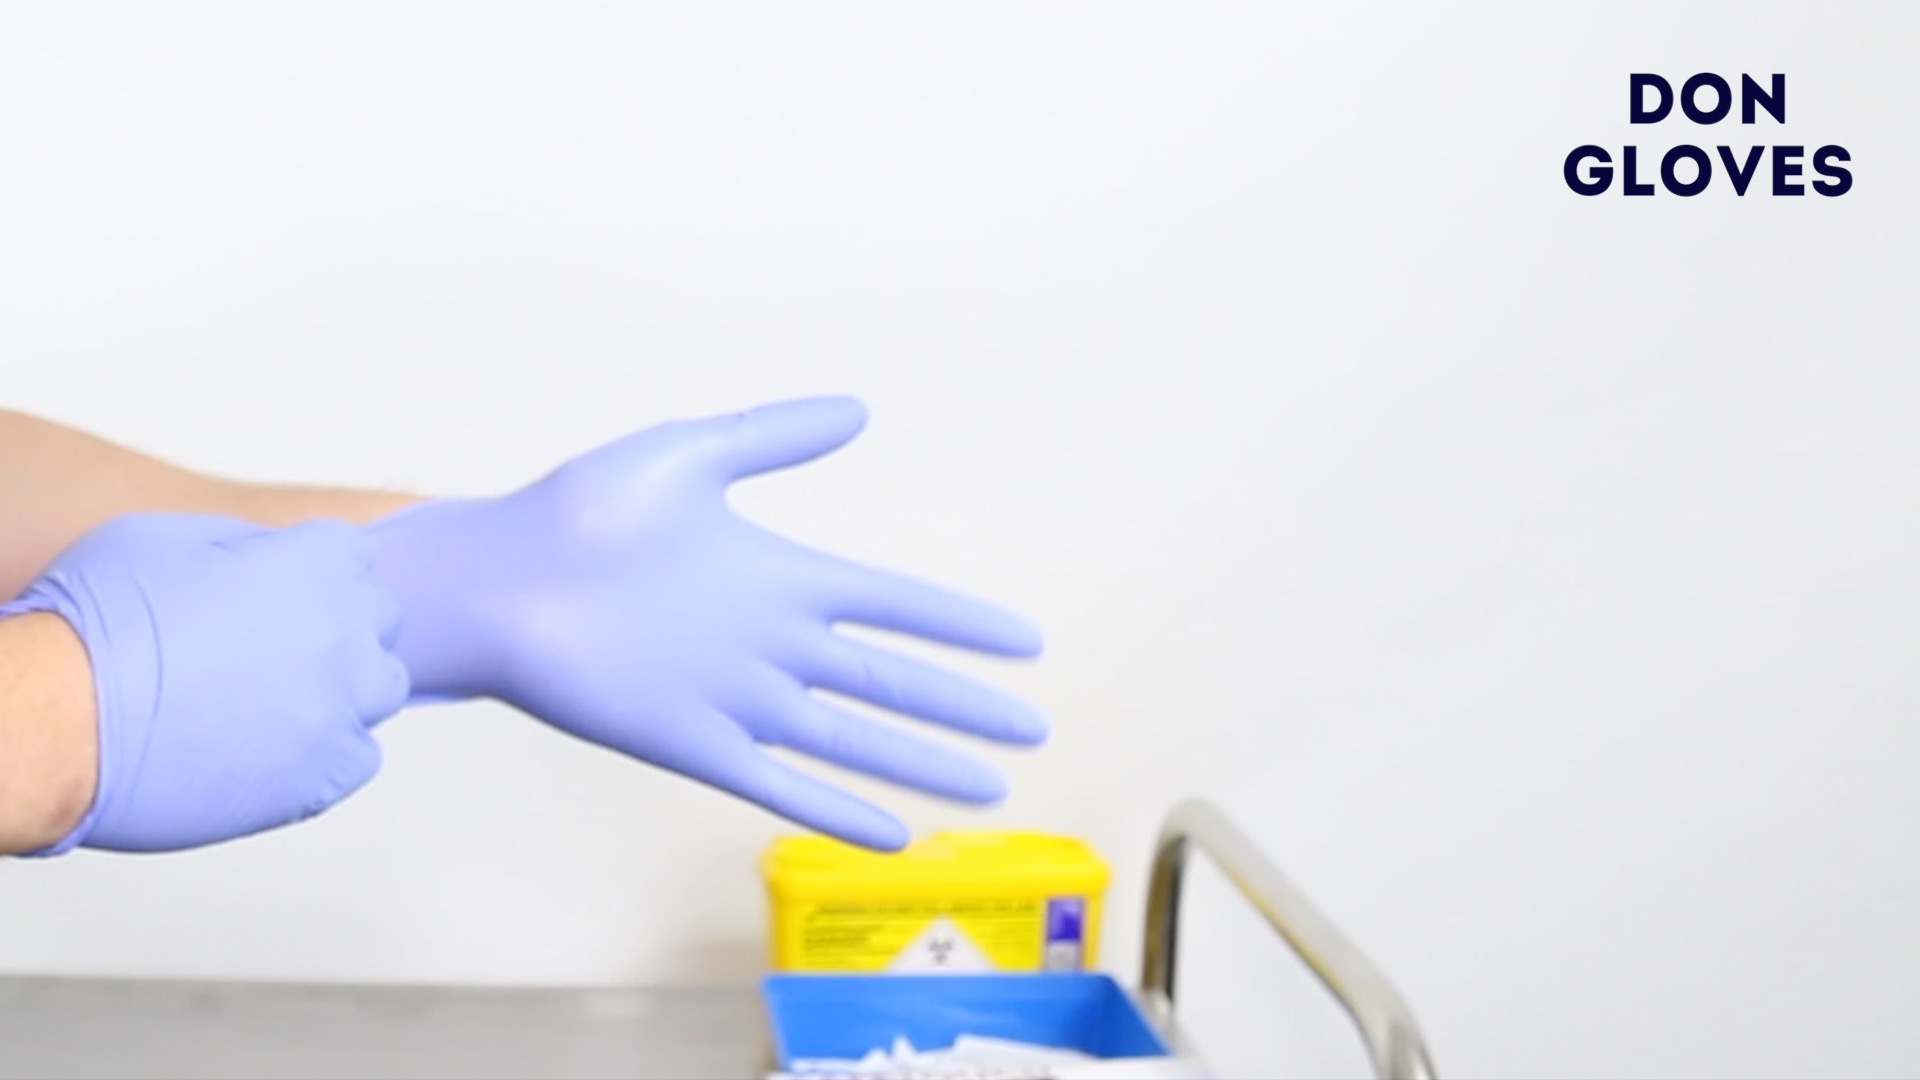
1. Don gloves (if not already wearing some).
2. Open the dressing pack and place the cannula, cannula dressing and other items onto the field.
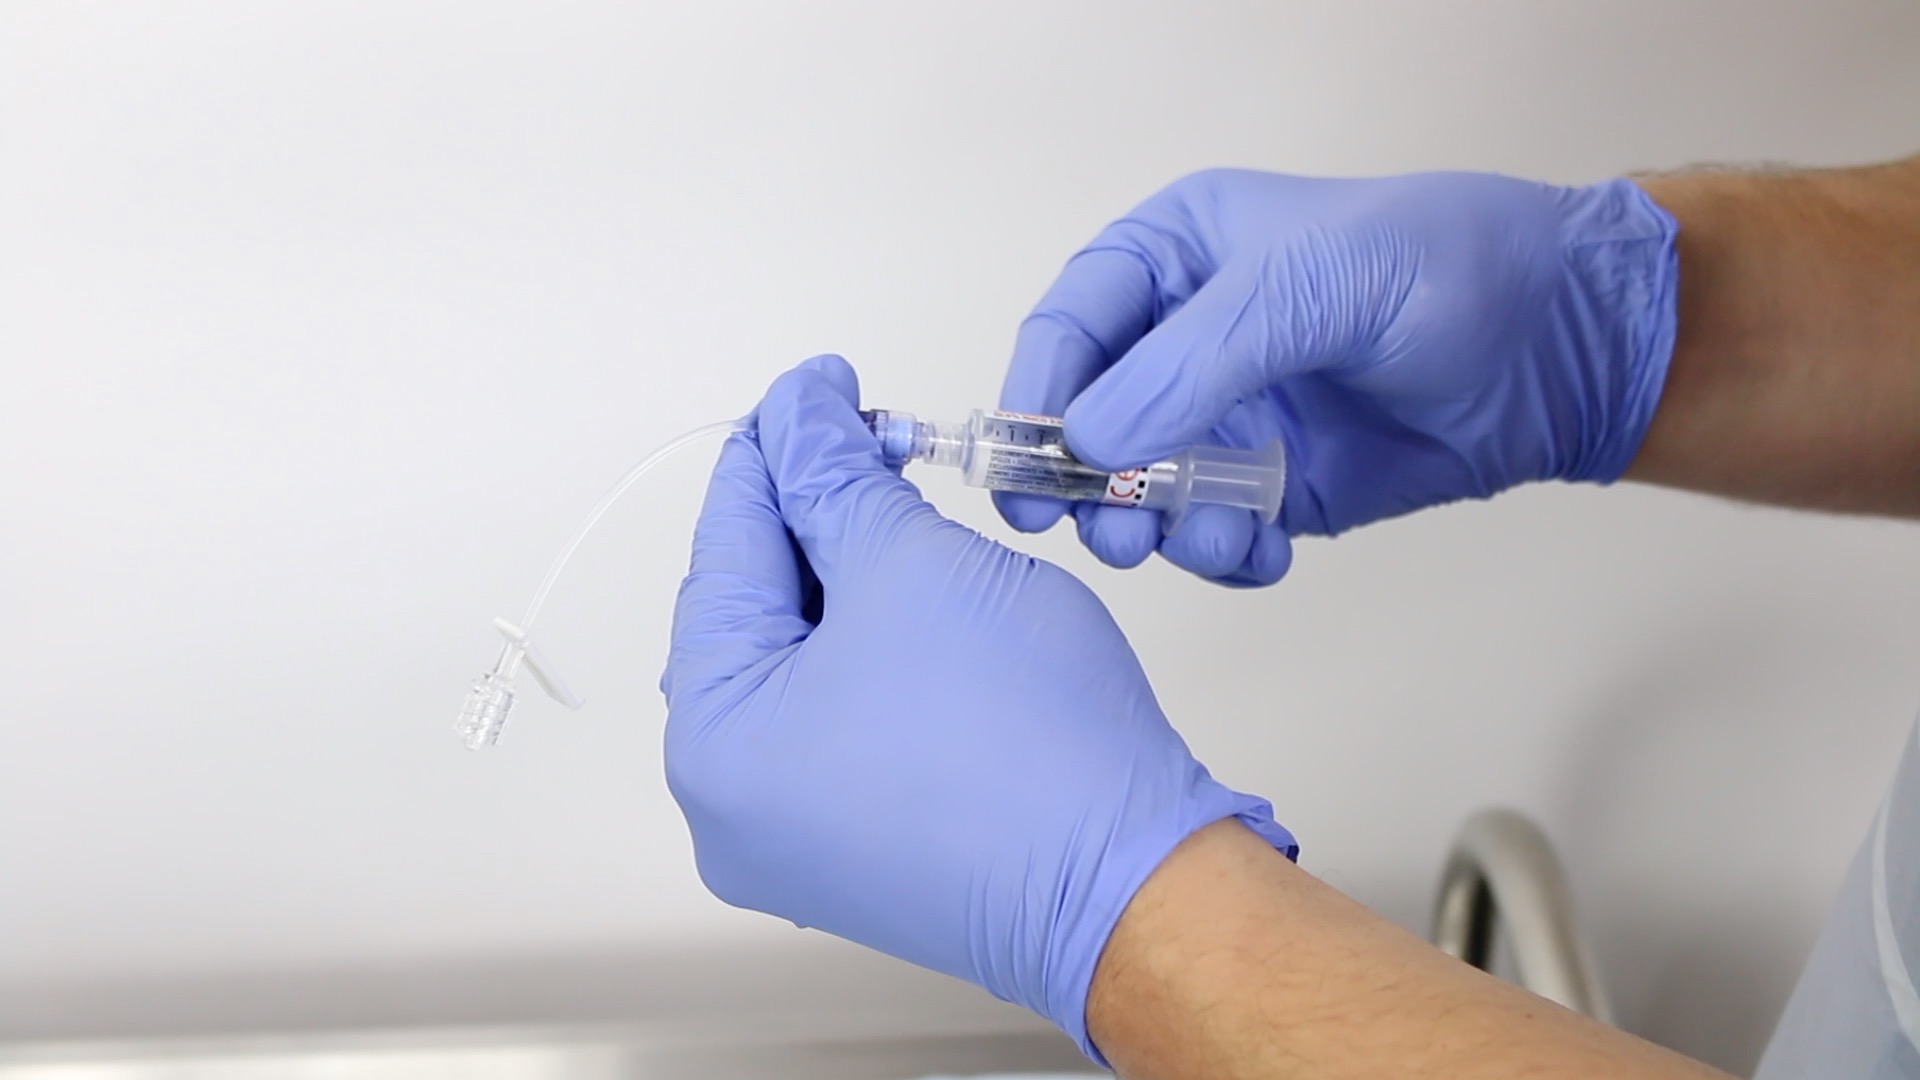
3. Prepare the normal saline flush by drawing the saline into your syringe (if you have a pre-filled flush you can ignore this step).
4. If you are planning on using an extension set, you should attach this to the flush and prime the line.
5. Choose an arm to cannulate:
- You should ask the patient if they have a preference. It is preferable to use the patient’s non-dominant arm in most cases.
- Pre-existing medical conditions may prevent particular limbs from being used (e.g. arterio-venous fistula, lymphoedema).
6. Place a pillow under the arm to be cannulated to make the procedure more comfortable for the patient.
7. Place a field below the patient’s arm to prevent blood spillage.
- Don gloves (prior to setting up saline flush)


Choosing a vein
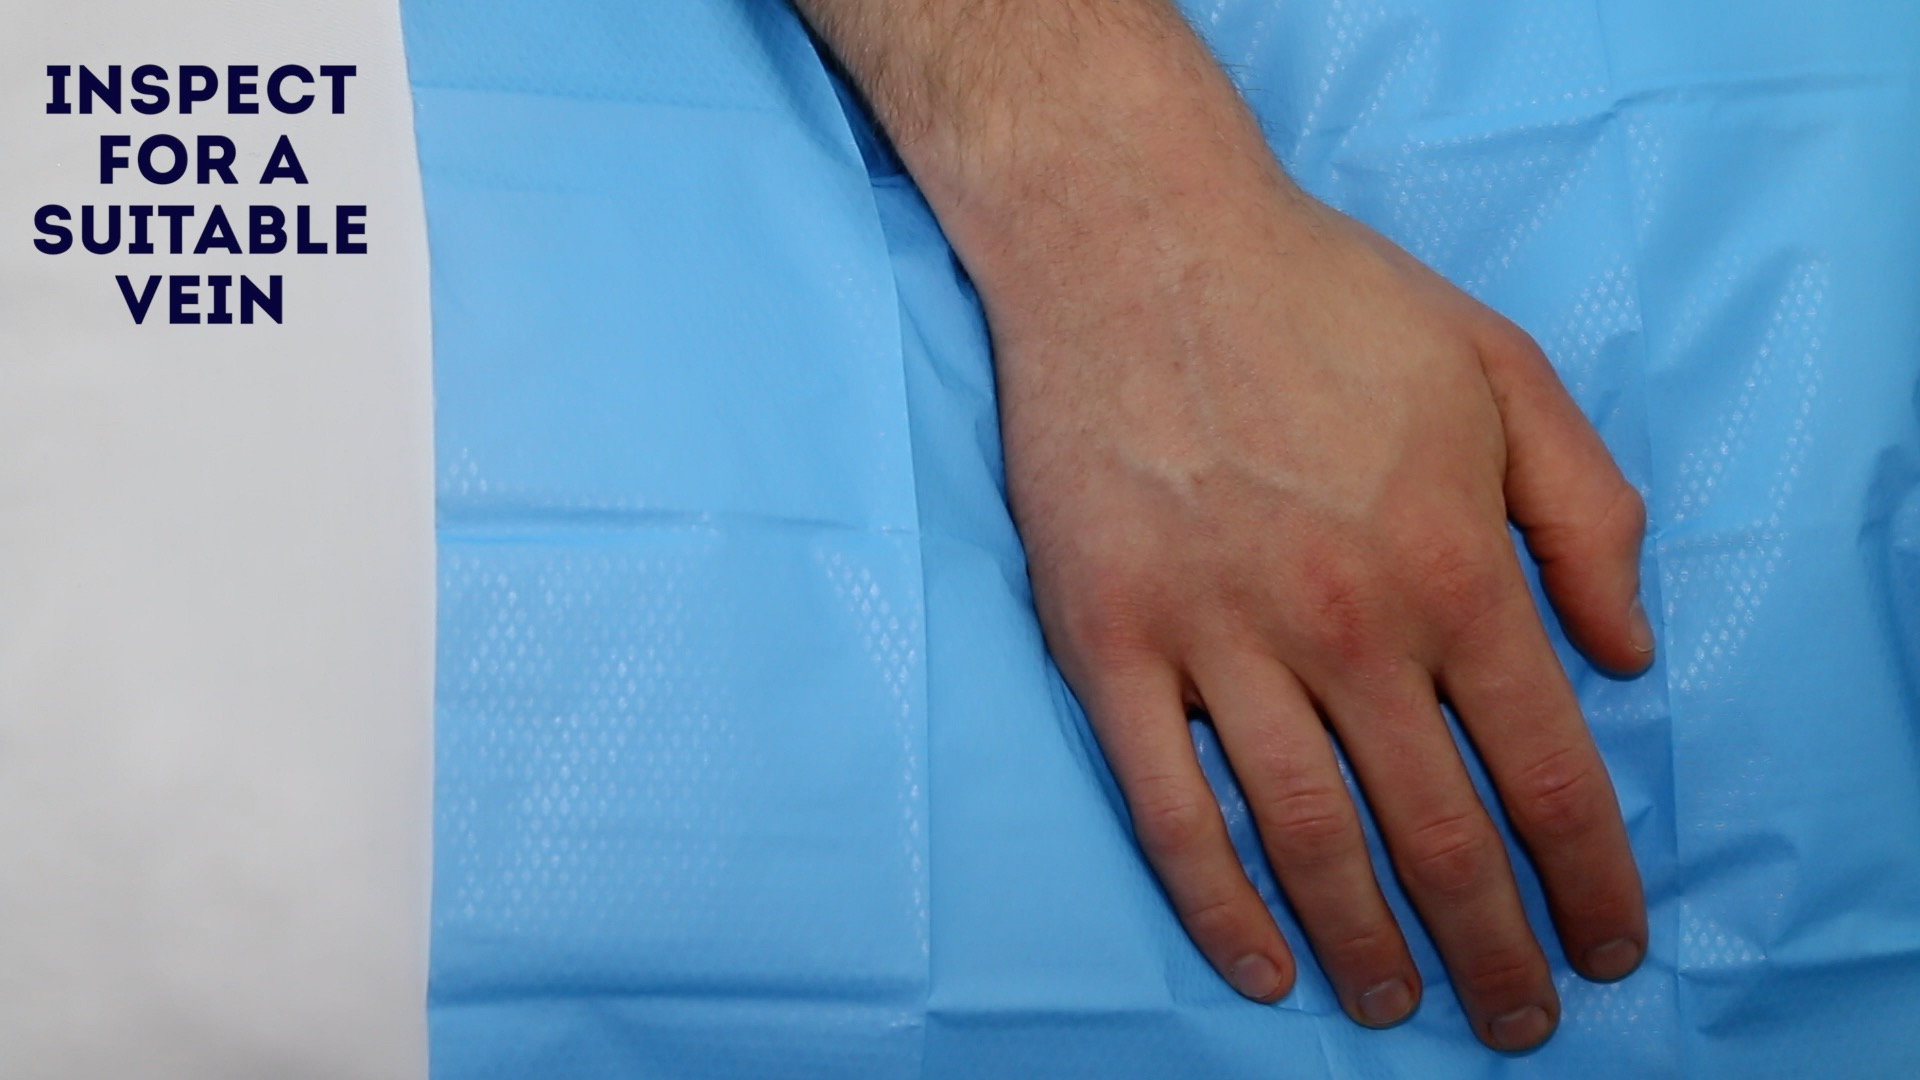
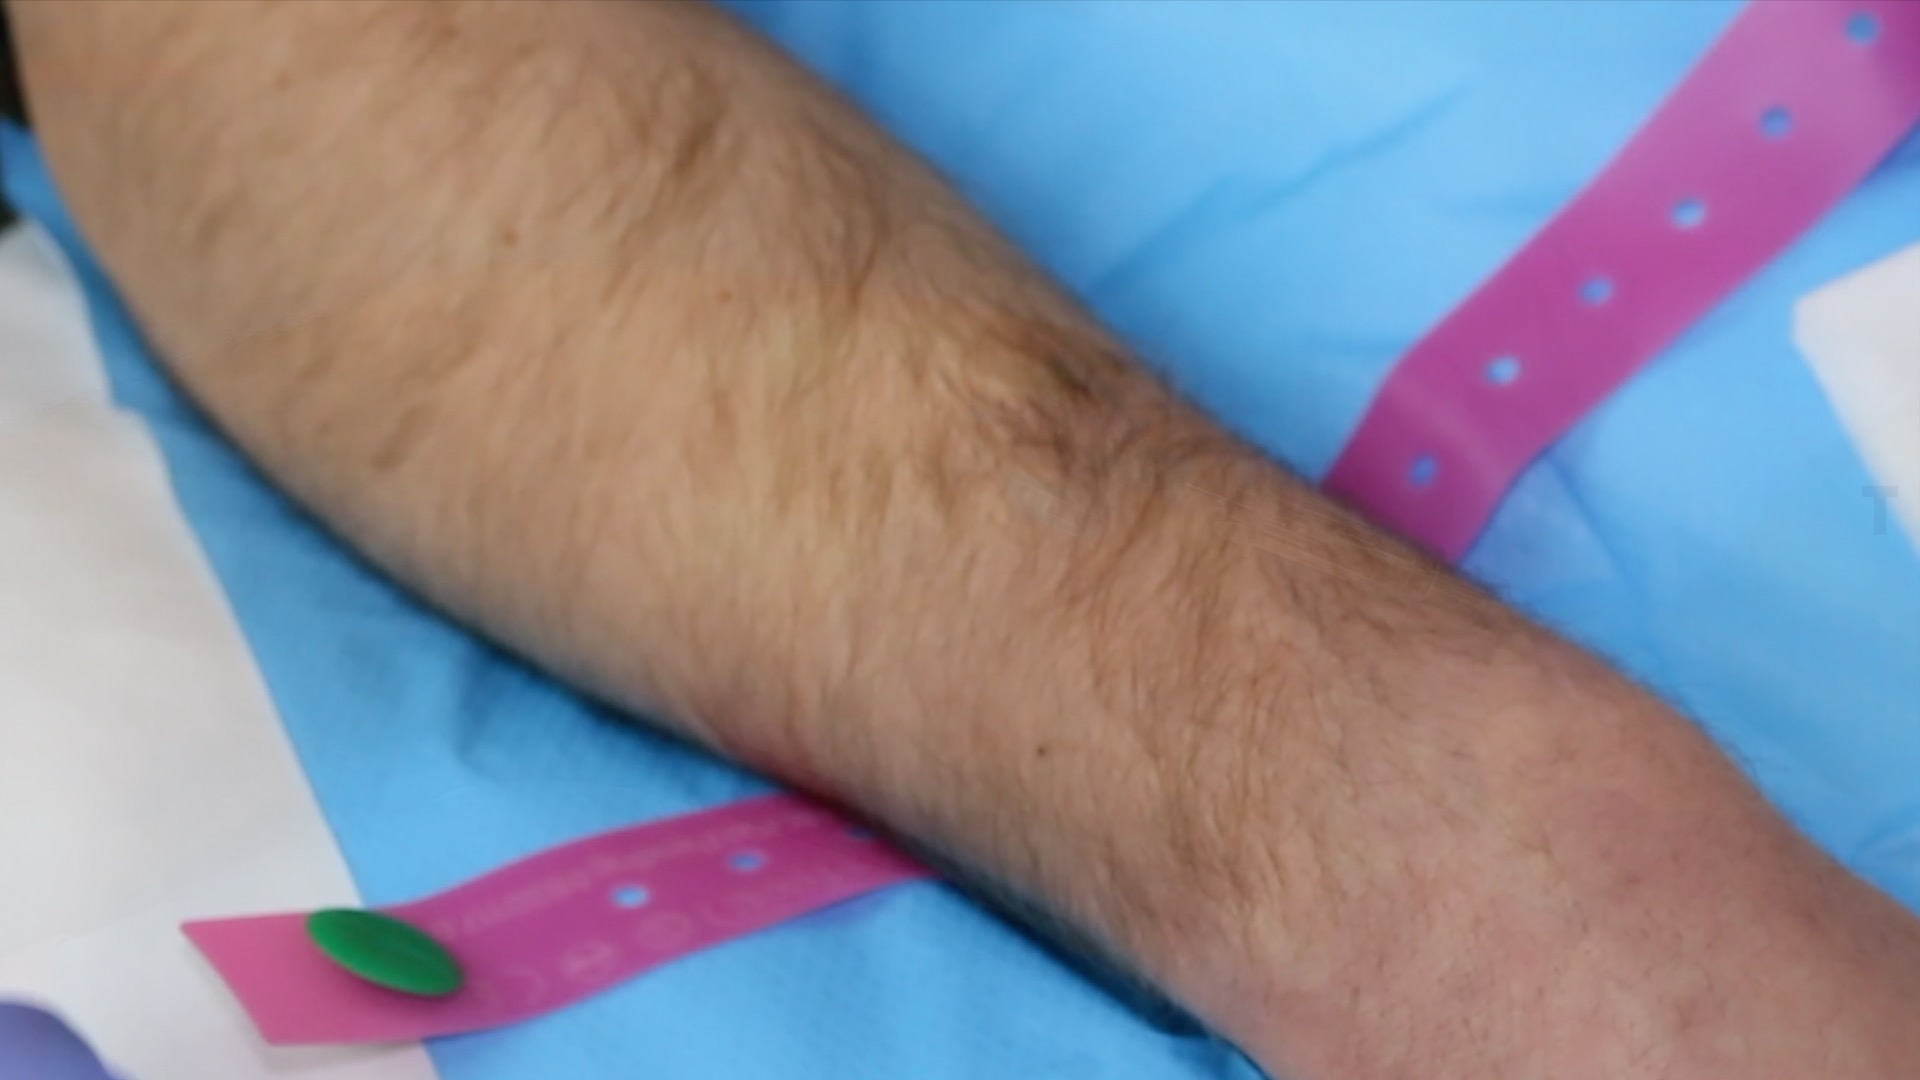
1. Inspect the patient’s arm for an appropriate cannulation site:
- You should select a site that is the least restrictive for the patient such as the posterior forearm or dorsum of the hand. In an emergency situation, any large peripheral vein may be used.
- Avoid areas near the elbow and wrist joints (to reduce the likelihood of dislodgement as a result of the patient’s movement).
- Areas of broken, bruised or erythematous skin should be avoided.
- Areas in which two veins join should be avoided where possible, as valves are often present.
2. Position the patient’s arm in a comfortable extended position that provides adequate access to the planned cannulation site.
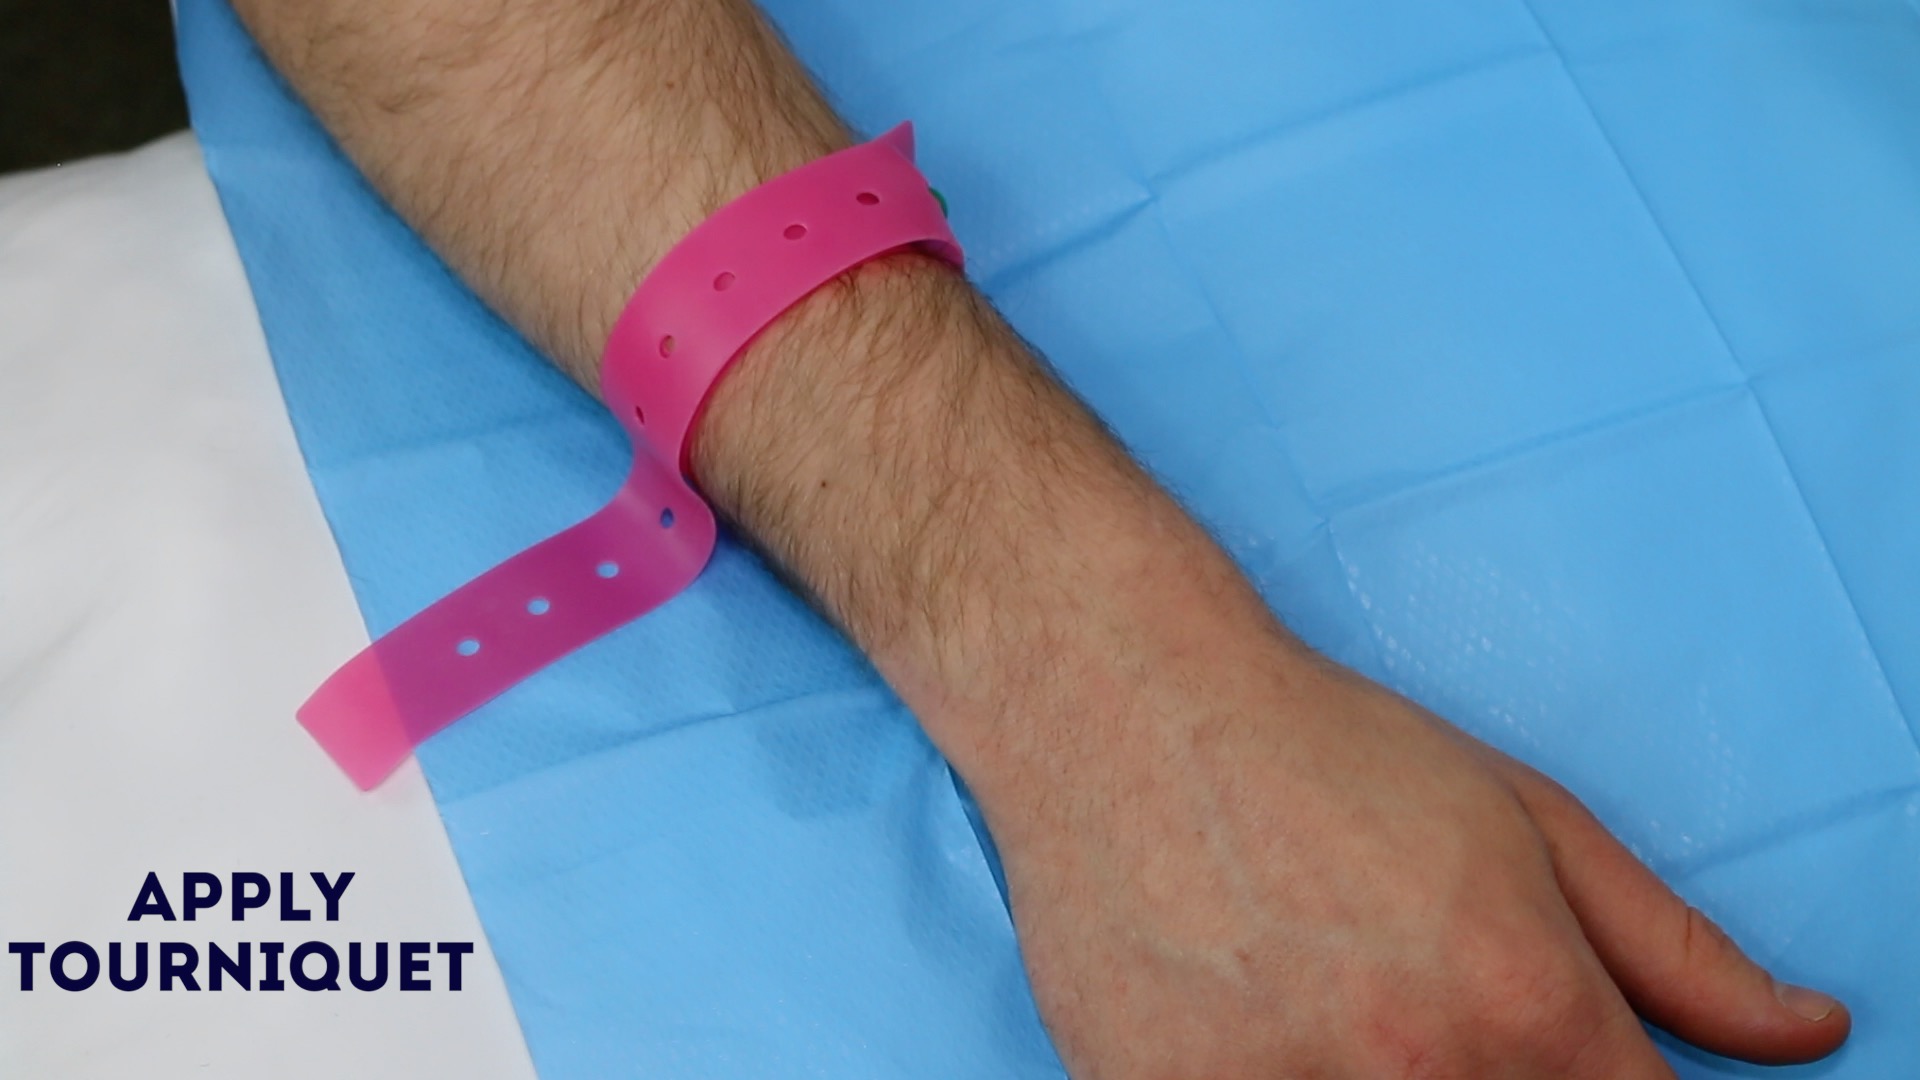
3. Apply the tourniquet approximately 4-5 finger-widths above the planned cannulation site.
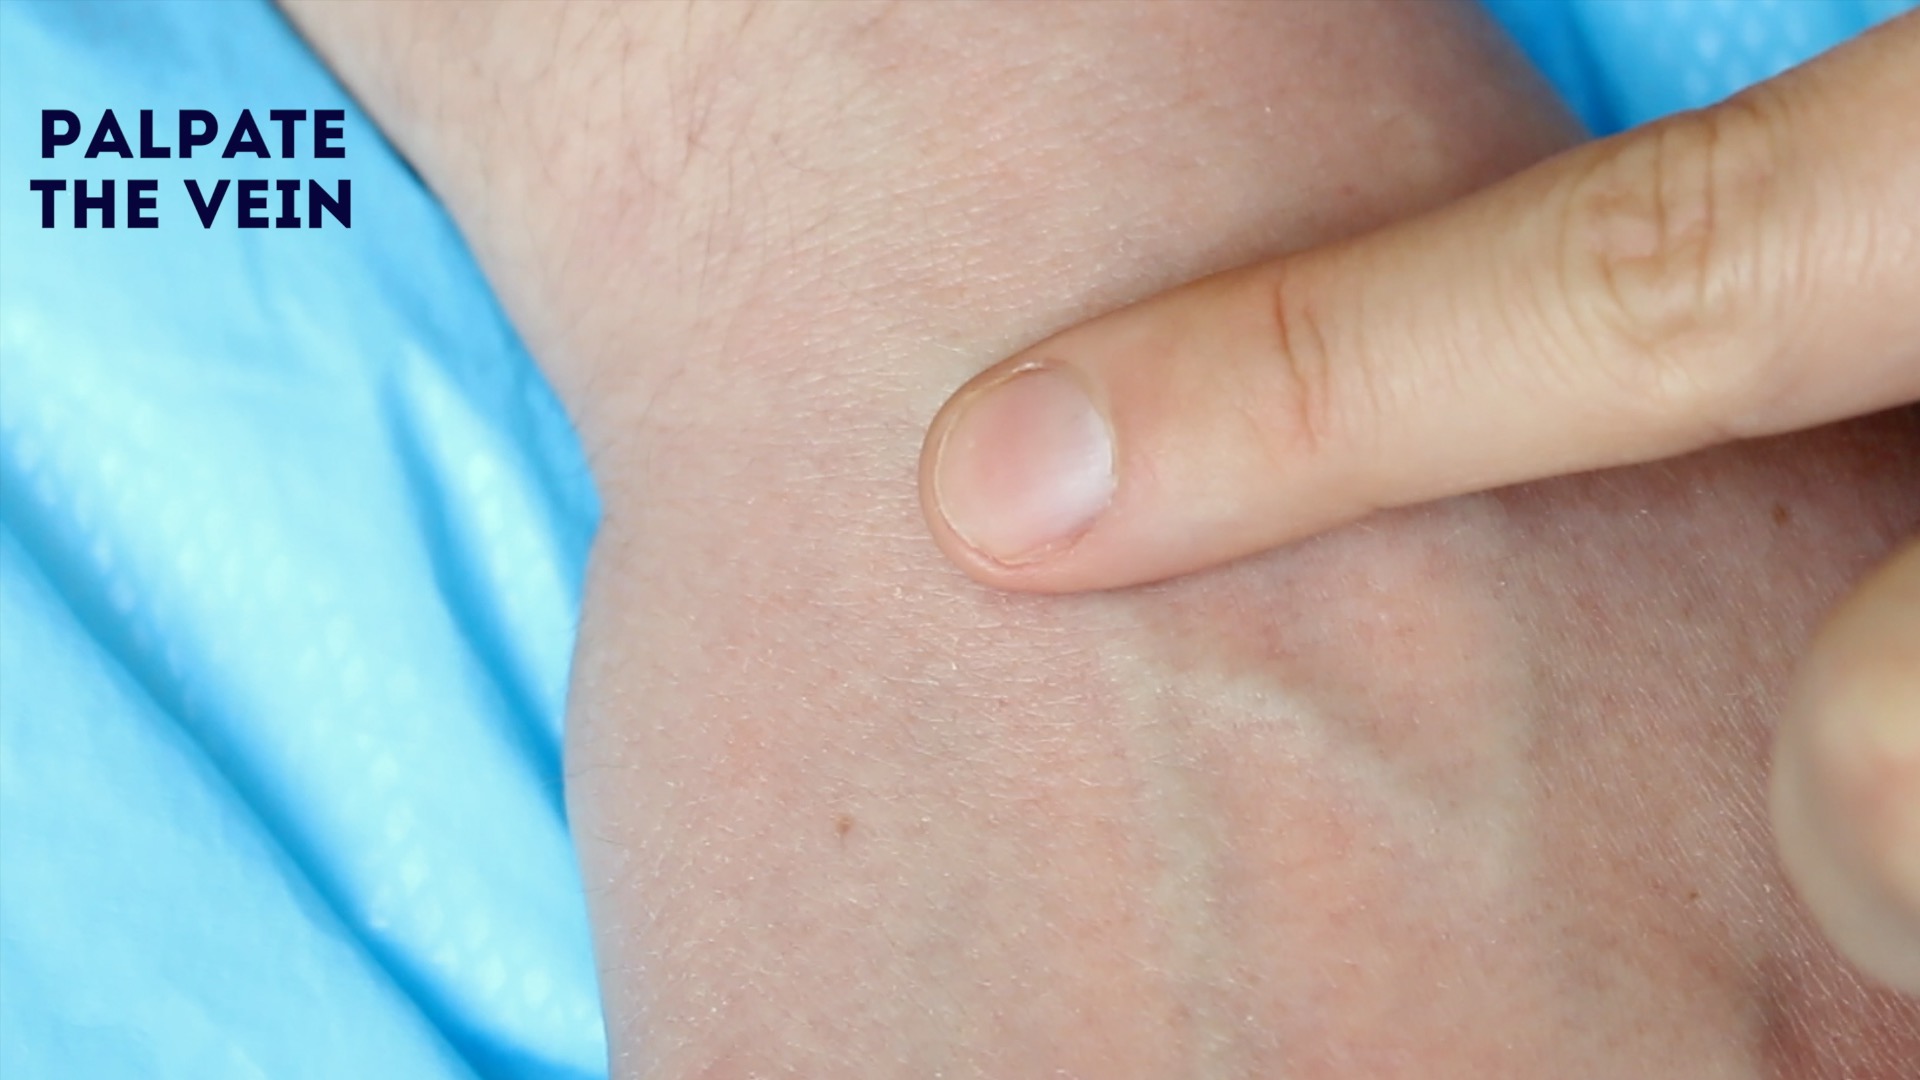
4. Palpate the vein you have identified to assess if it is suitable:
- Tapping the vein and asking the patient to repeatedly clench their fist can make the vein easier to visualise and palpate.
- An ideal vein feels ‘springy’. A vein that feels hard is likely sclerosed, thrombosed or phlebitic (inflamed) and should be avoided.
5. Once you have identified a suitable vein you may need to temporarily release the tourniquet, as it should not be left on for more than 1-2 minutes at a time.
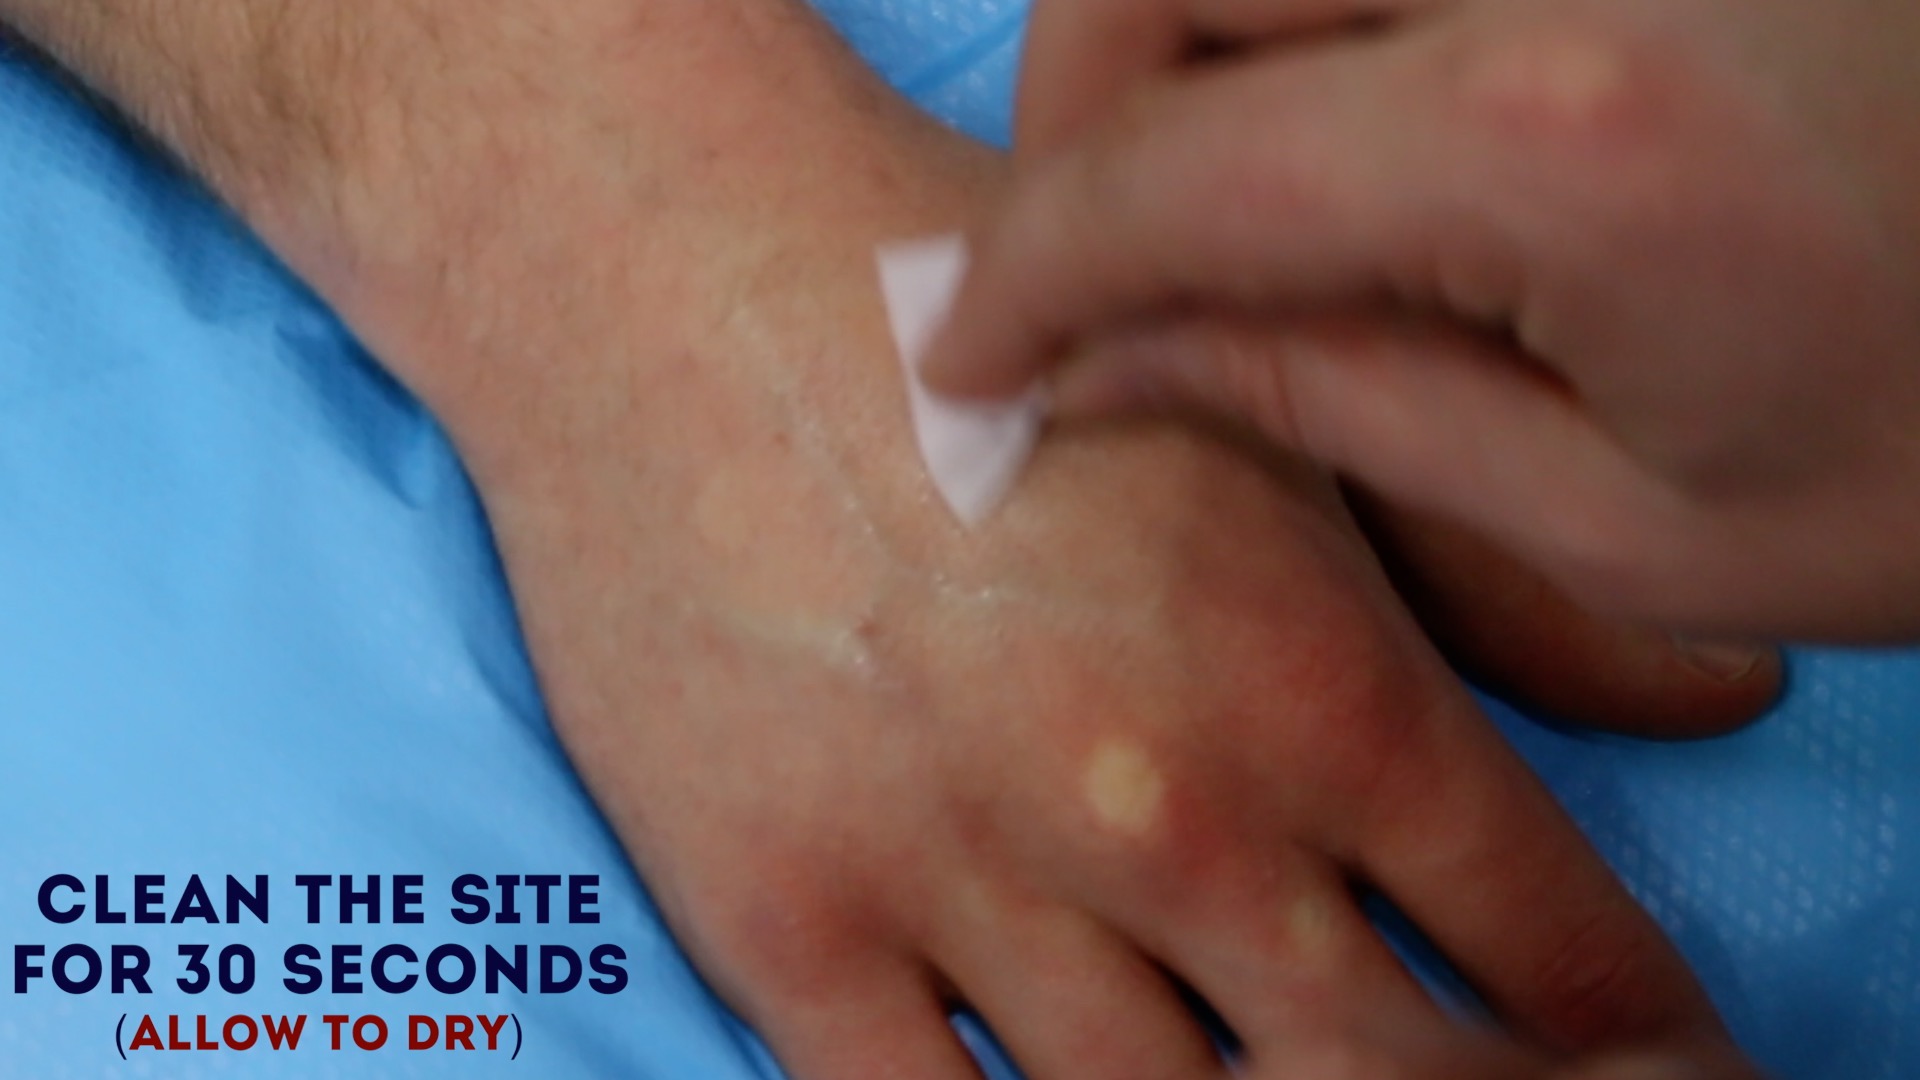
6. Clean the site with an alcohol swab for 30 seconds and then allow to dry completely for 30 seconds:
- You should start cleaning from the centre of the cannulation site and work outwards to cover an area of 5cm or more.
- DO NOT touch the cleaned site afterwards at any point, otherwise, the cleaning procedure will need to be repeated prior to cannulation.
- Inspect for a suitable vein
Inserting the cannula
1. Wash your hands again, removing gloves if these were worn for setting up the saline flush.
2. Don a new pair of non-sterile gloves.
3. Re-apply the tourniquet if removed previously.
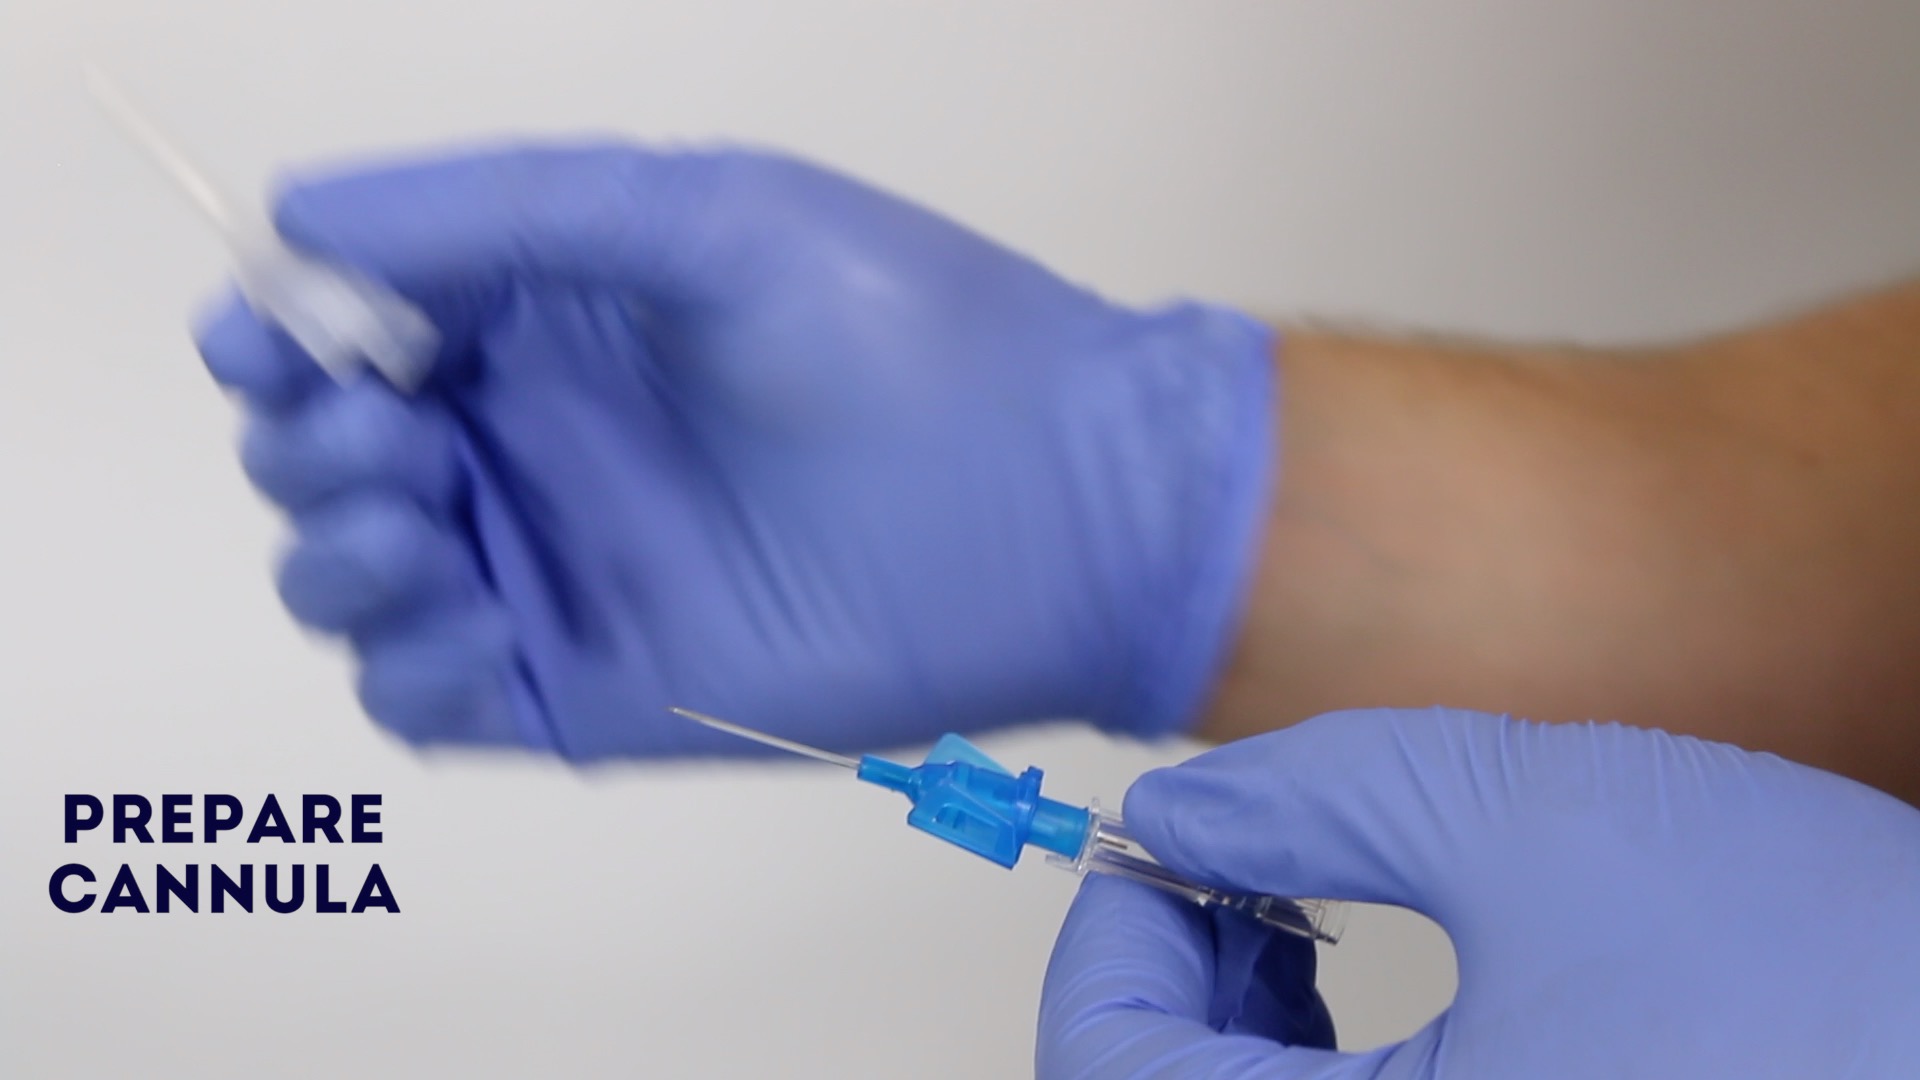
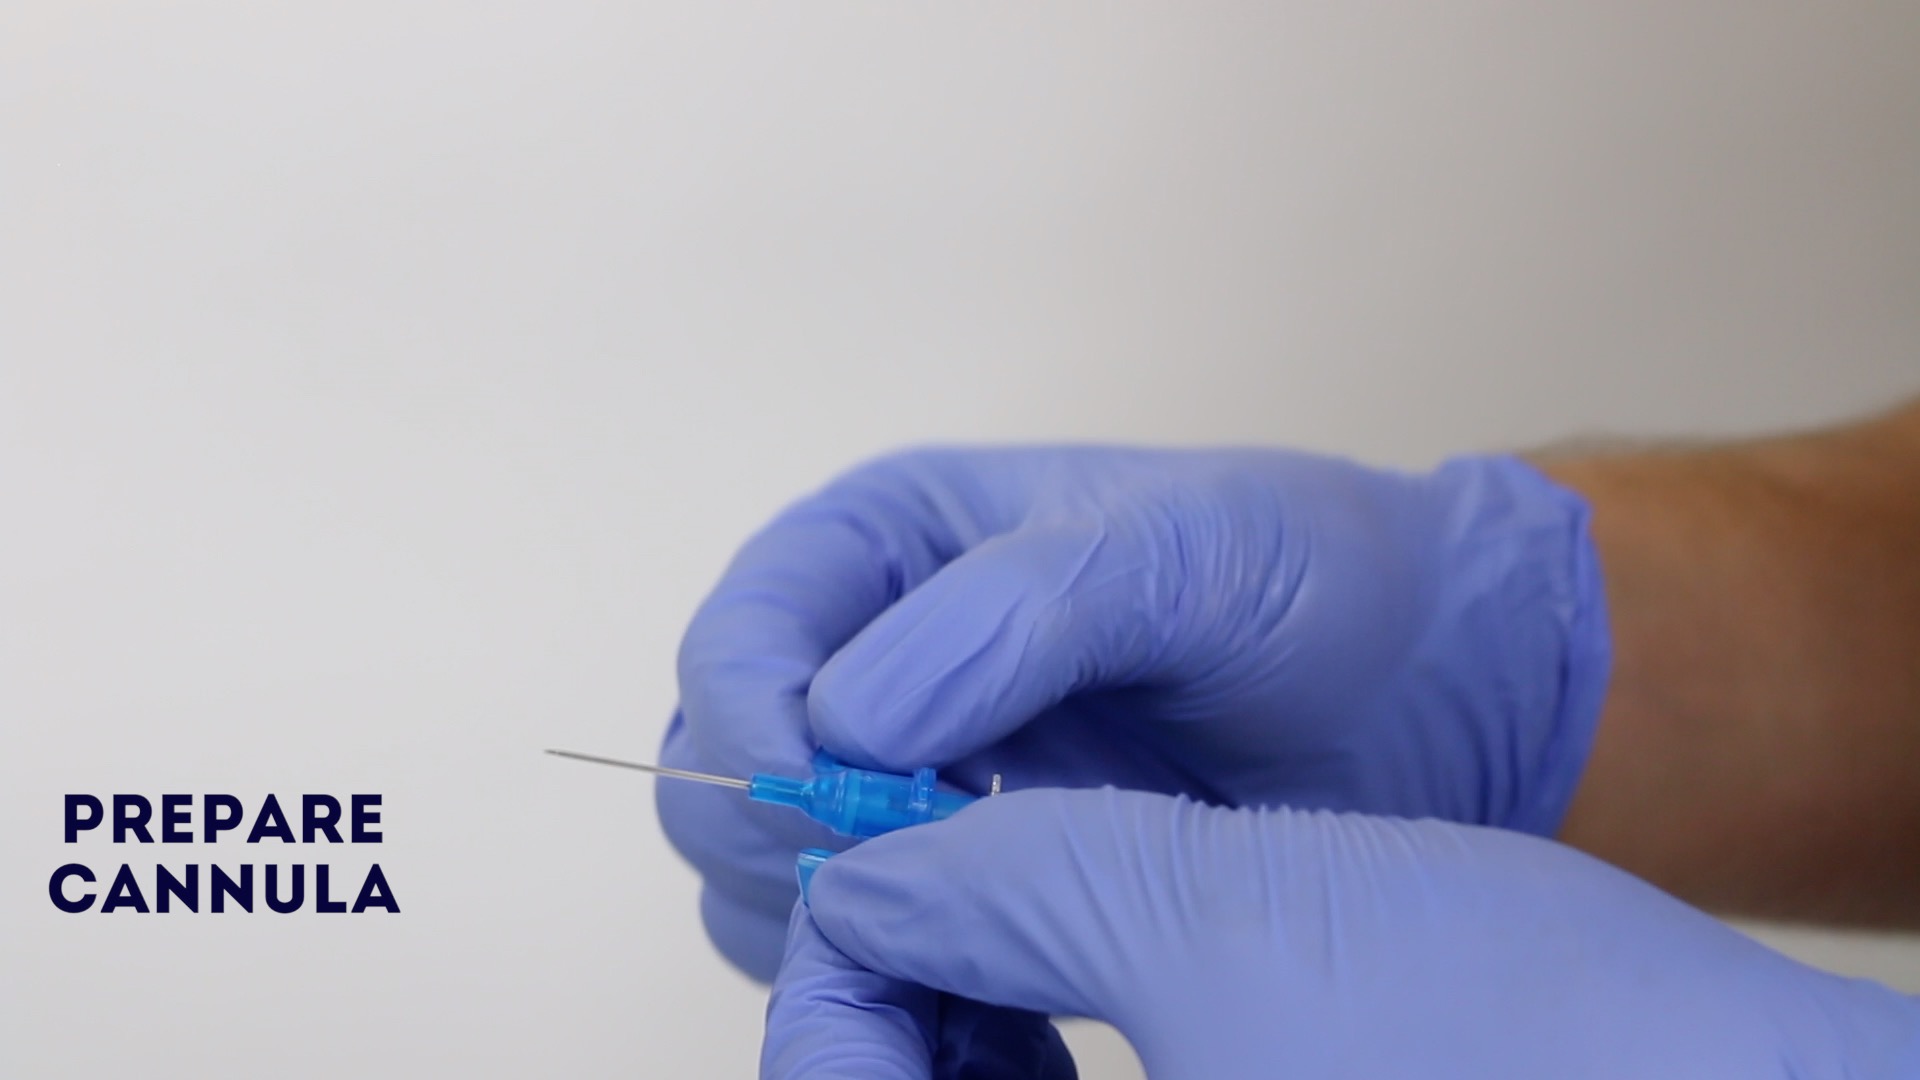
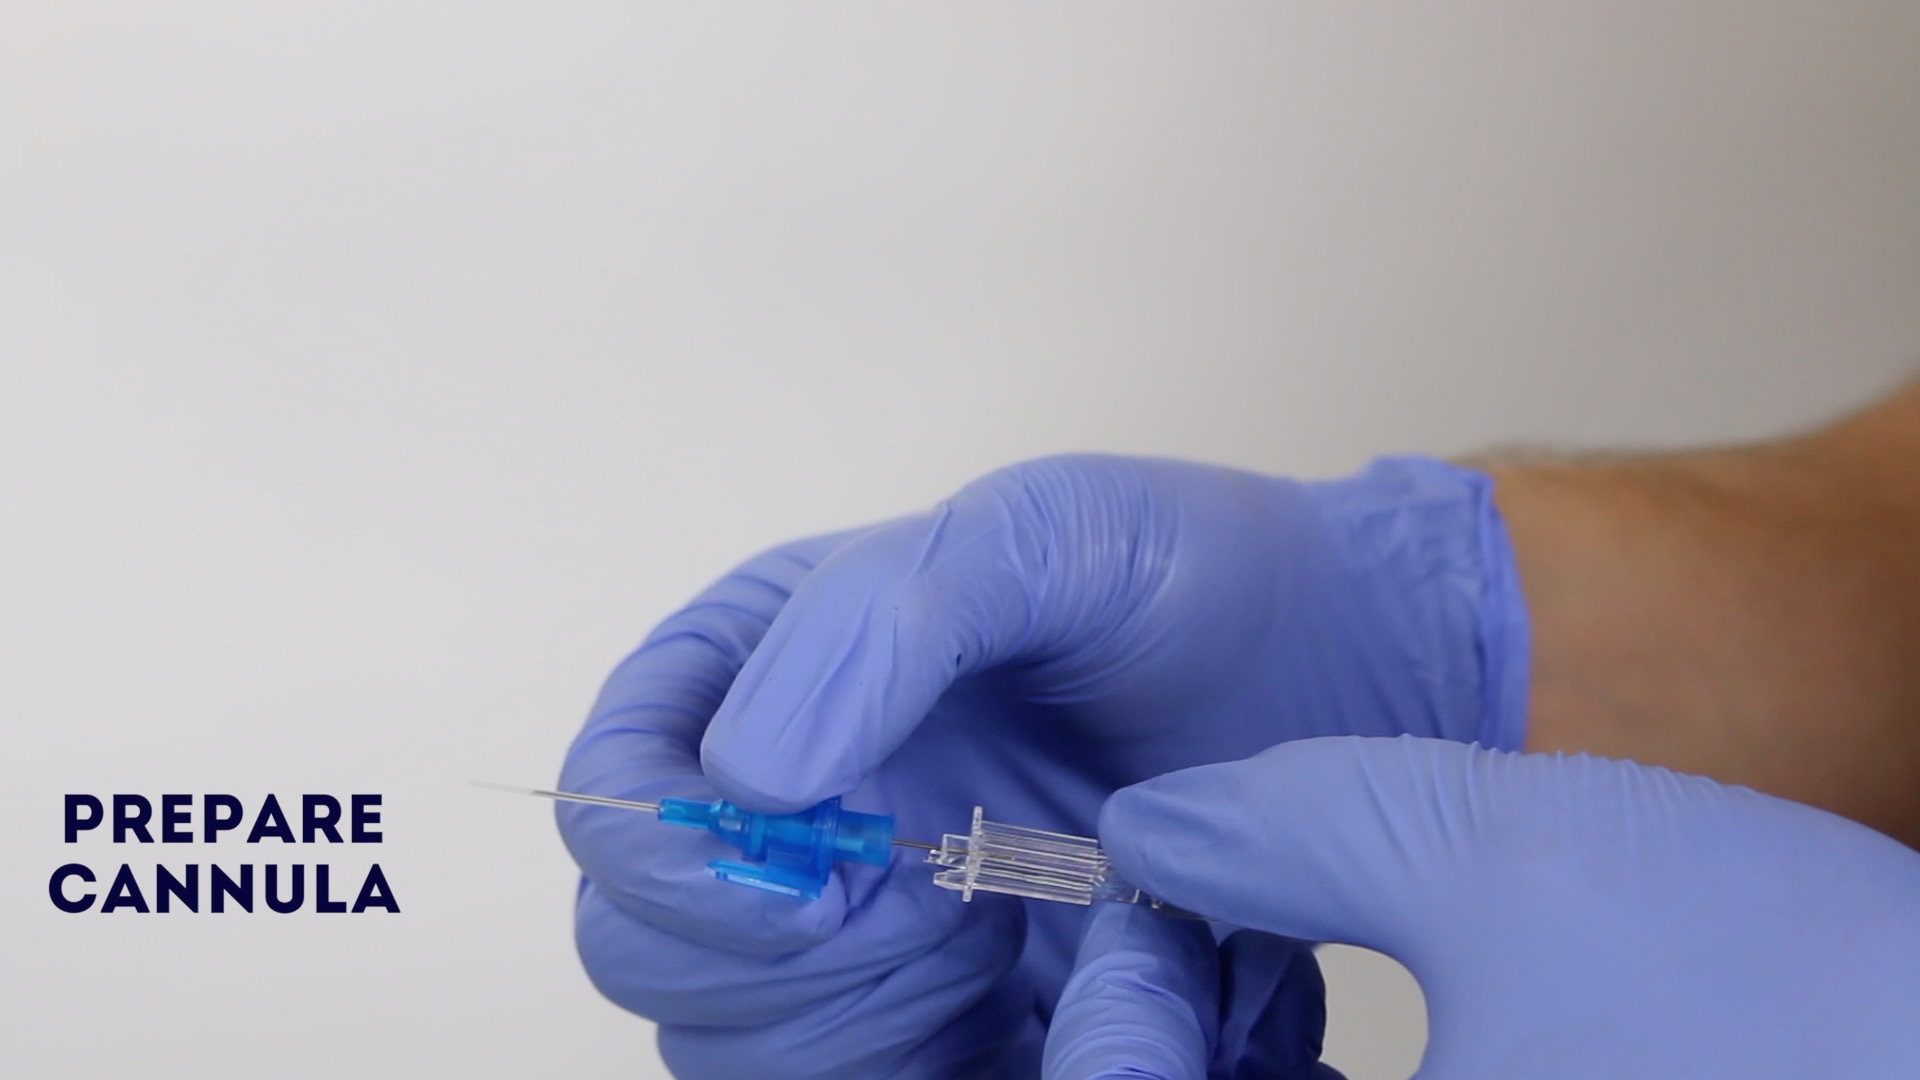
4. Remove the cannula sheath.
5. Prepare the cannula:
- Open the cannula wings if present.
- Slightly withdraw and replace the needle (this will allow it to glide easier during cannulation).
- Unscrew the cap at the back of the cannula and place upright in the tray (if the cannula is ported).
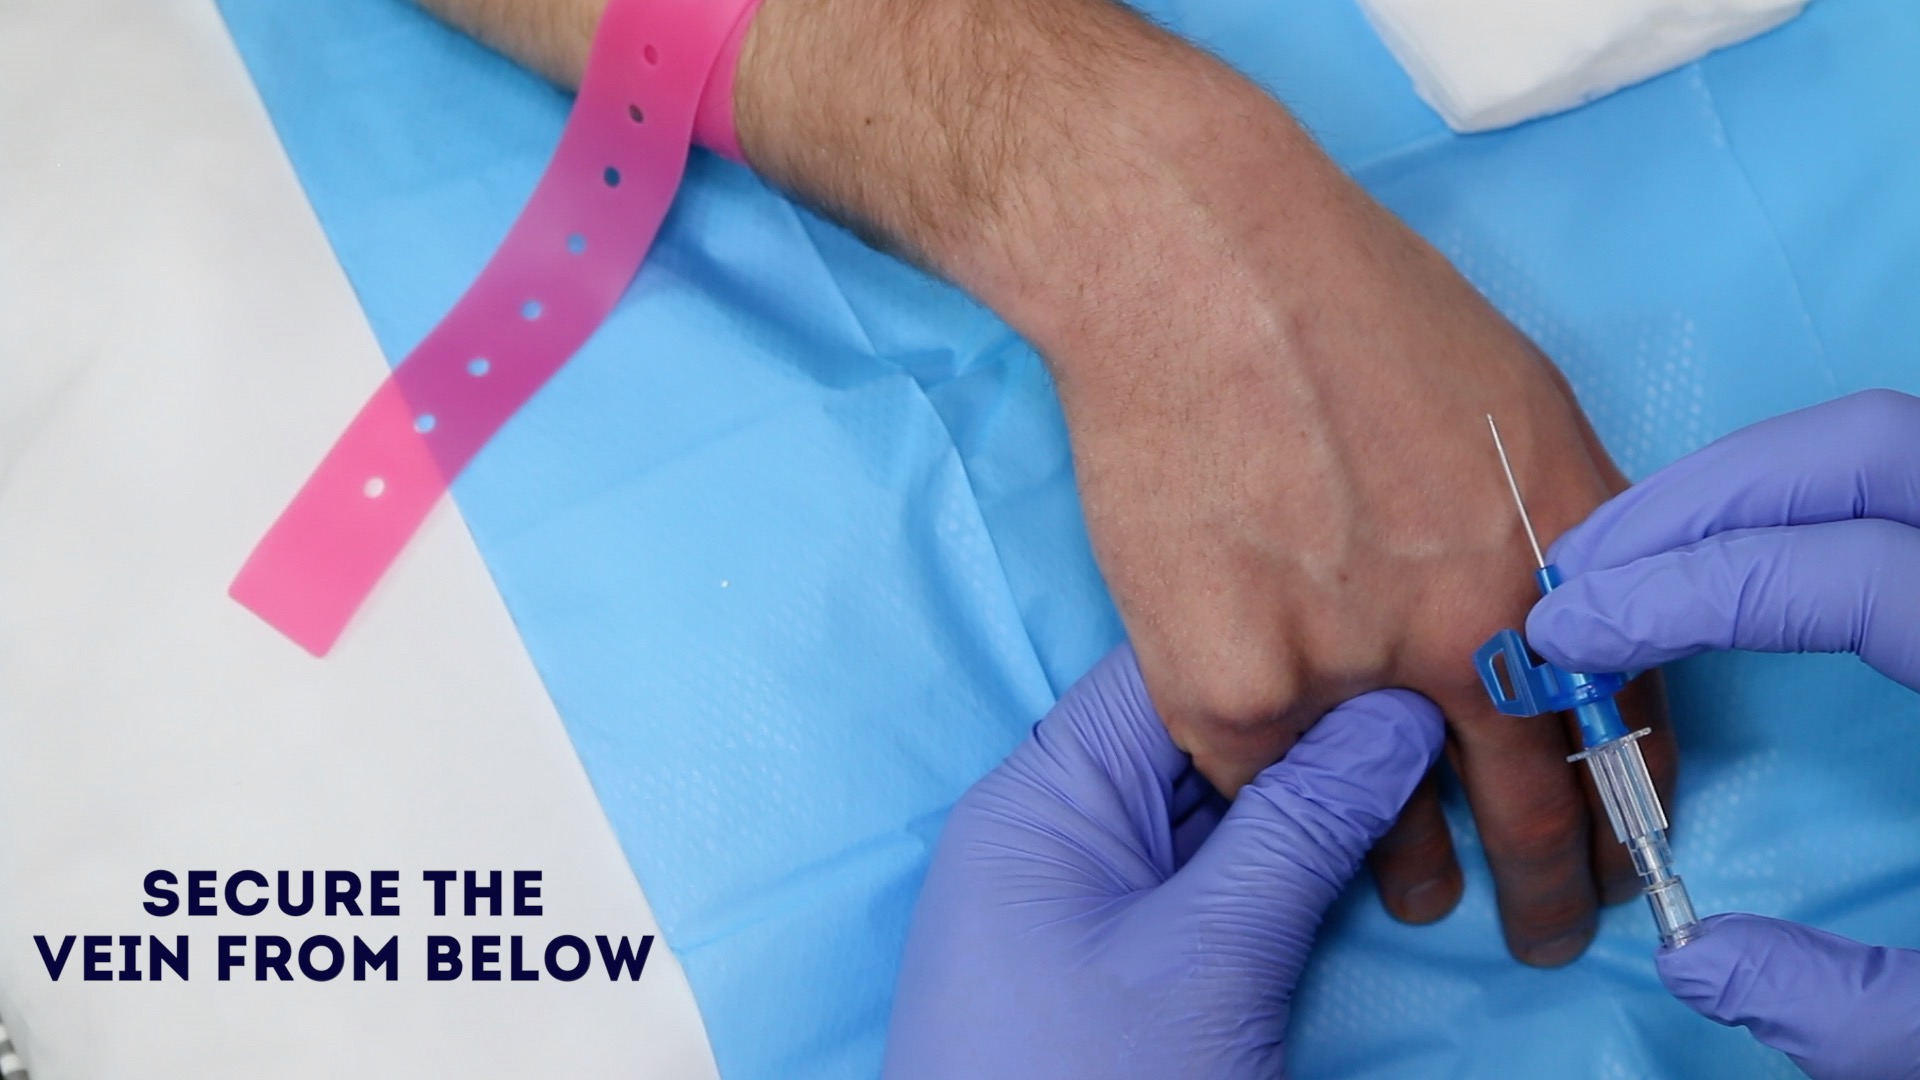
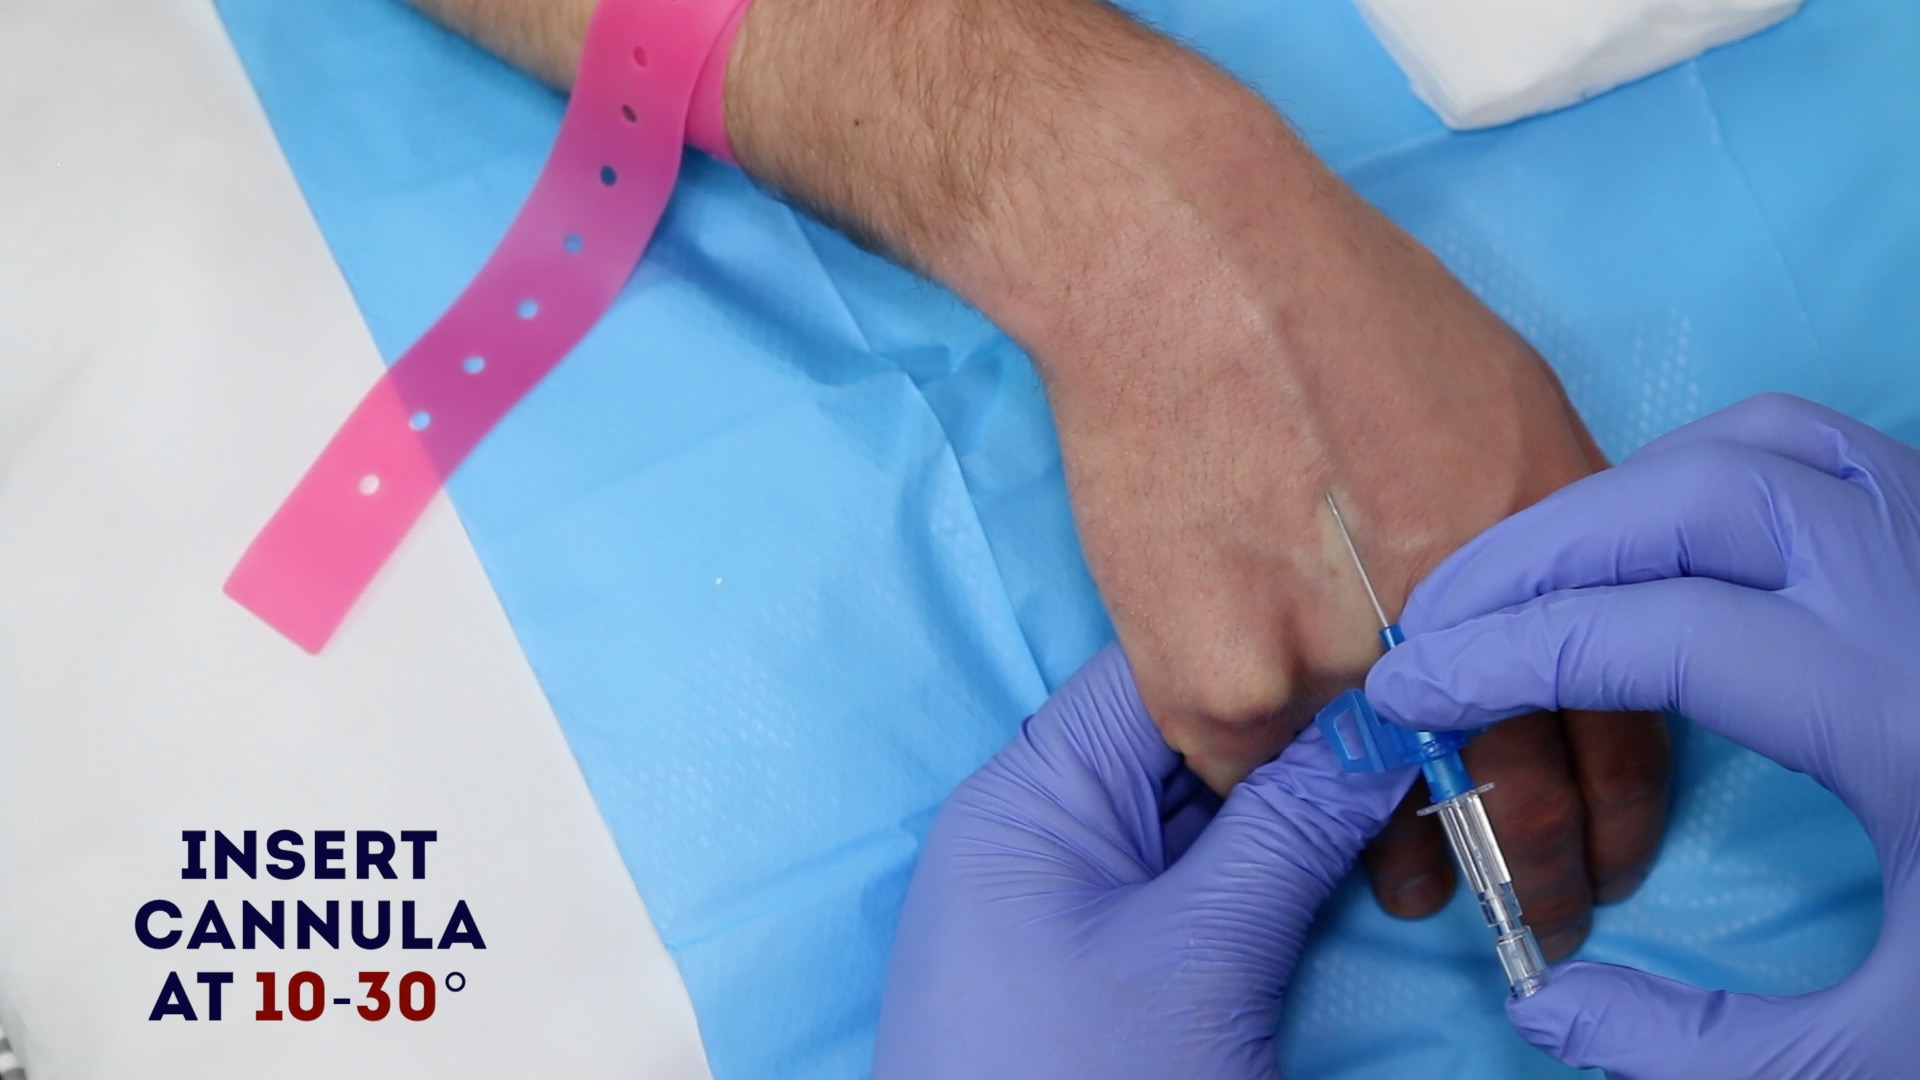
6. Anchor the vein with your non-dominant hand from below by gently pulling on the skin distal to the insertion site.
7. Warn the patient that they will experience a sharp scratch.
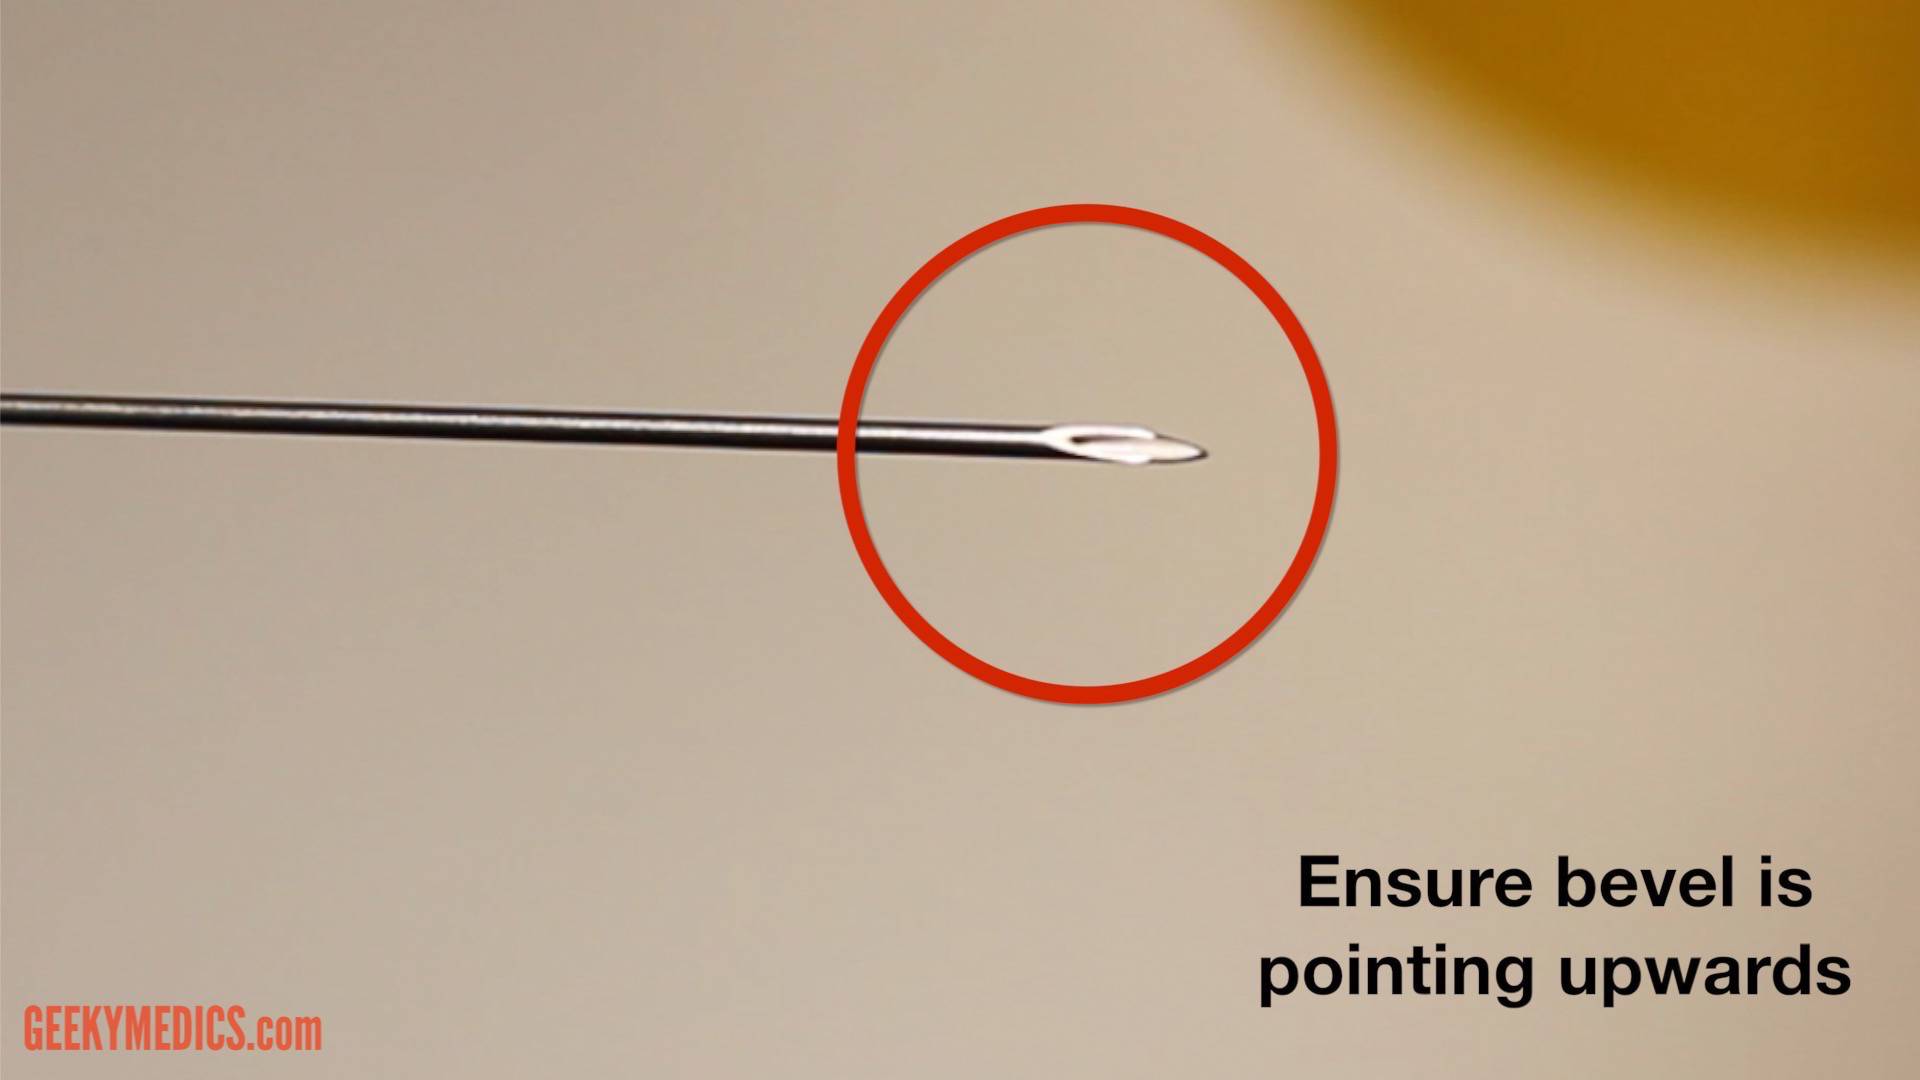
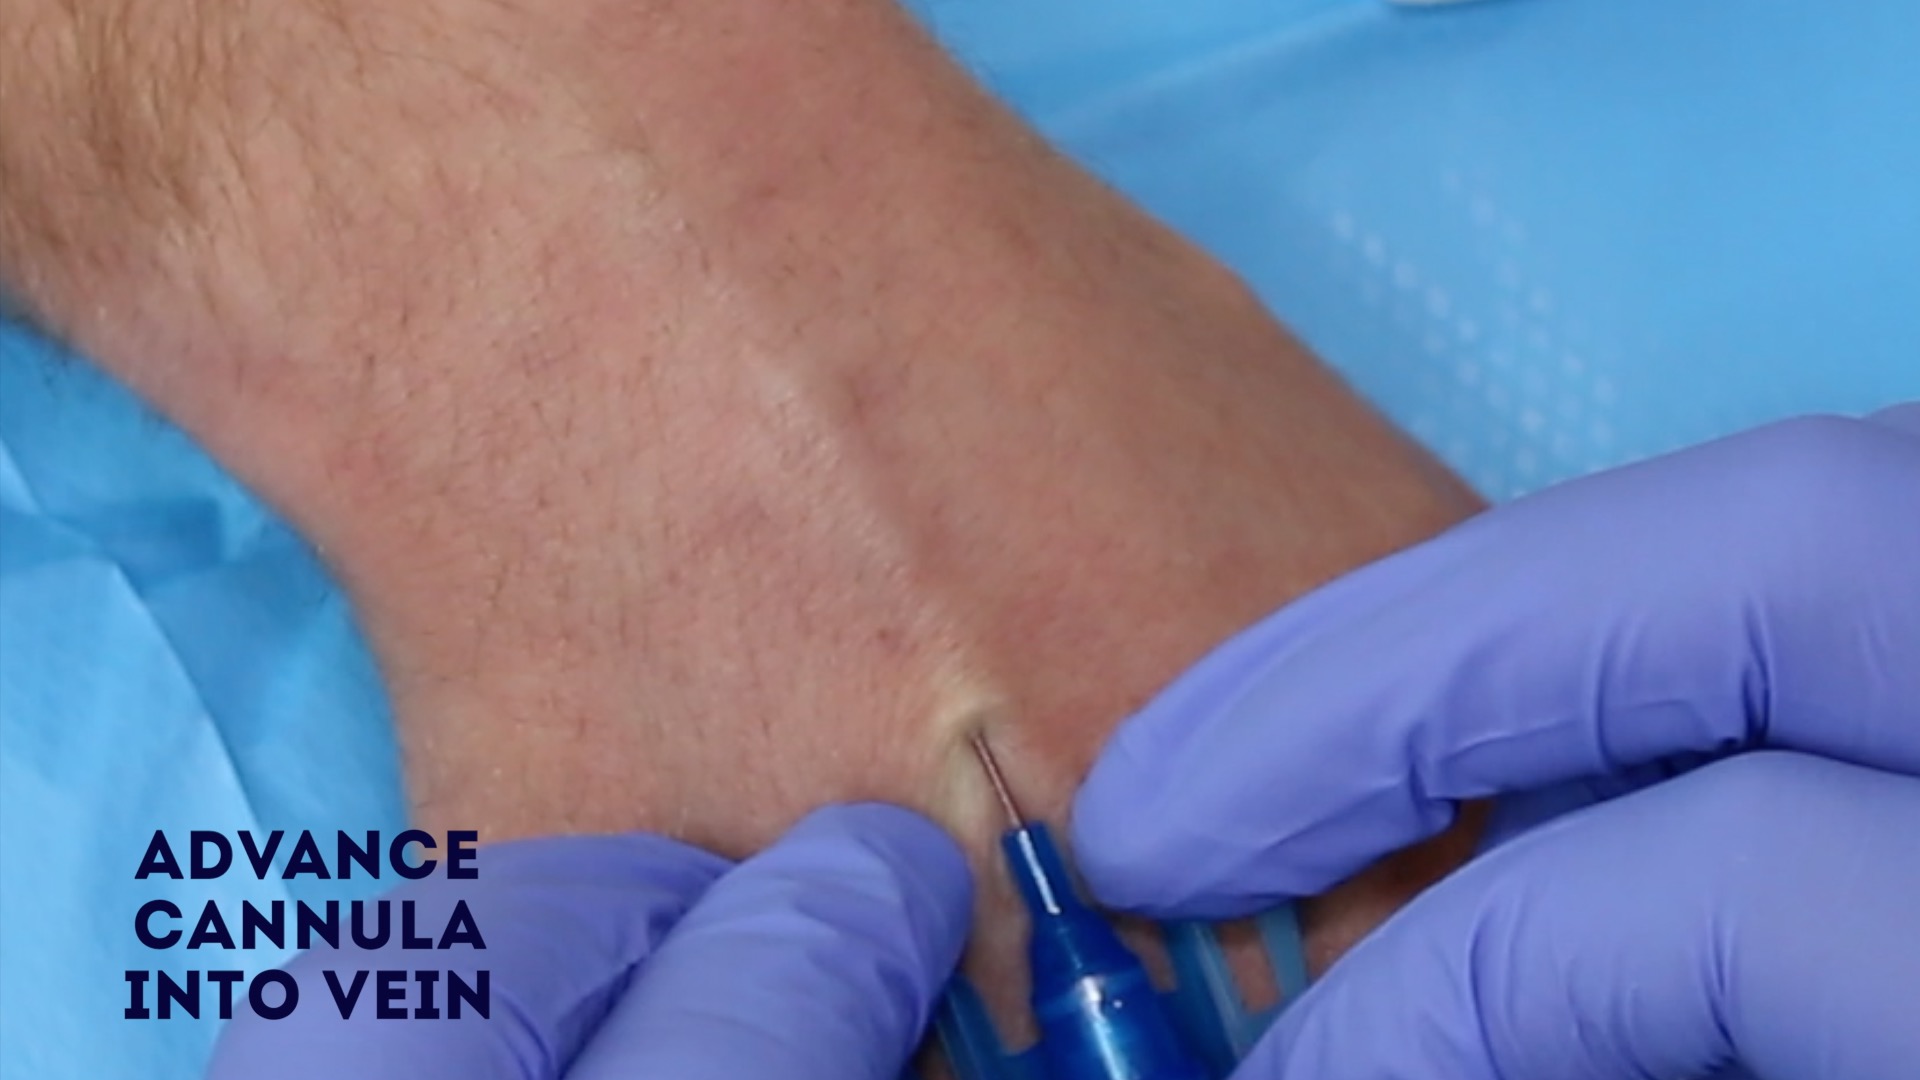
8. Insert the cannula directly above the vein, through the skin at an angle of 10-30º with the bevel facing upwards.
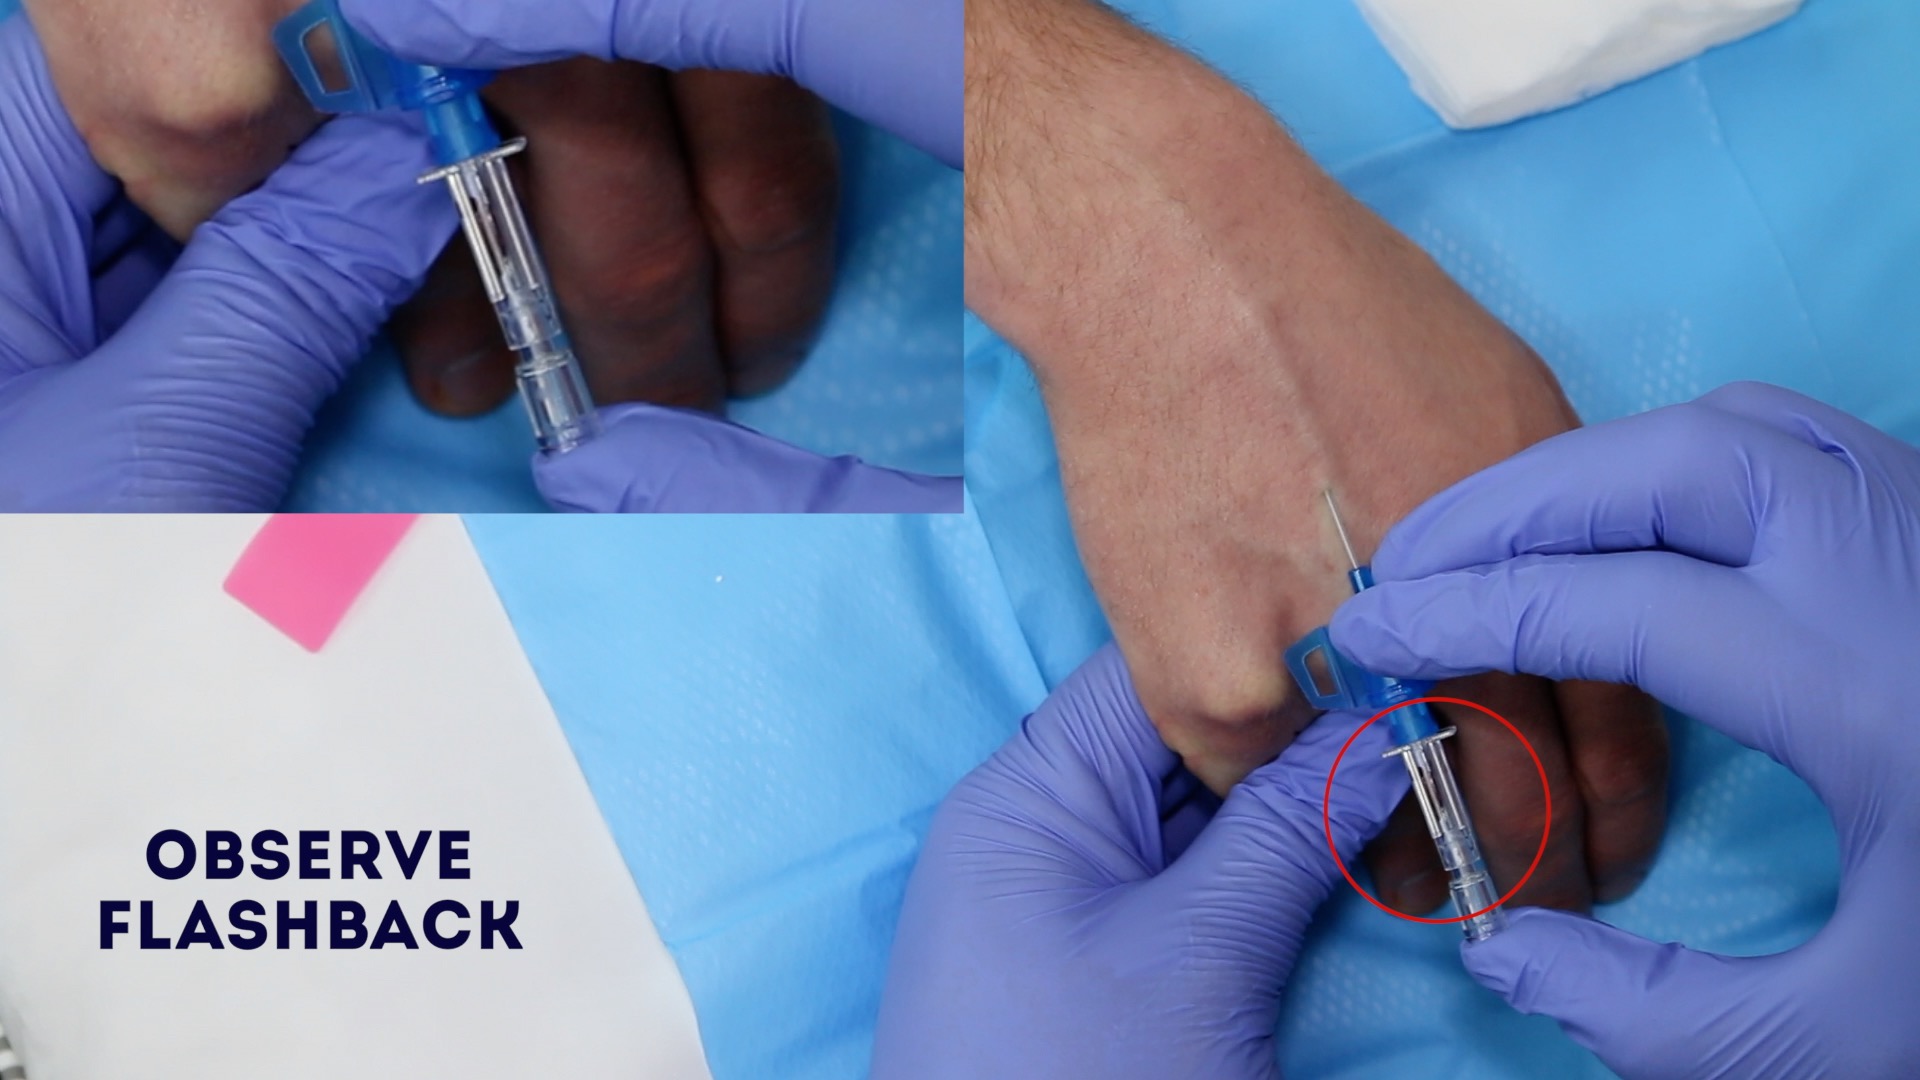
9. Observe for a flashback of blood into the cannula chamber, which confirms that the needle has punctured the vein.
10. Lower the cannula and then advance the needle a further 2mm after flashback is observed to ensure it’s within the vein’s lumen.
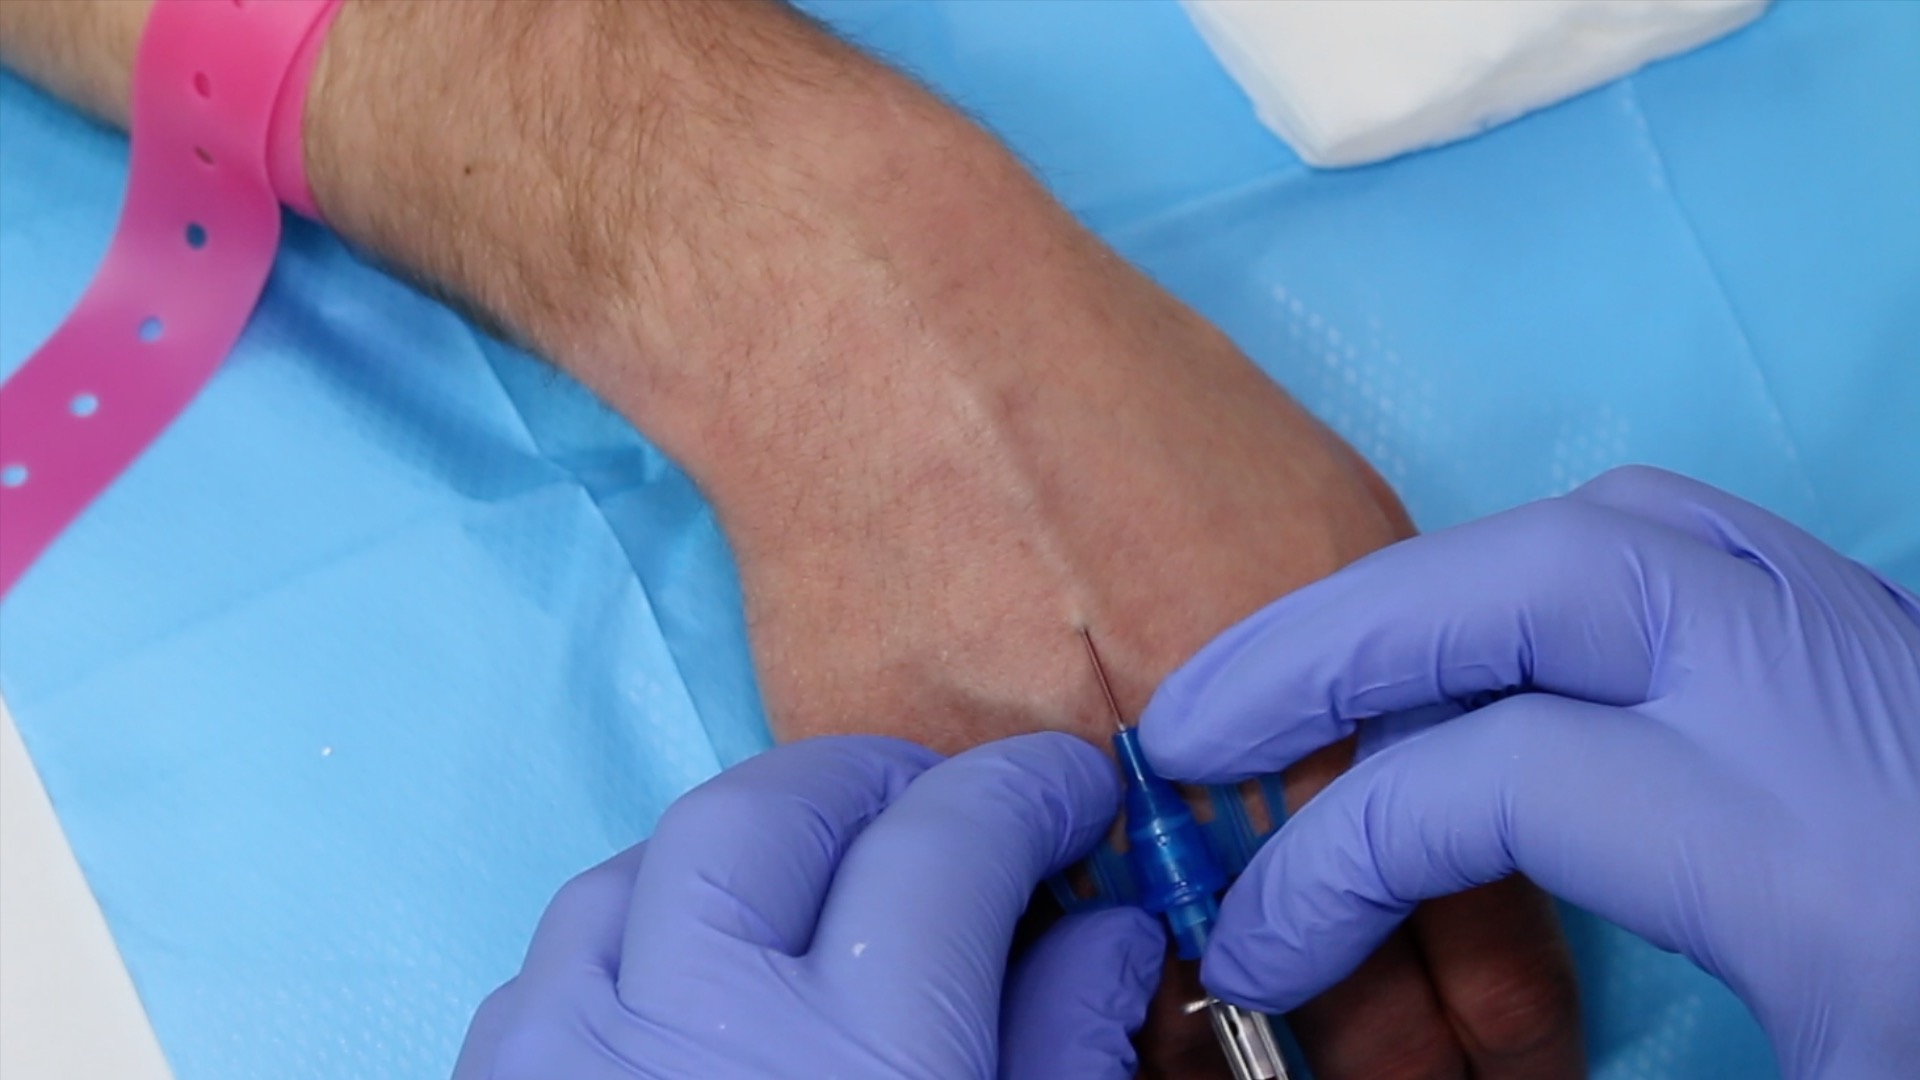
11. Partially withdraw the introducer needle, ensuring the needle end is within the plastic tubing of the cannula (you should observe blood entering the plastic tubing of the cannula as you do this).
12. Carefully advance the cannula into the vein as you simultaneously withdraw the introducer needle until the cannula is fully inserted and the needle is almost removed.
13. Release the tourniquet.
14. Place some sterile gauze directly underneath the cannula hub.
15. Apply pressure to the proximal vein close to the tip of the cannula to reduce bleeding.
16. Gently pull the introducer needle backwards whilst holding the cannula in position until it is completely removed.
17. Connect a Luer lock cap or primed extension set to the cannula hub.
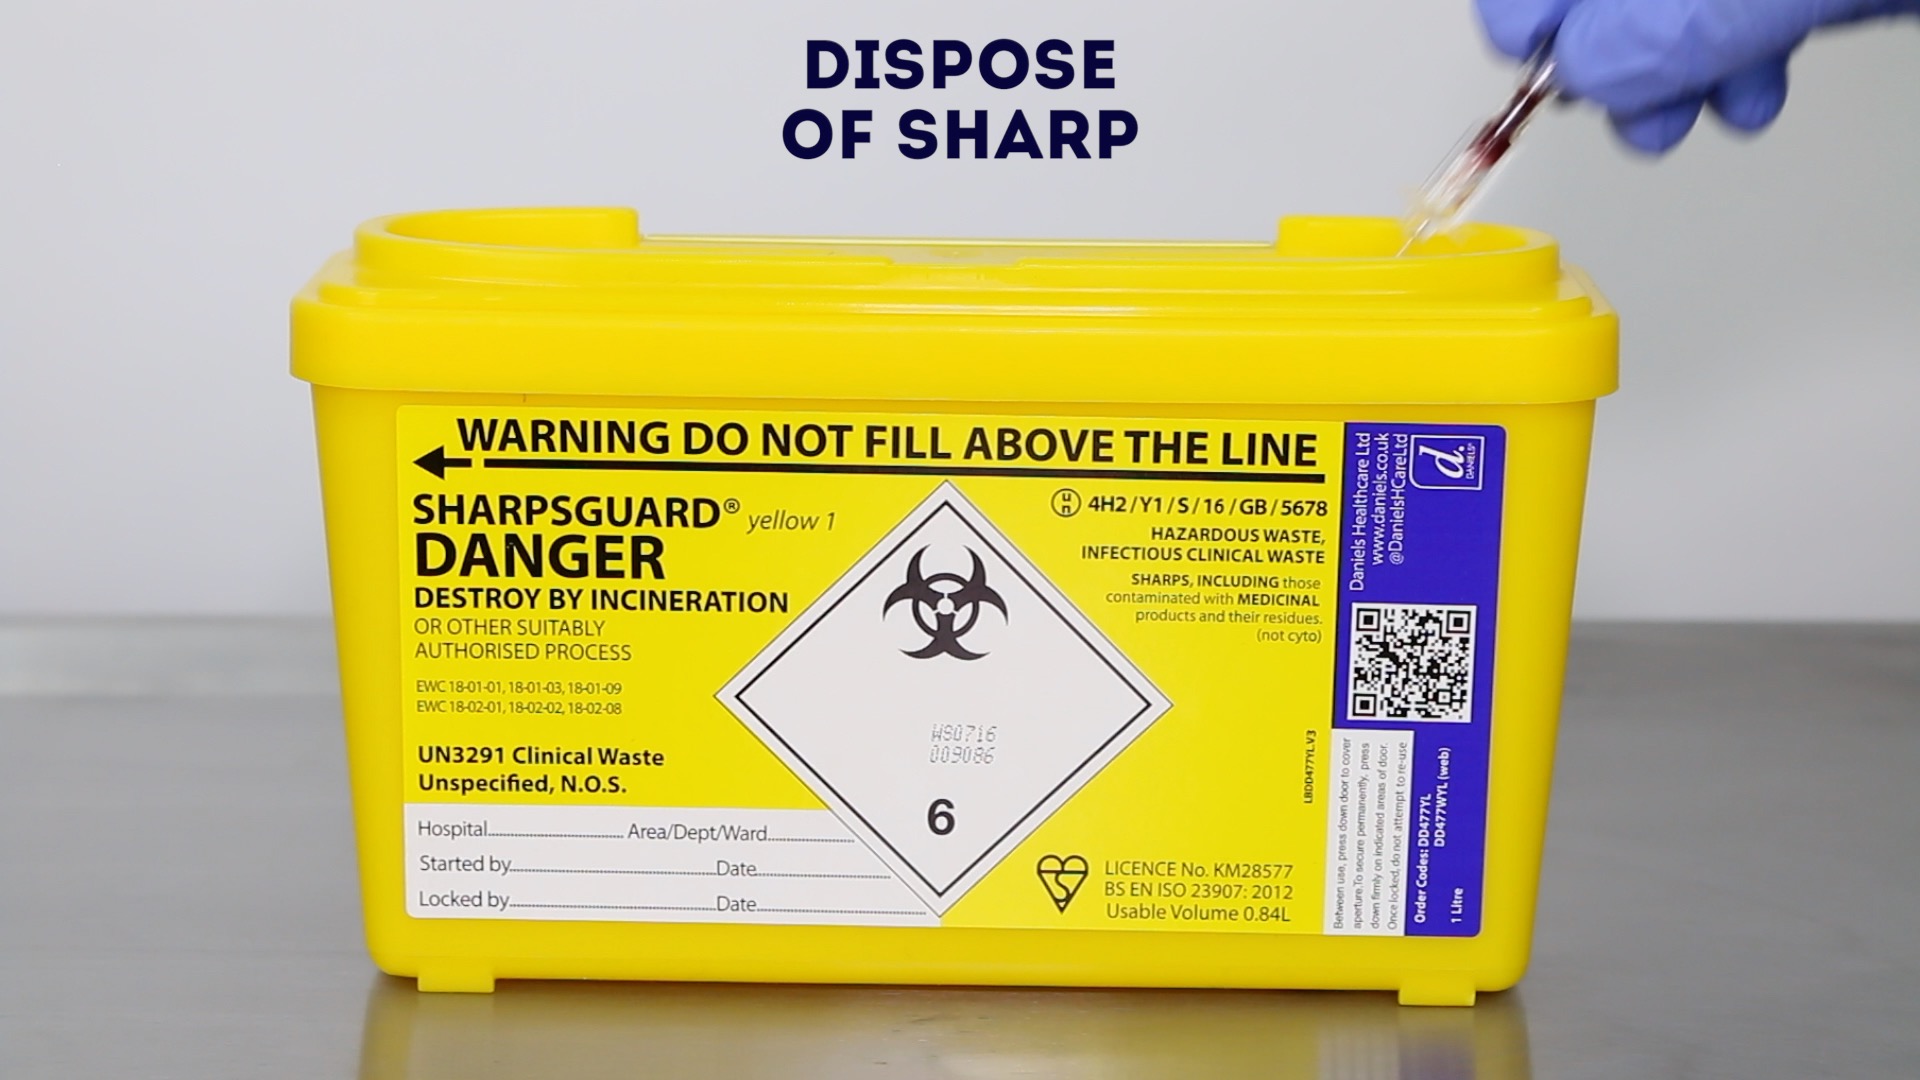
18. Dispose of the introducer needle immediately into a sharps container.
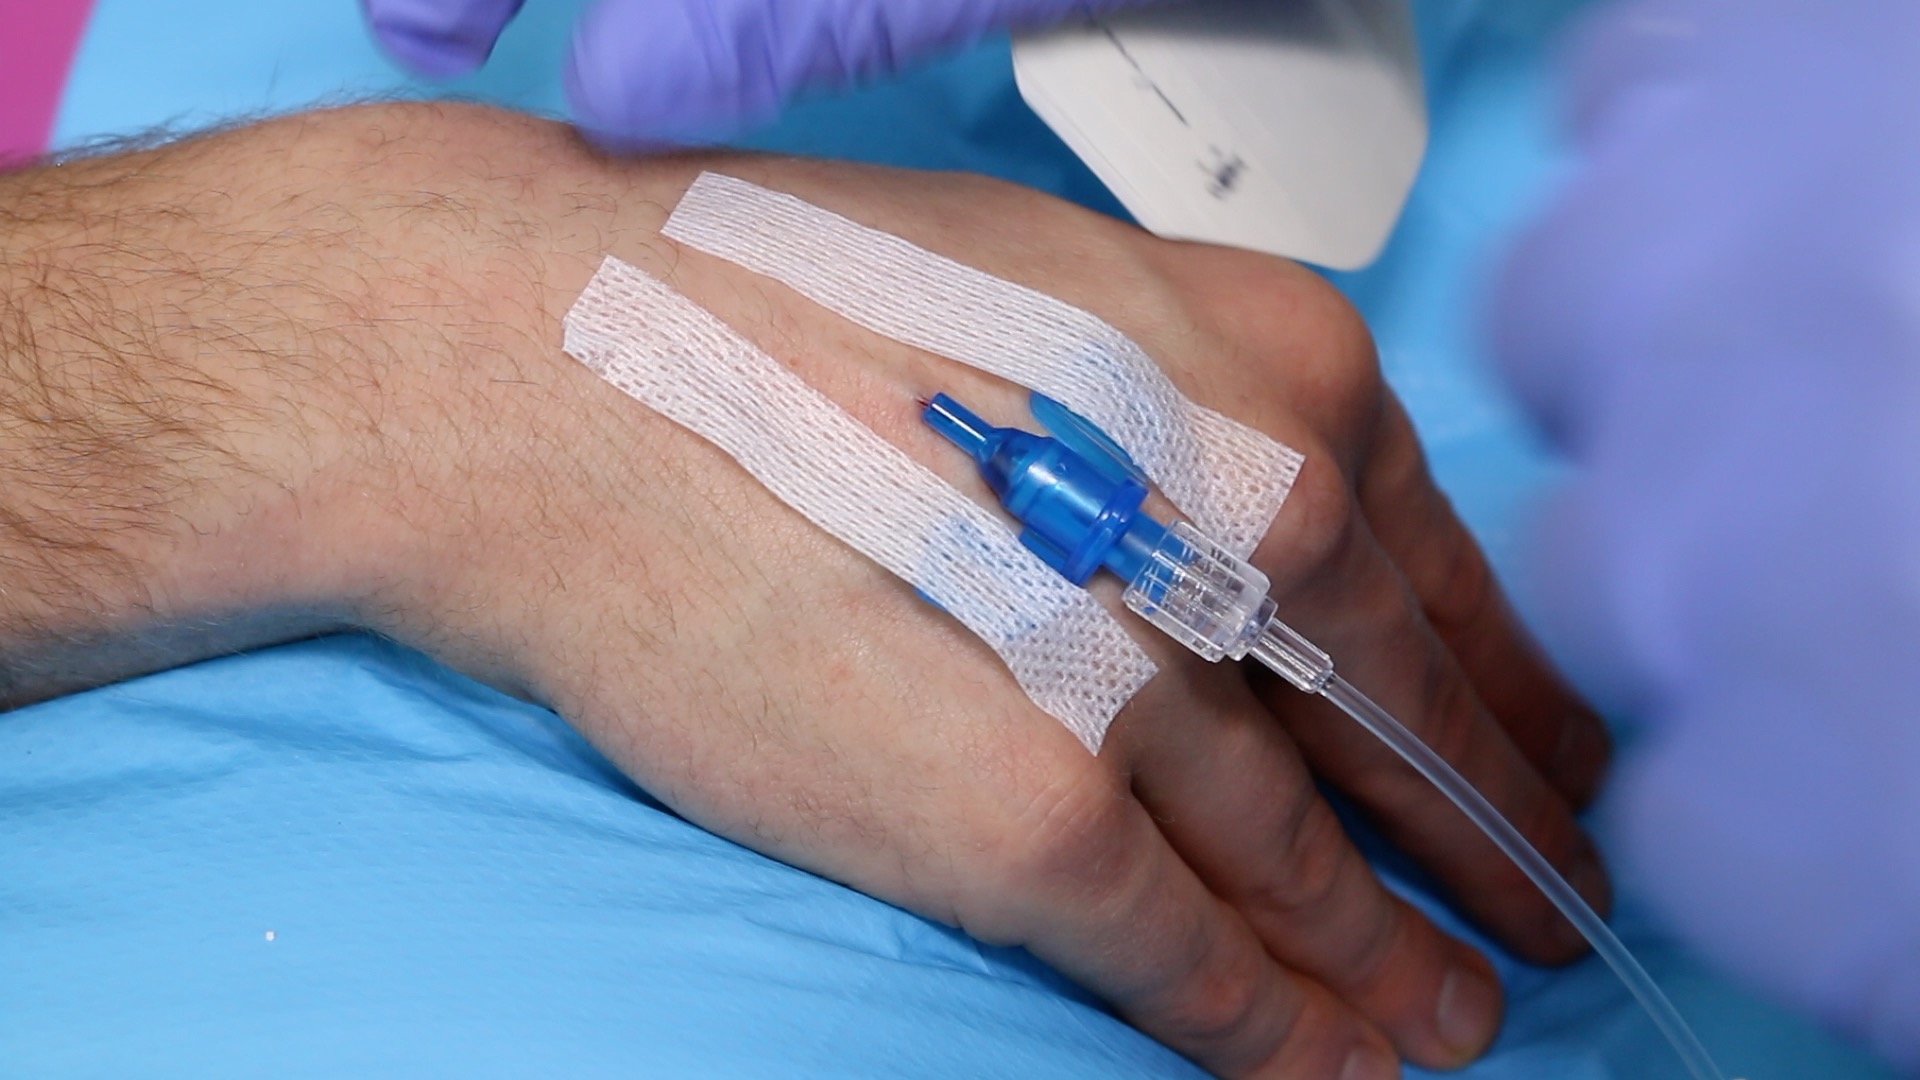
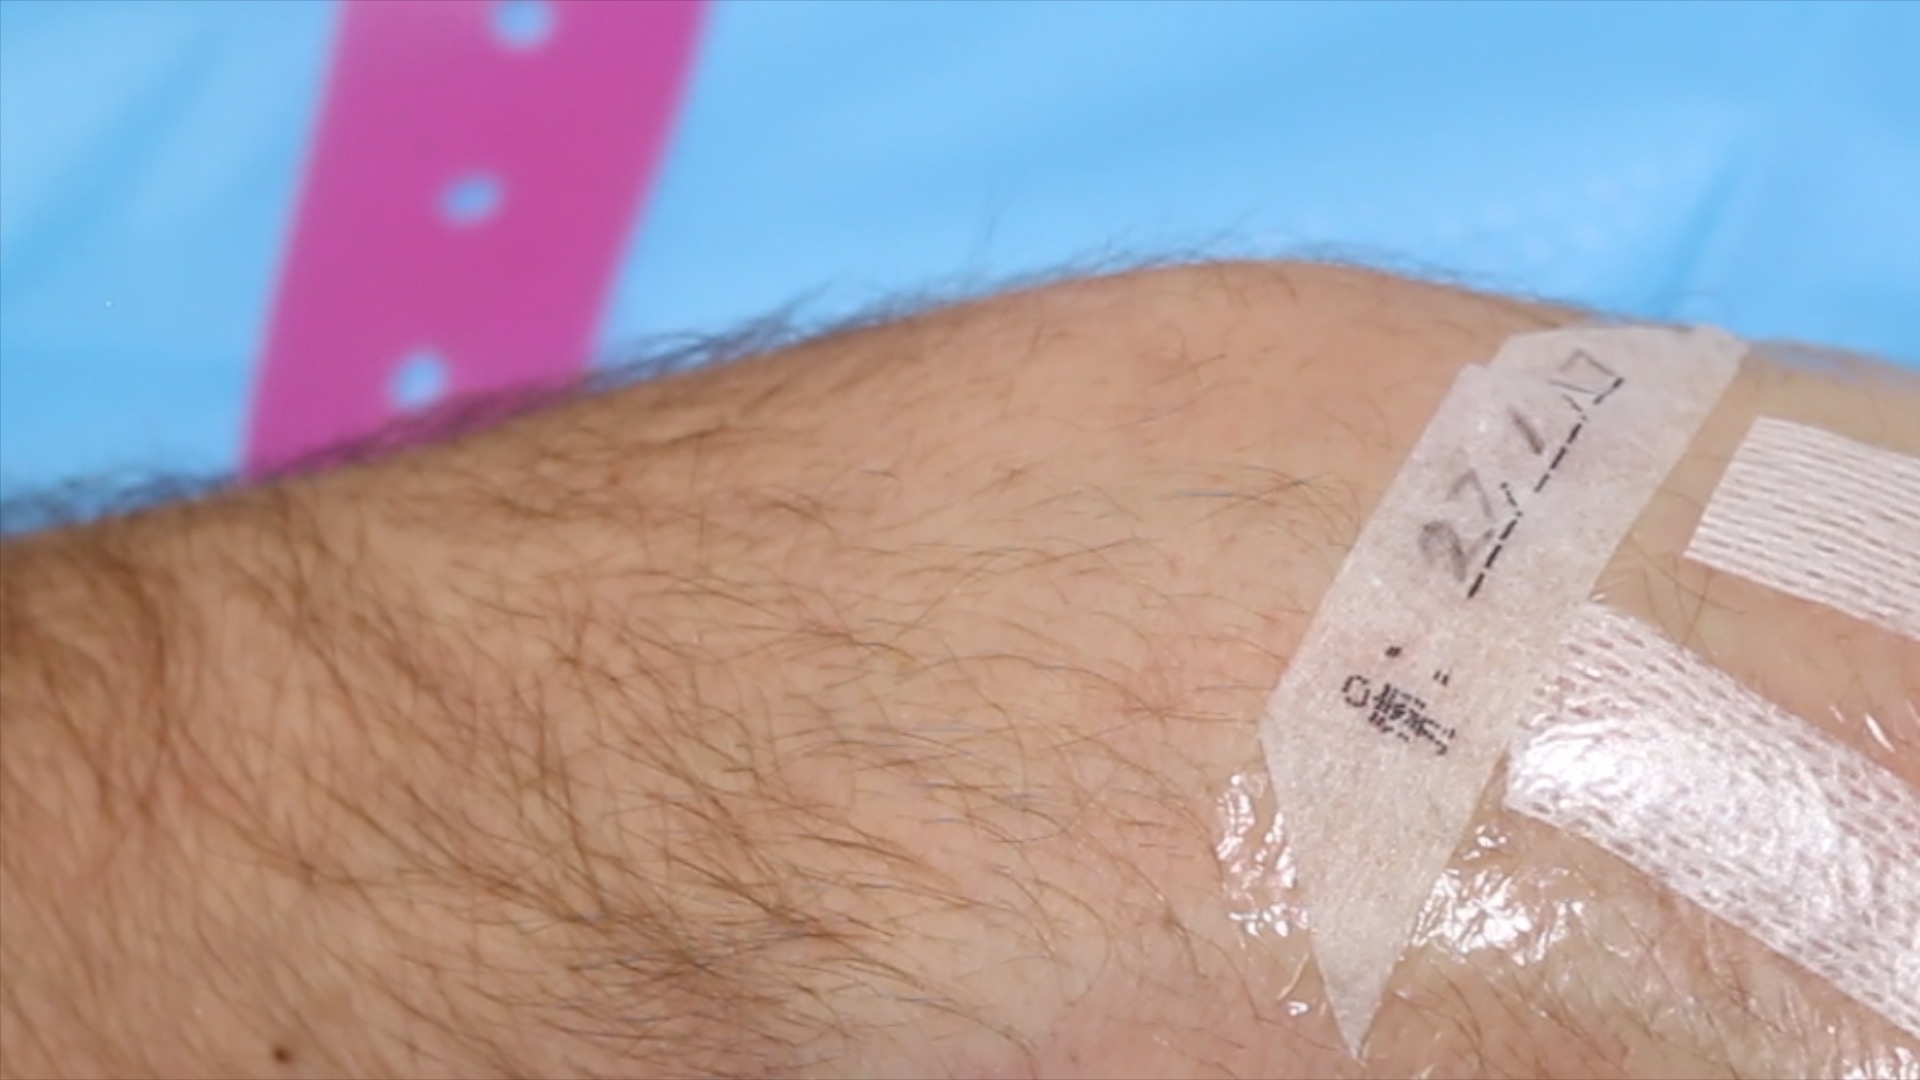
19. Apply adhesive strips to secure the cannula wings to the skin. Do not obscure the insertion site with the strips, as this needs to remain visible to allow early identification of phlebitis.
There is significant variability in the recommended method of cannulation, therefore, you should always consult your local medical school or hospital guidelines.
- Wash hands again


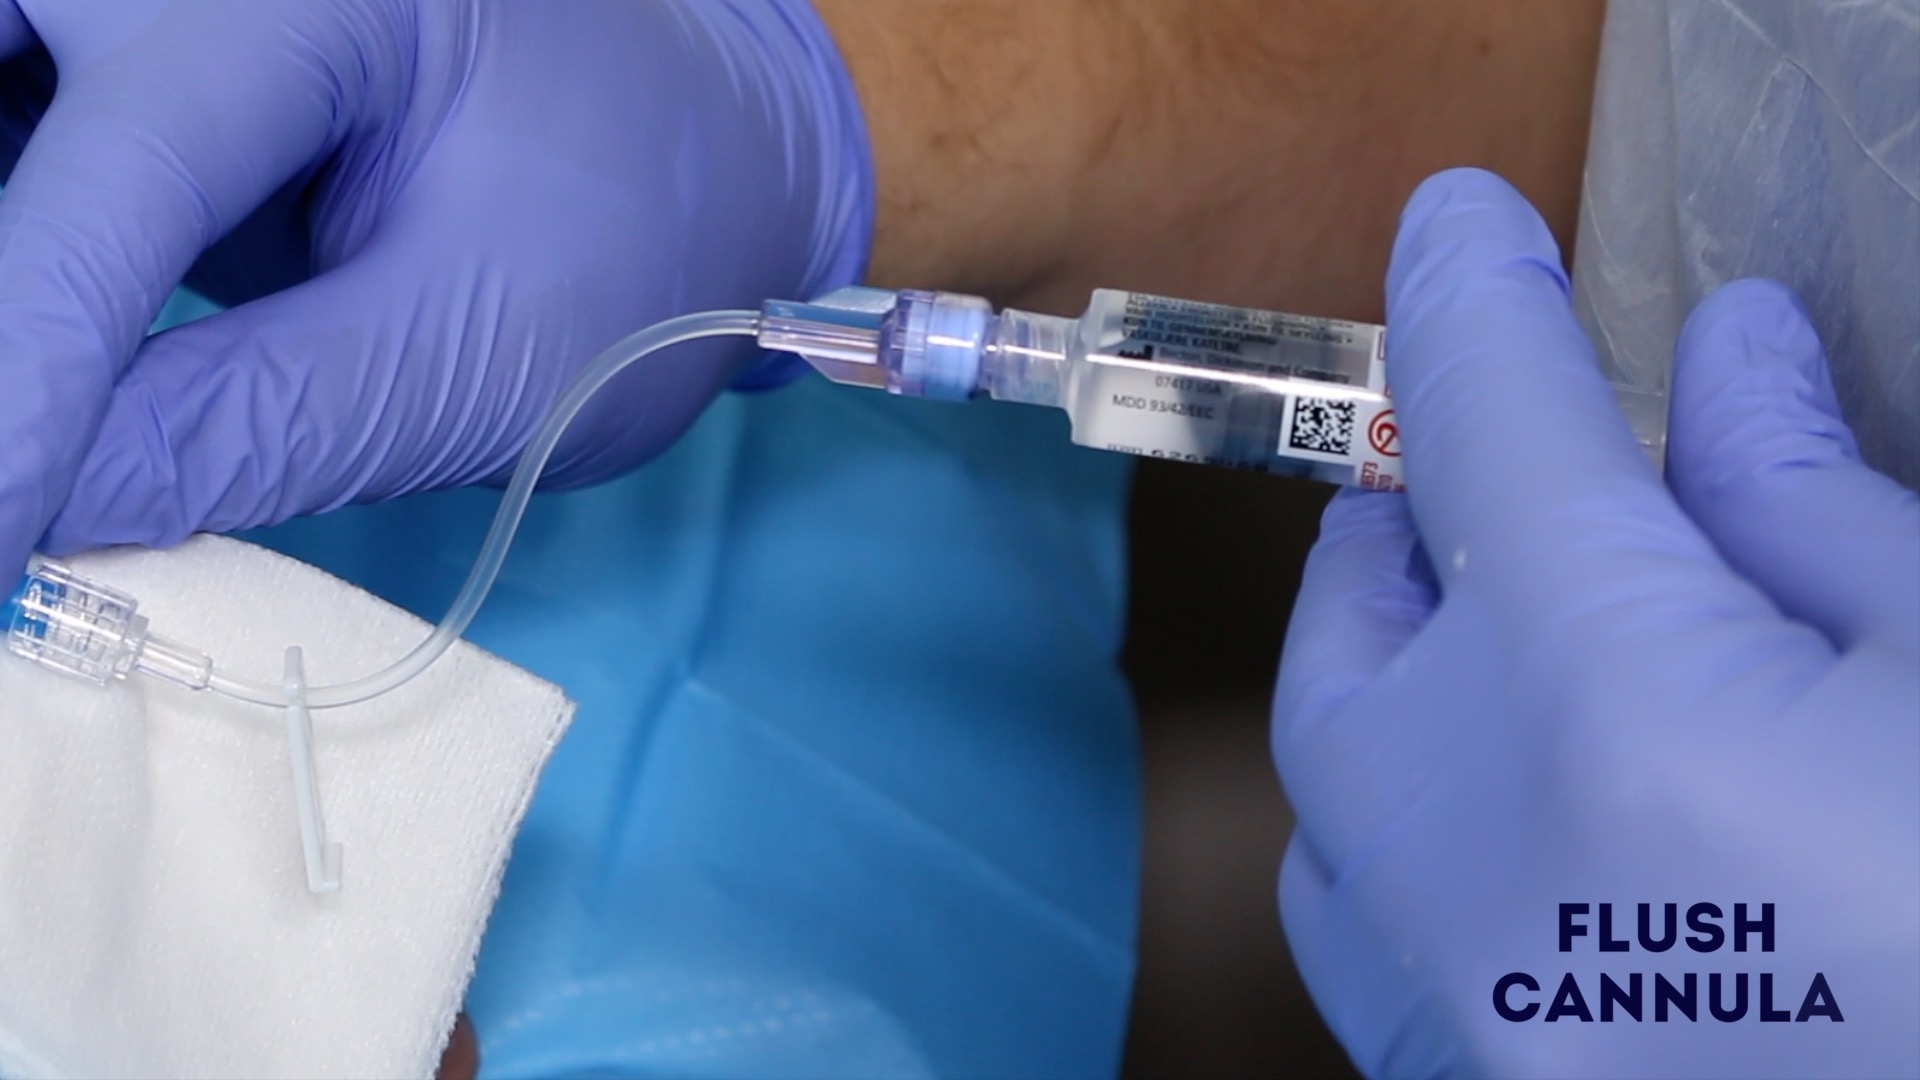
Flushing the cannula
1. Inject the normal saline into the cannula using the flush you prepared earlier:
- The flush should be easy to administer with minimal resistance.
- Observe for signs of swelling around the site or pain during administration and stop if this occurs.
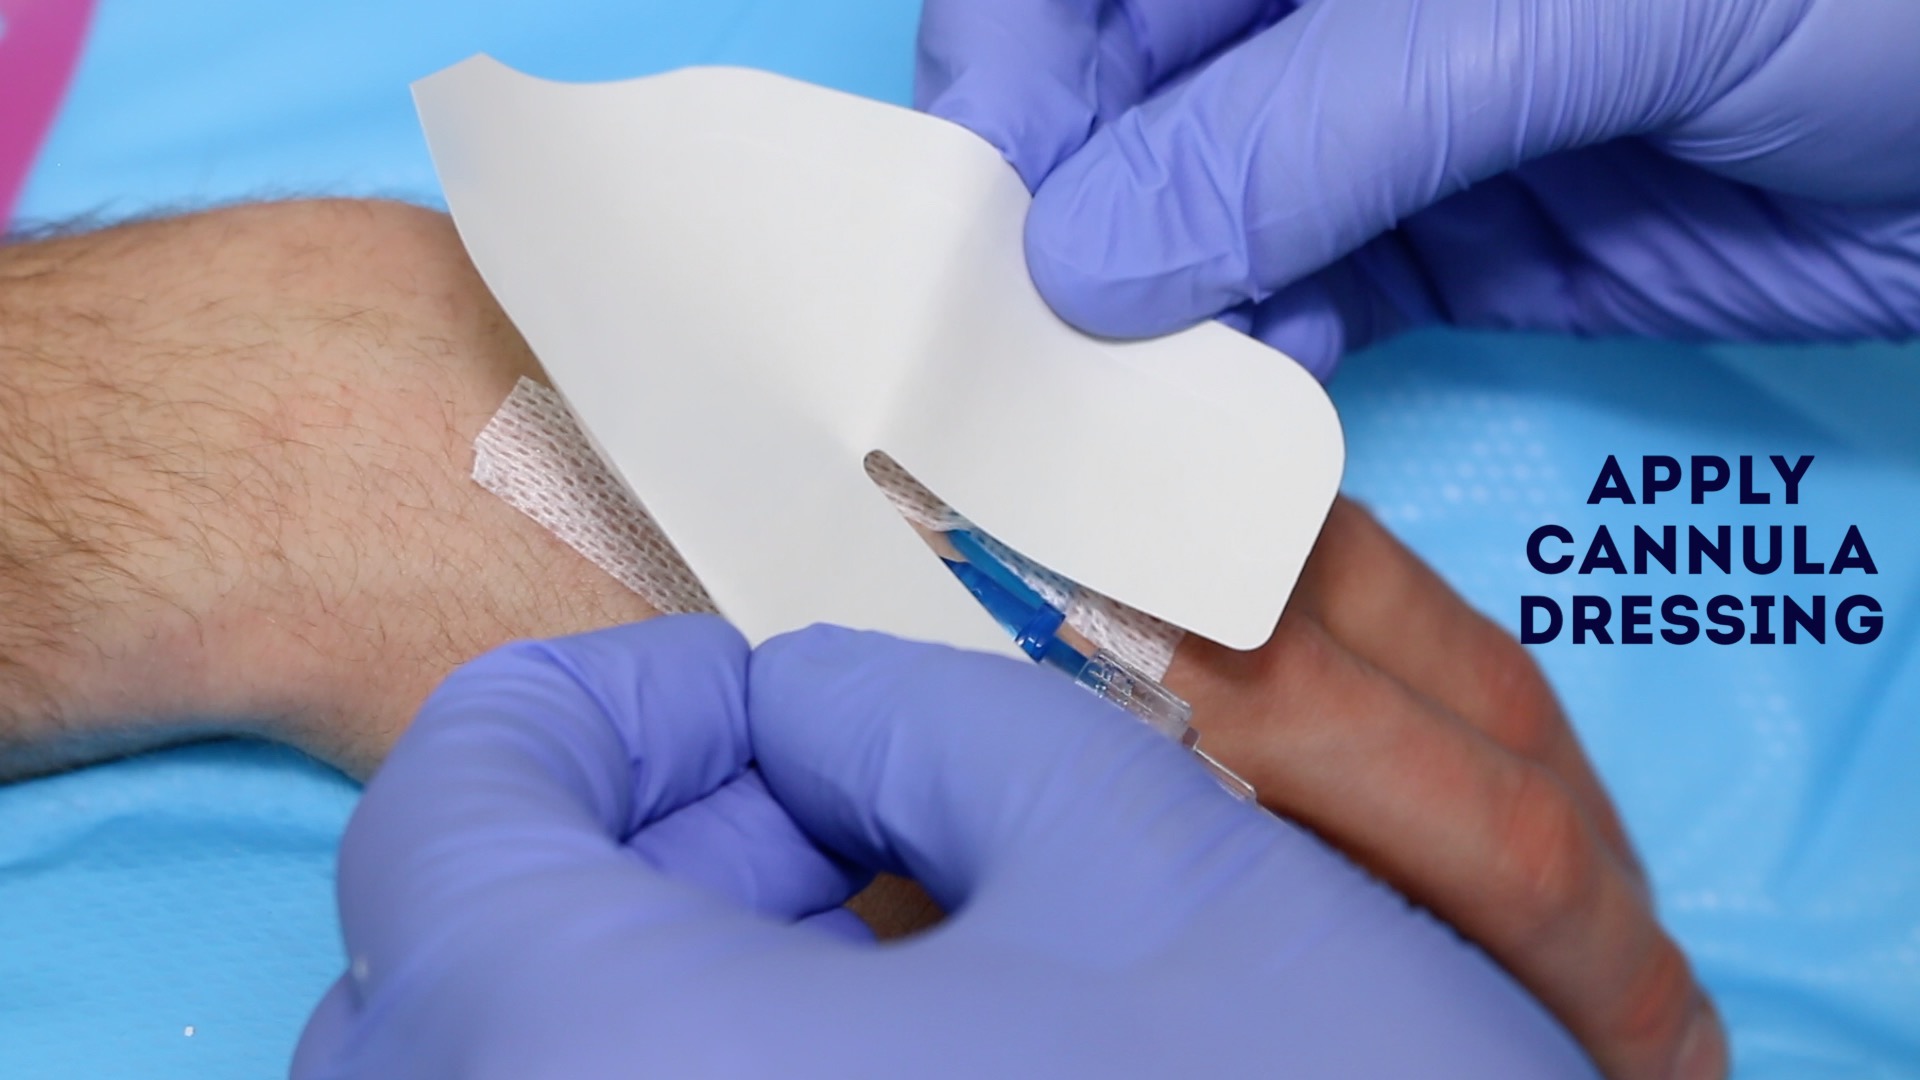
2. Close the cannula port (if ported).
3. Secure the cannula with a dressing if the cannula flush was successful.
- Flush the cannula
To complete the procedure…
Explain to the patient that the procedure is now complete and that they should seek review if the cannulation site becomes painful or inflamed.
Thank the patient for their time.
Dispose of your PPE and other clinical waste into an appropriate clinical waste bin.
Wash your hands.
Document the details of the procedure on a cannulation chart or in the patient’s notes including:
- The patient’s details: full name, date of birth and unique identification number.
- The date and time that cannulation was performed.
- The indication for cannulation.
- The type of cannula used (e.g. 20 gauge).
- The site of cannulation (e.g. dorsum of the left hand).
- The date on which the cannula should be removed or replaced.
- Your name, grade and contact details.
Reviewer
Graham Bone
Senior Clinical Lecturer in Medical Education
References
- WHO Guidelines on Hand Hygiene in Healthcare: a Summary. Published in 2009. Available from: [LINK].
- WHO guidelines on drawing blood: best practices in phlebotomy. Published in 2010. Available from: [LINK].
- Health service executive. National Clinical Policy and Procedural Guideline for Nurses and Midwives undertaking Peripheral Cannulation in Adults. Published in 2010. Available from: [LINK].
