

- 📖 Geeky Medics OSCE Book
- ⚡ Geeky Medics Bundles
- ✨ 1300+ OSCE Stations
- ✅ OSCE Checklist PDF Booklet
- 🧠 UKMLA AKT Question Bank
- 💊 PSA Question Bank
- 💉 Clinical Skills App
- 🗂️ Flashcard Collections | OSCE, Medicine, Surgery, Anatomy
- 💬 SCA Cases for MRCGP
To be the first to know about our latest videos subscribe to our YouTube channel 🙌
This guide demonstrates how to perform a deep dermal suture, including step-by-step images of the key stages involved. This workhorse suture is frequently used by plastic surgeons, utilising the strength of the dermis to provide the foundations of a robust wound closure.
You might also be interested in the following guides:
Equipment
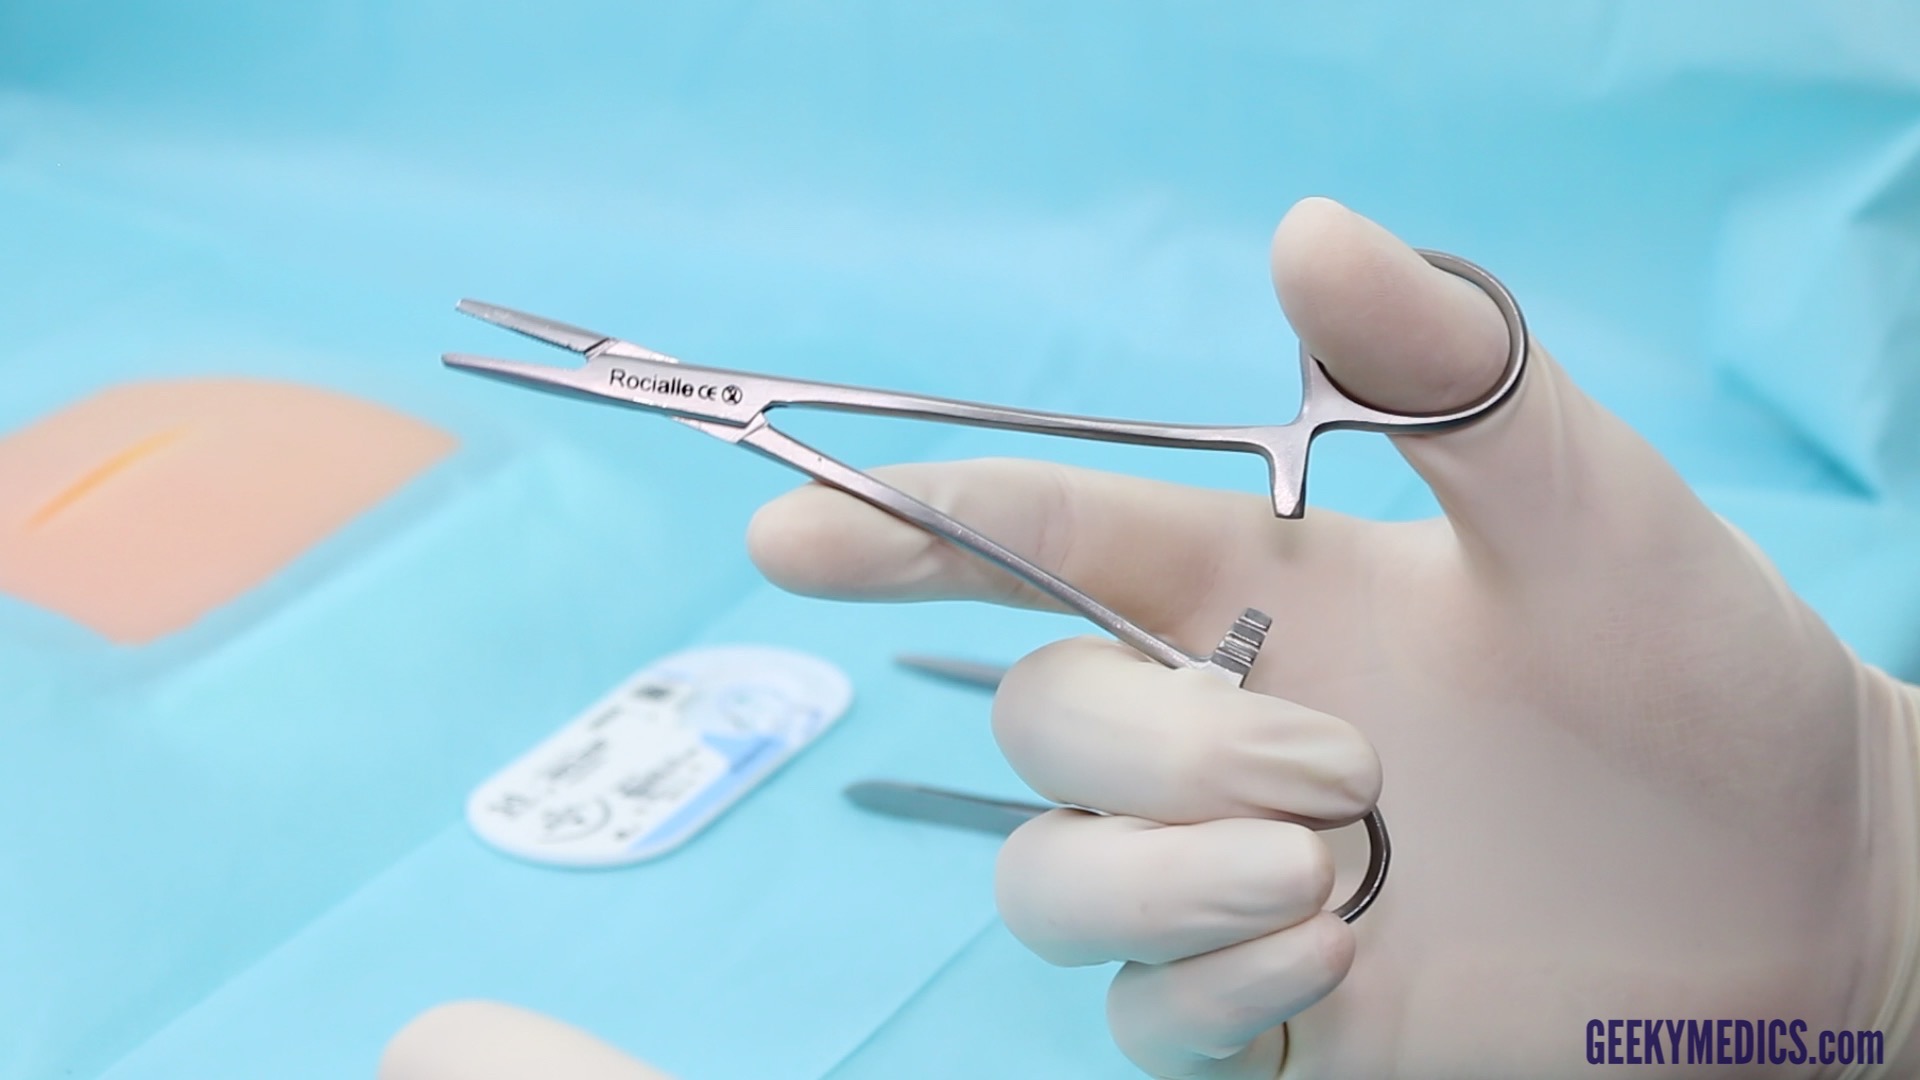
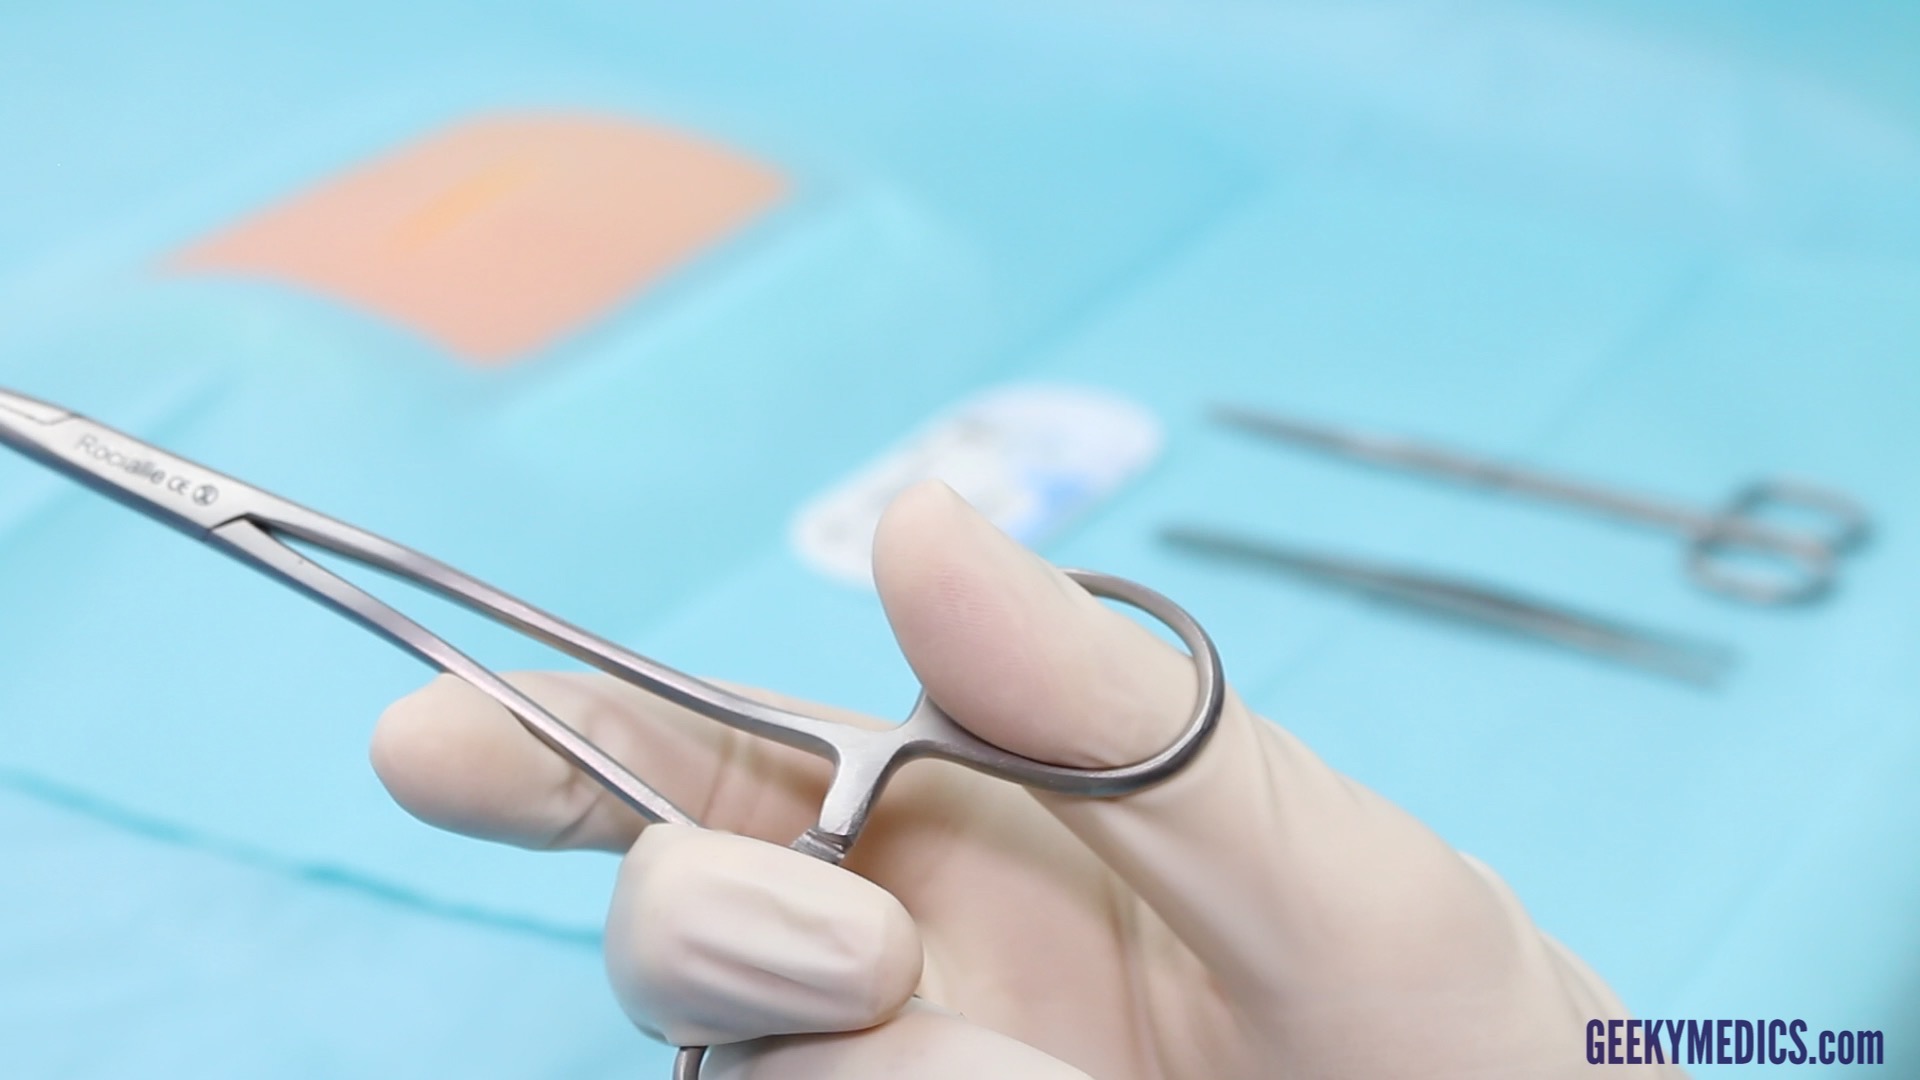
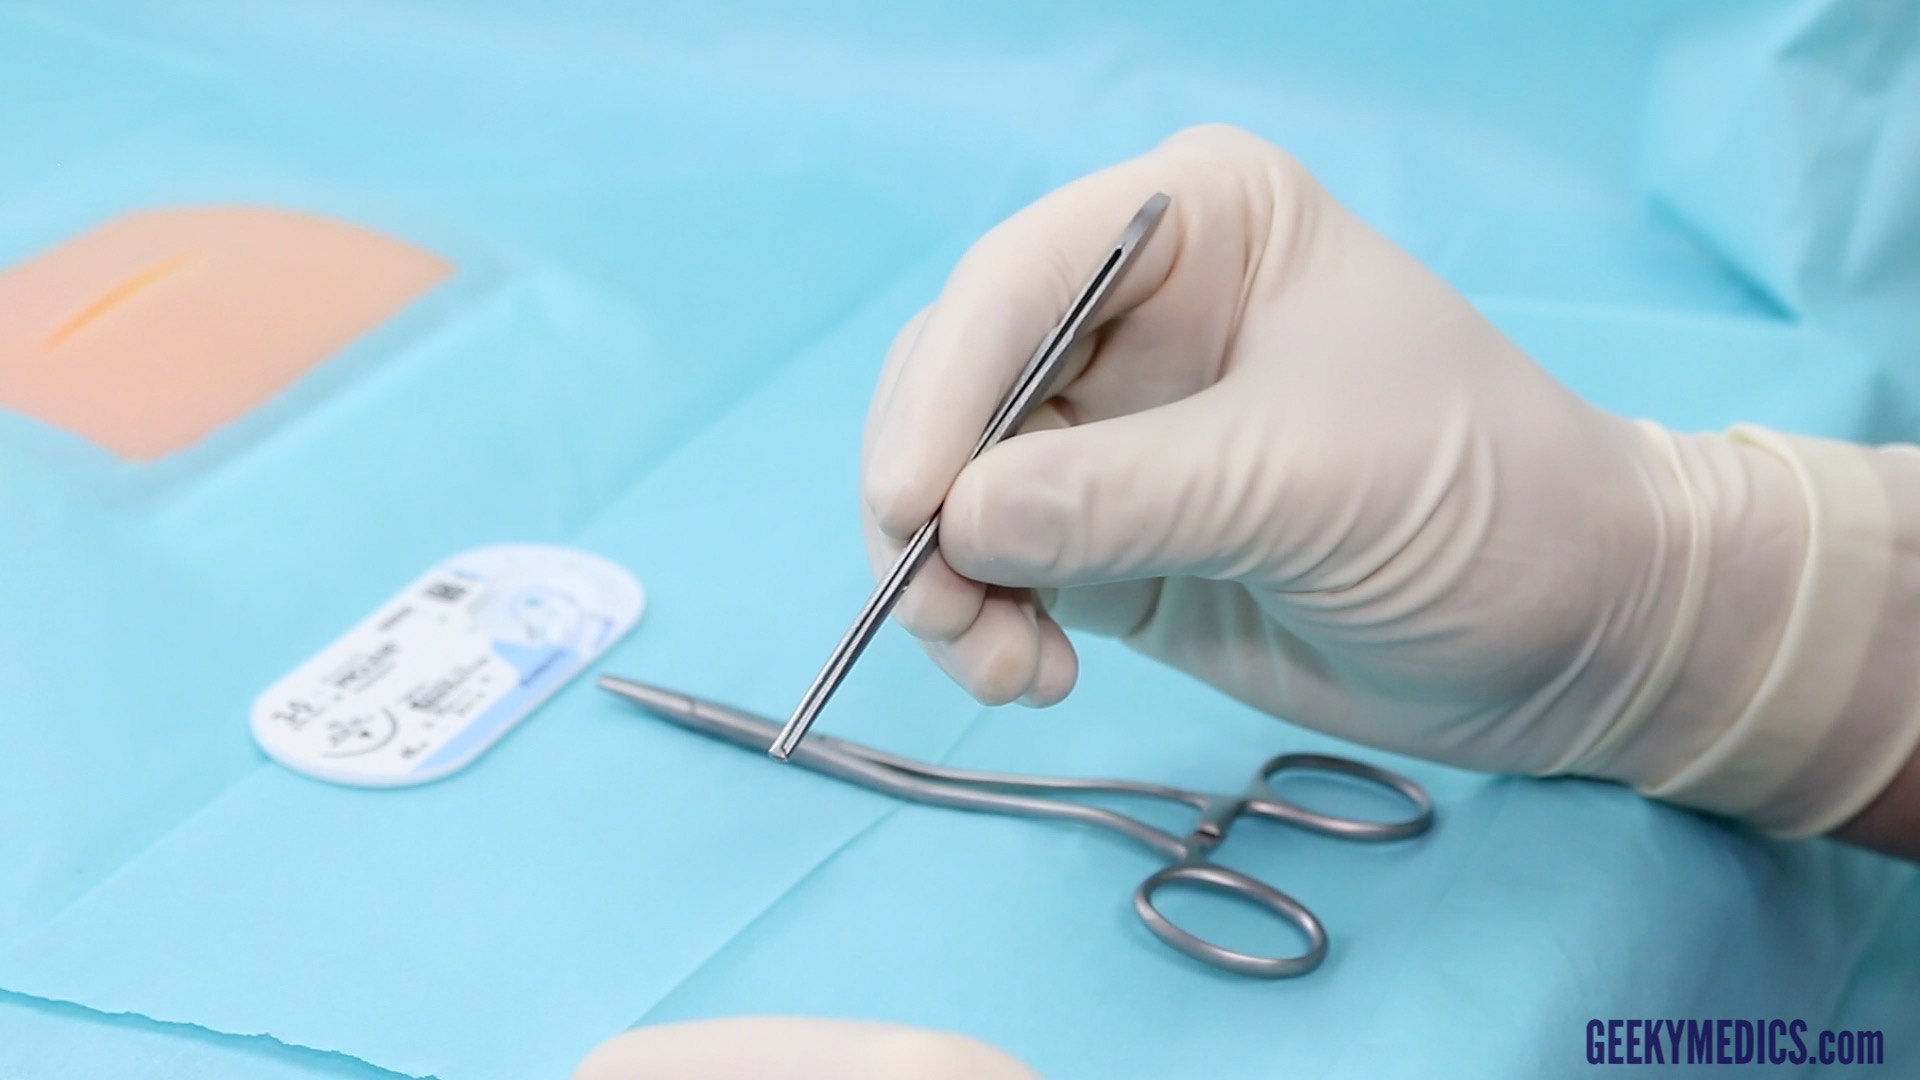
Needle holder (a.k.a. Driver)
Needle holders should be held with your dominant hand.
Put your thumb through one handle and place your ring finger through the other handle. Some people prefer avoiding this as they feel you have greater dexterity and range of movement (this is referred to as “palming”).
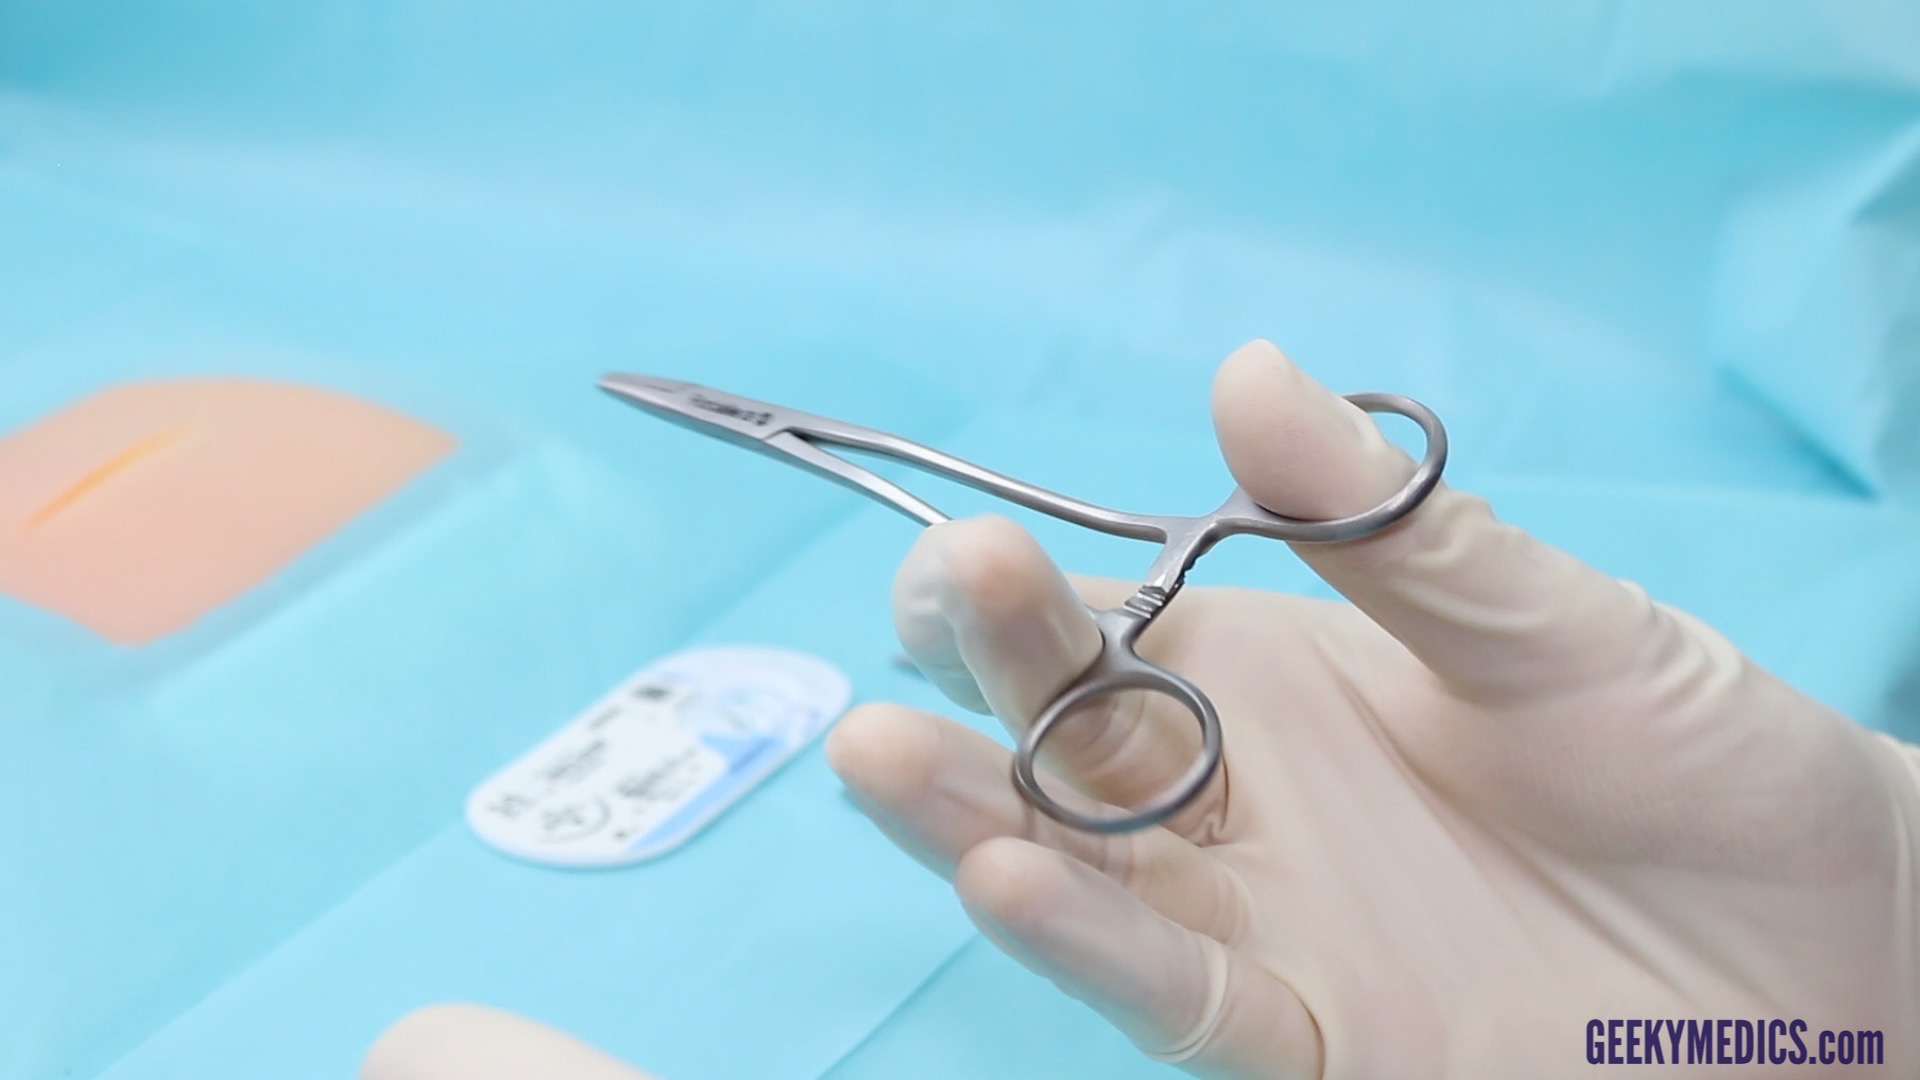
 Needle holder closed

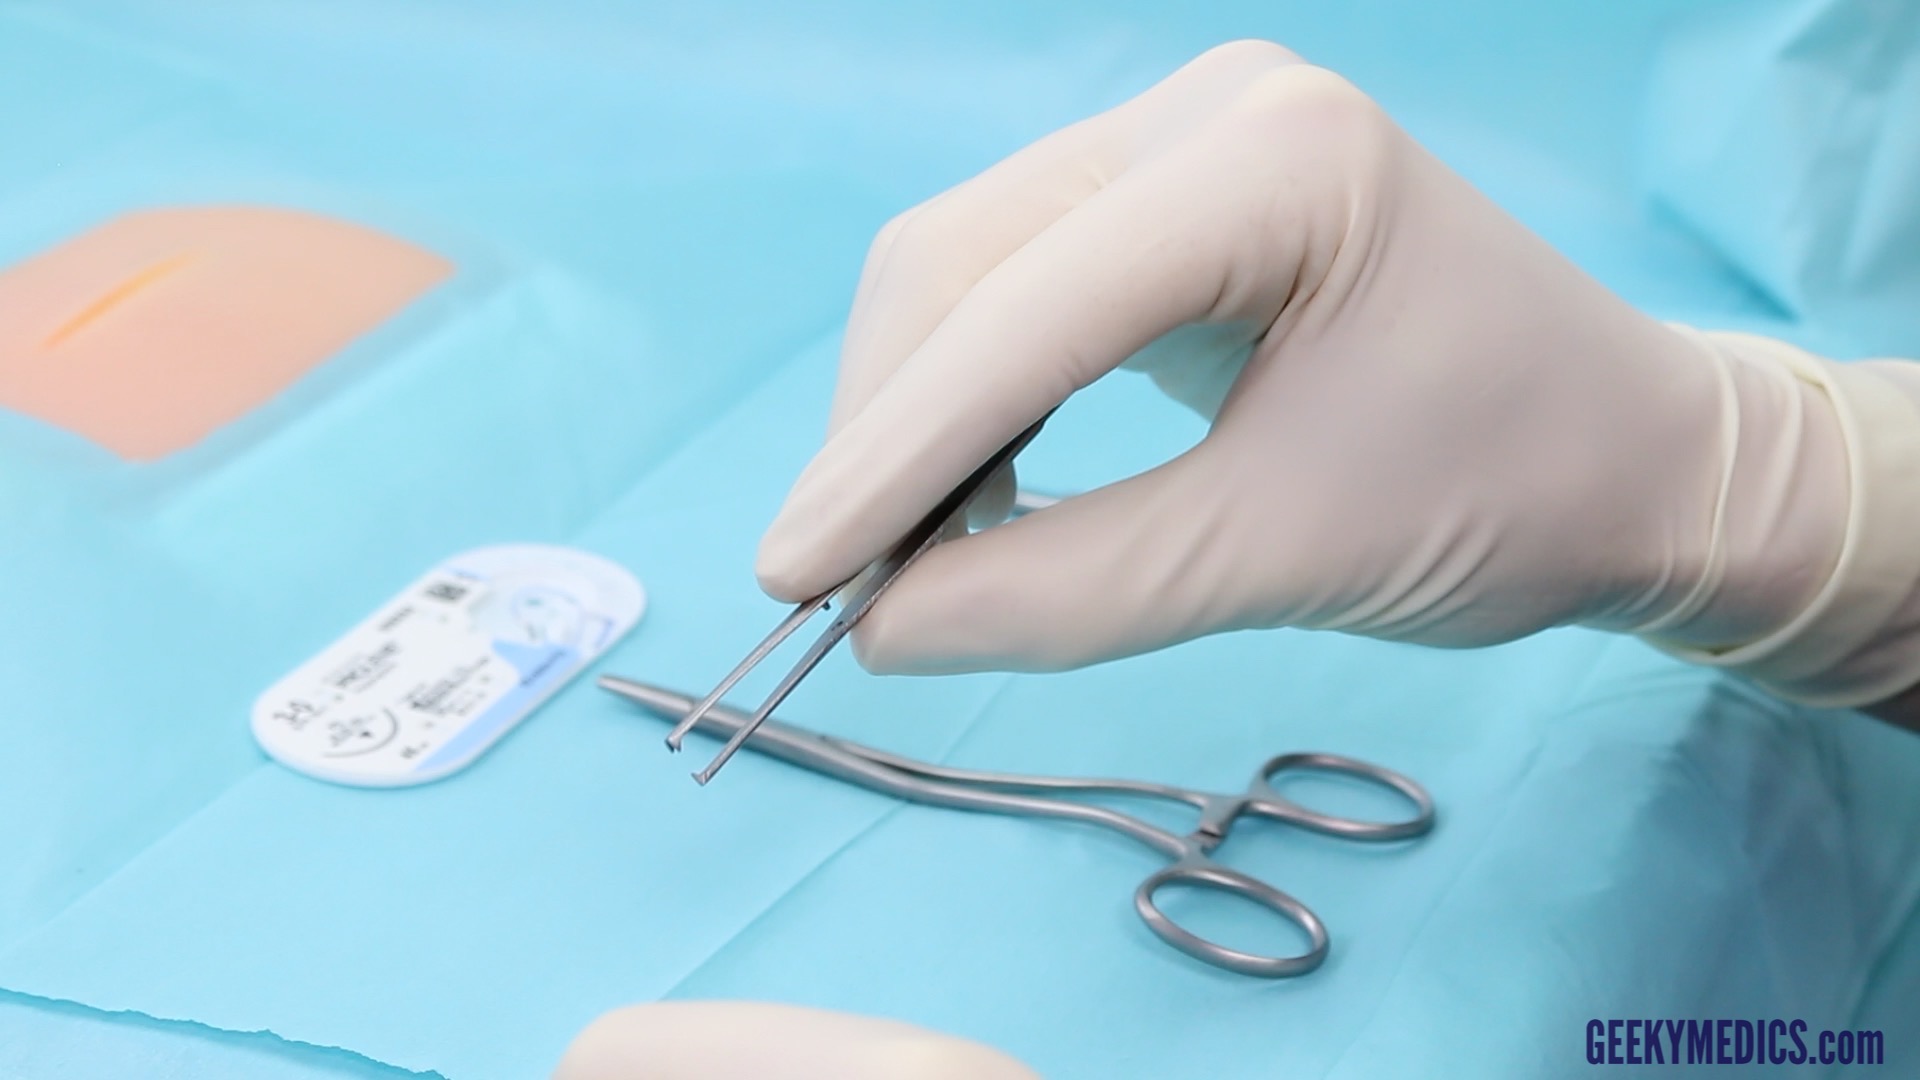
Toothed forceps (a.k.a. Pickups)
Hold the forceps with your non-dominant hand in the same way you would hold a pen.
Be gentle when using toothed forceps to manipulate skin, do not grip it too tightly or you may damage the wound’s edges.
- Hold the forceps with your non-dominant hand in the same way you would hold a pen
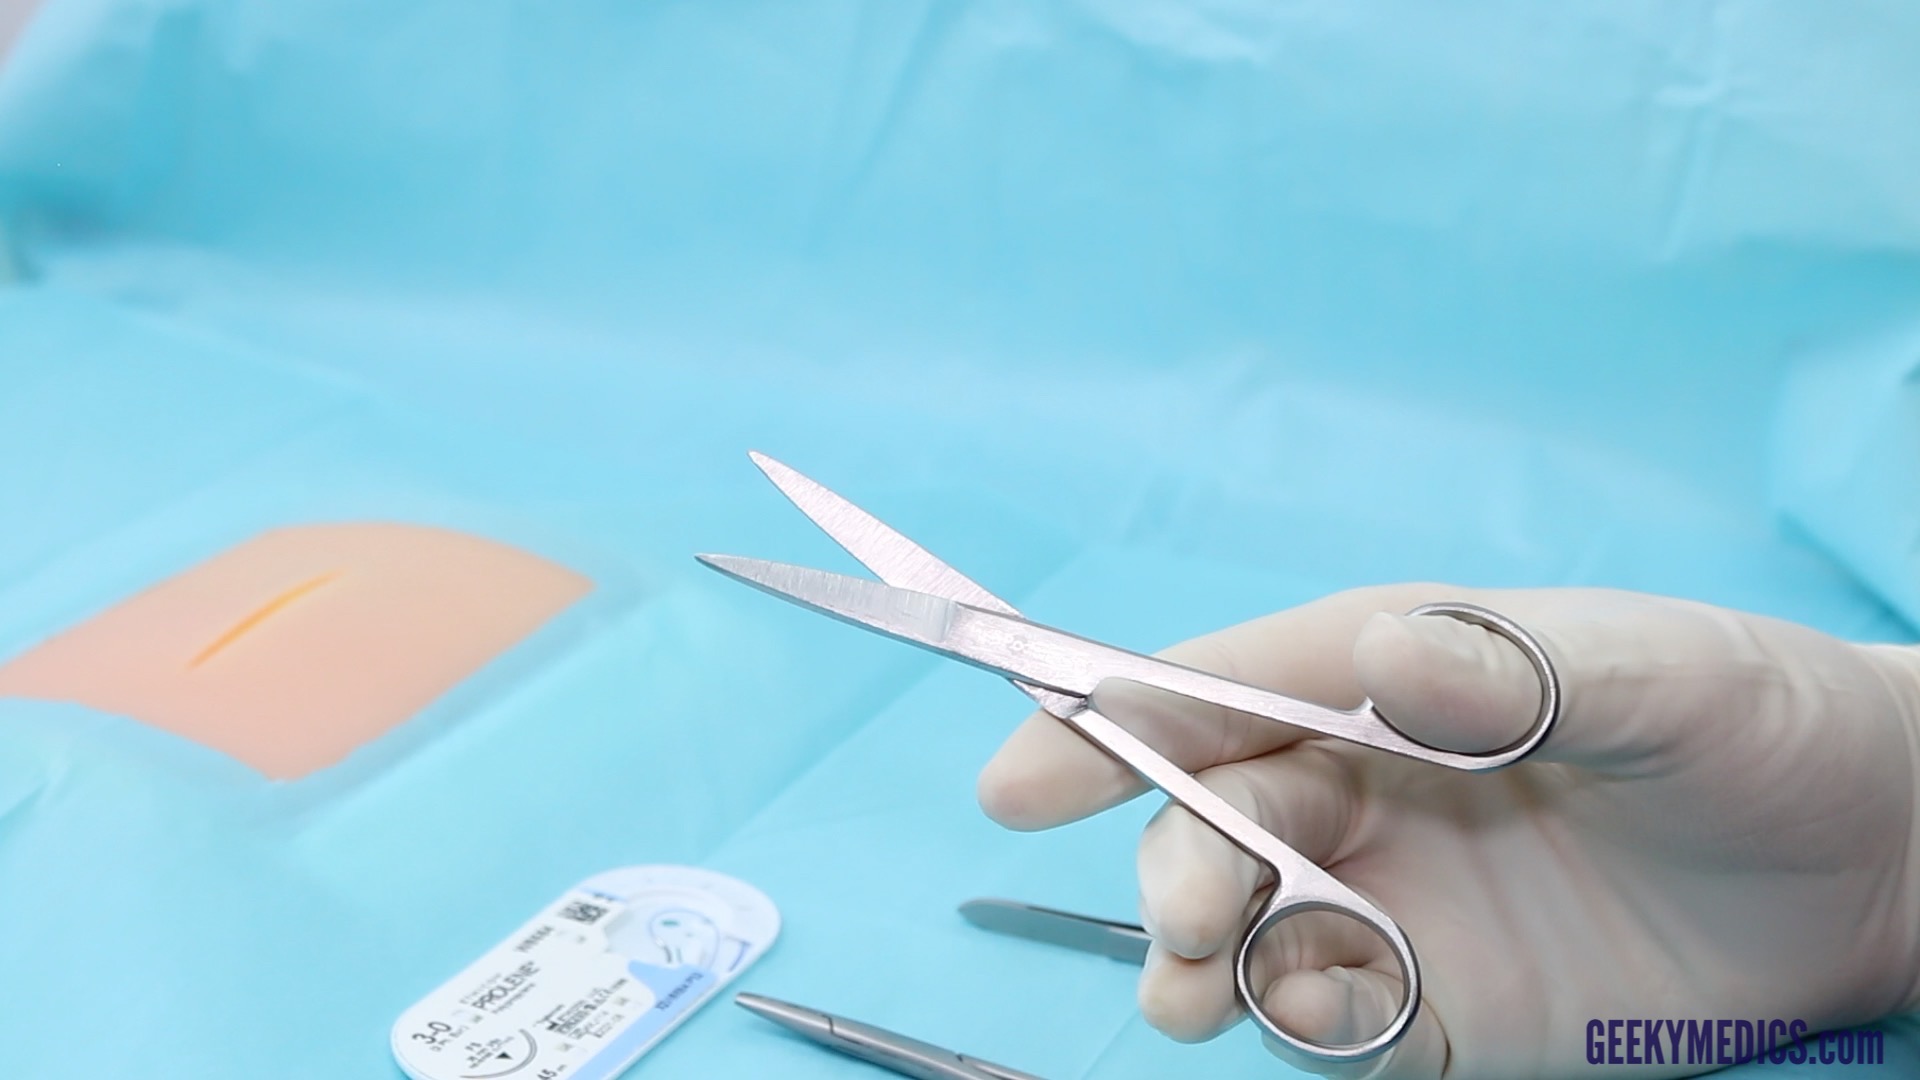
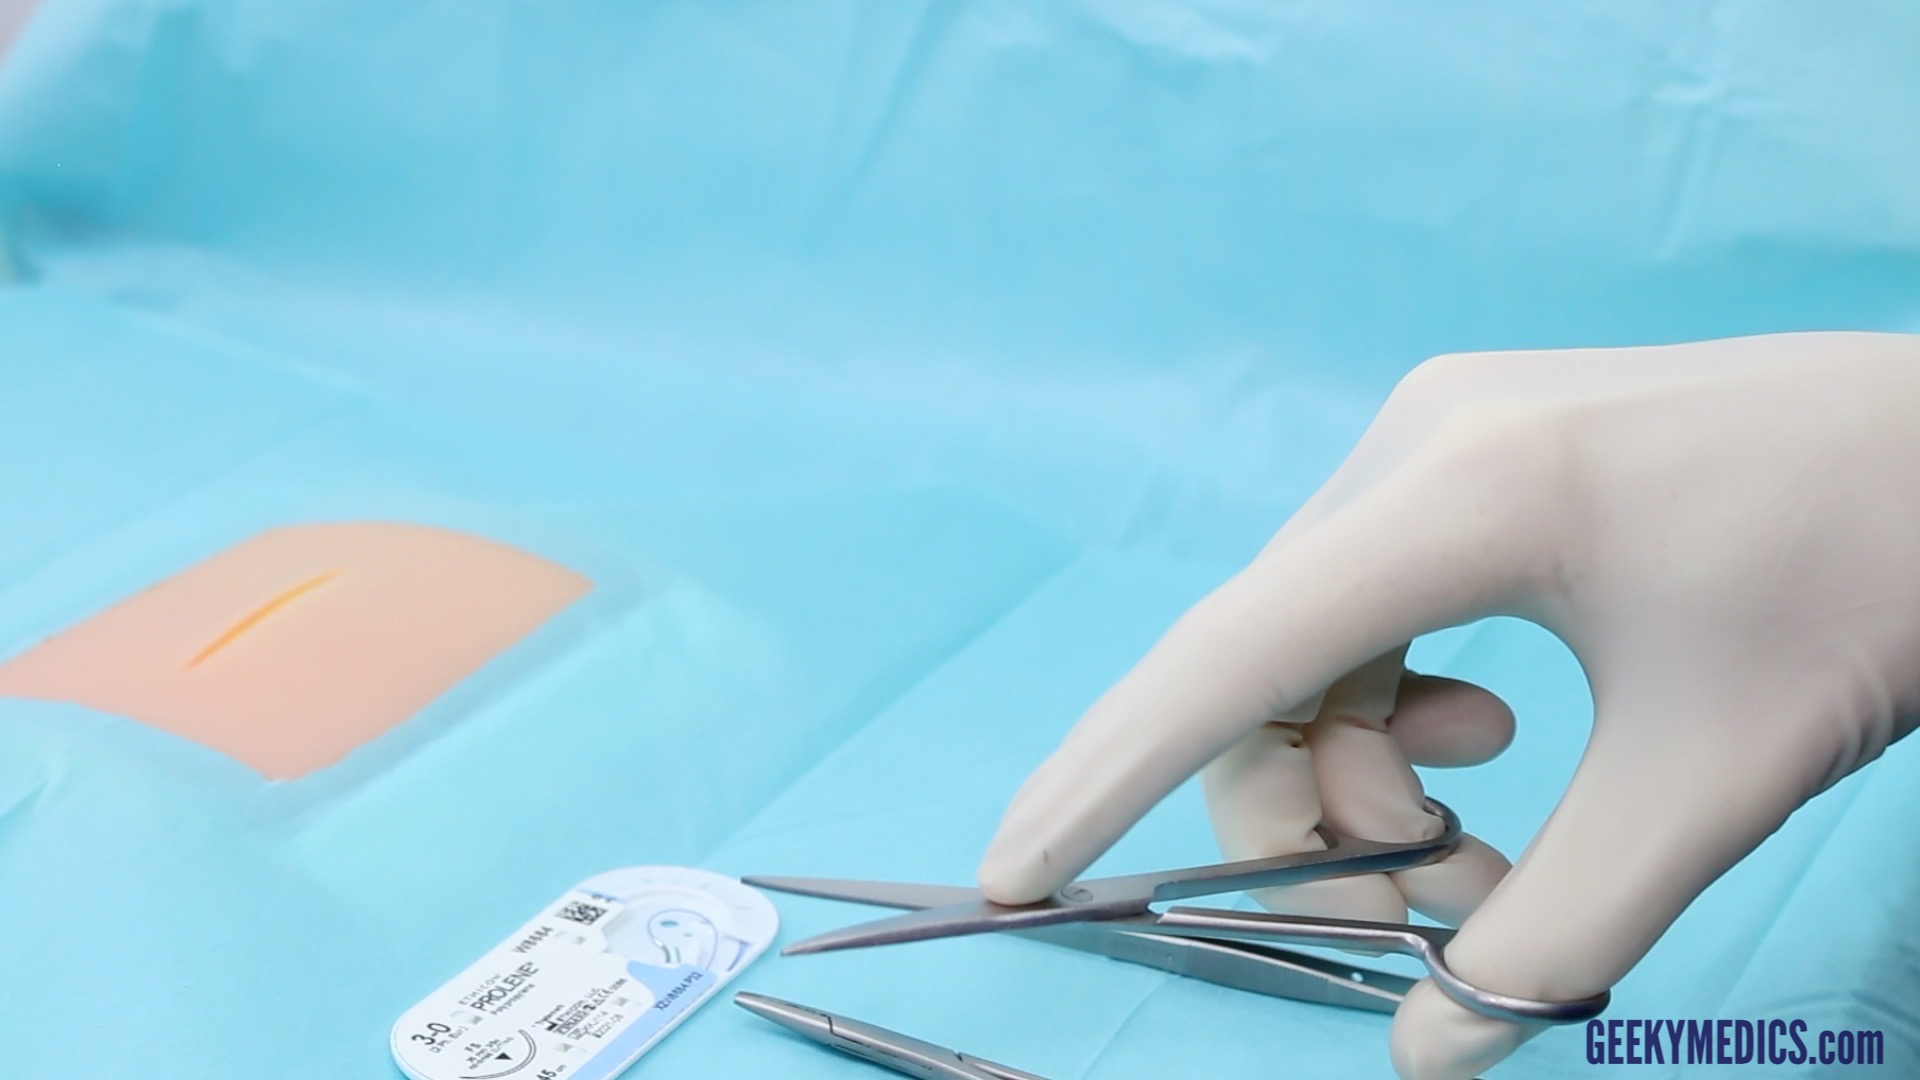
Scissors
Scissors are used for cutting sutures.
Position your index finger at the base of the blades to make your movements more precise.
Rest the blades on your index finger of your non-dominant hand to increase accuracy when cutting.
- Use the scissors to cut sutures
Suture
An absorbable suture is always used for deep dermal sutures, to allow hiding of the knot beneath the dermis in the subcutaneous tissue.
The choice of suture material is dependent on the anatomical site and surgeon preference. Monocryl (3-0 or 4-0) and undyed Vicryl (3-0 or 4-0) are most commonly used.
On the back where the dermis is very thick, some surgeons use PDS as it takes longer to absorb, however many advocate that this risks suture extrusion.
On the face, a smaller deep dermal suture should be used such as 5-0 or 6-0 Monocryl. Vicryl Rapide can also be used in areas that heal quickly, such as the face.
Basic principles of wound management
All wounds should have local anaesthetic infiltration before the intervention. Take care in cosmetically sensitive areas such as the lip as this may distort the normal anatomy.
Following this, they should be thoroughly washed and the wound bed should be examined for internal damage. Patients should be up to date with their tetanus immunisation and contaminated wounds warrant a course of an antibiotic such as co-amoxiclav or a suitable alternative if allergic.
X-rays should be performed if there is suspicion of a fracture or foreign body.
Wound edges should be debrided if the wound is contaminated. If there is no damage deep to the skin, then primary closure can be performed.
Use intuition, some patients have much thicker skin than others and will require a larger suture to facilitate wound closure.
| BODY AREA | SIZE | MATERIAL | REMOVAL TIME |
| Face/Lip | 6-0 | Monofilament, non-absorbable | 3-5 days |
| Scalp | 3-0, 4-0 | Monofilament, non-absorbable | 7-10 days |
| Chest/Abdomen/Back | 3-0, 4-0 | Monofilament – may be absorbable or non-absorbable | 10-14 days |
| Limbs | 3-0 to 5-0 | Monofilament – may be absorbable or non-absorbable | 10-14 days |
| Hands | 4-0 or 5-0 | Monofilament – usually non-absorbable | 10-14 days |
| Nailbed | 6-0 | Braided, rapidly absorbable | Absorbable |
Setup for deep dermal sutures
This is a sterile procedure, and therefore the wound and surrounding skin must be prepared with antiseptic solution before placing a drape around the sterile field. You must wash your hands and wear sterile gloves, taking care not to ‘de-sterilise’ during the procedure. Although you may not need a surgical gown, you must don gloves taking care not to touch the external surface.
Wash the wound and debride the skin edges if ragged or dirty and if you are certain there is no deep tissue damage you may proceed to close the skin.
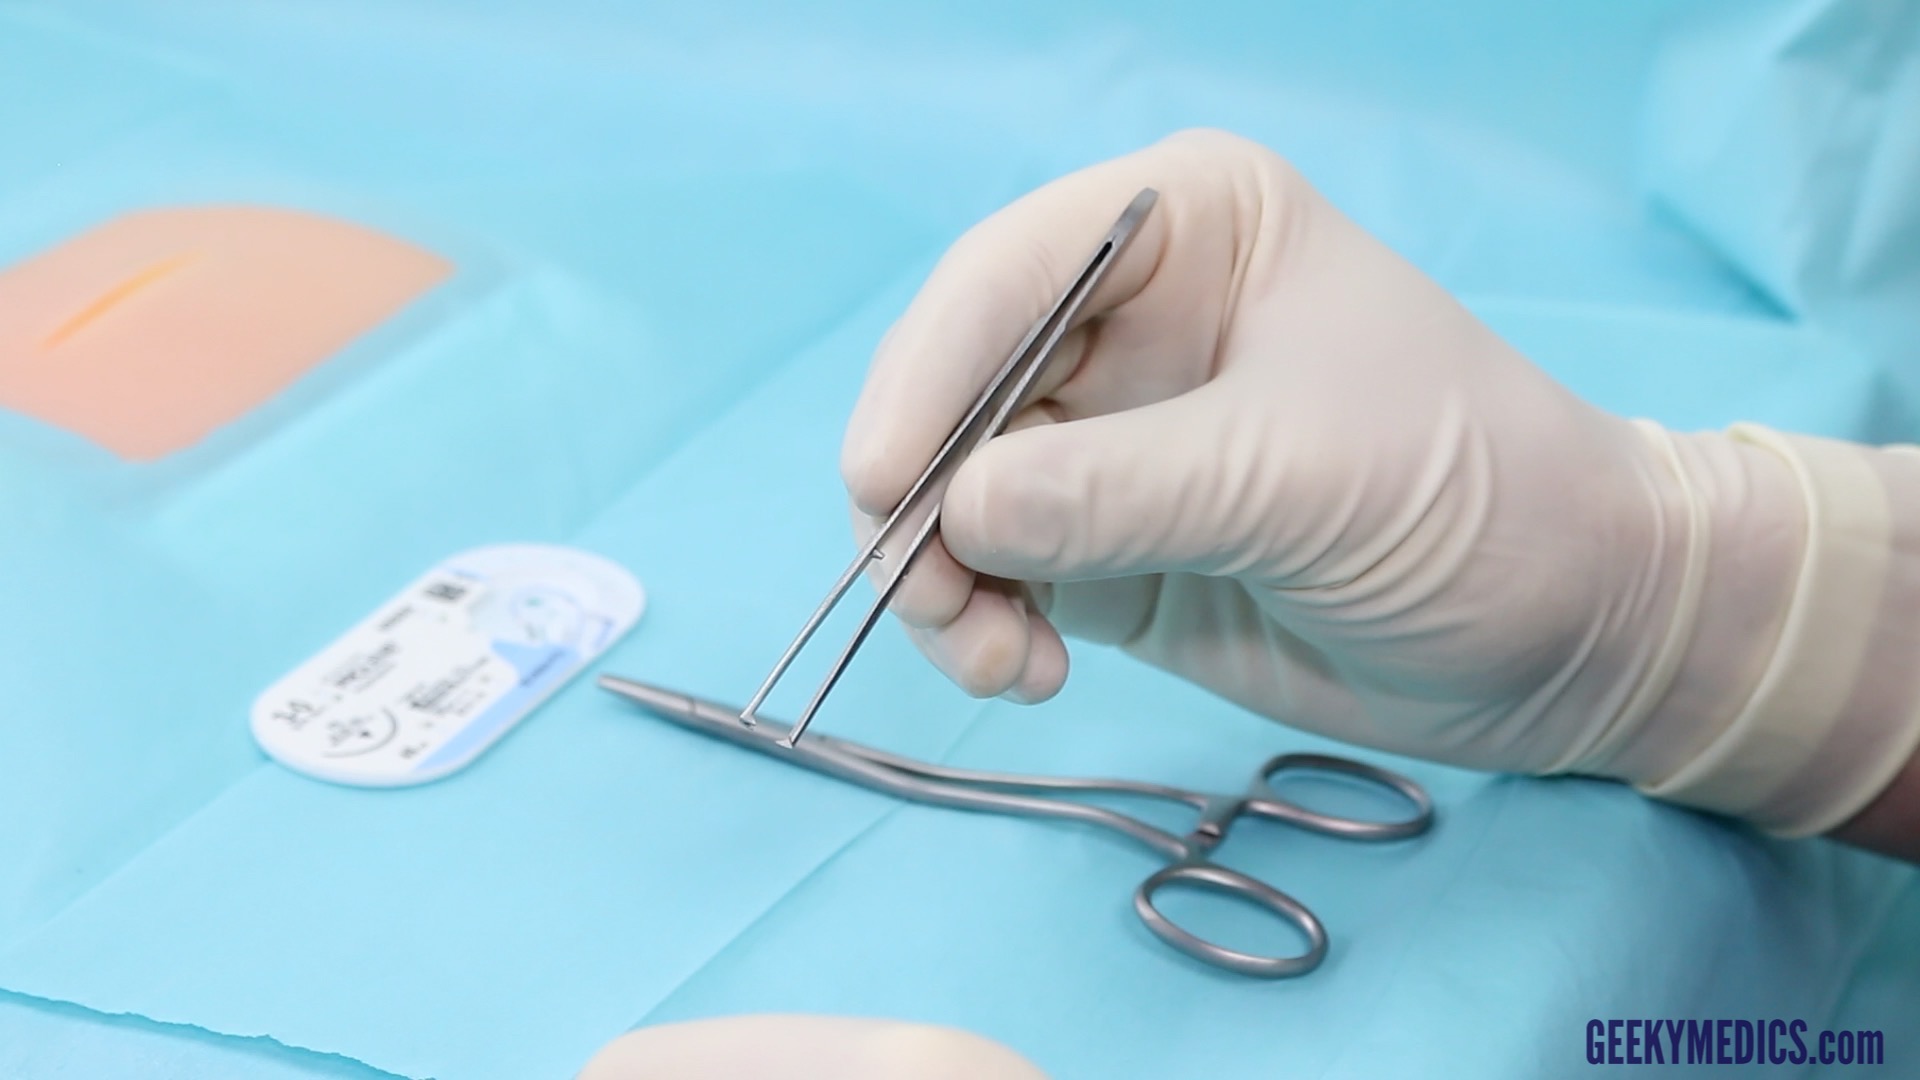
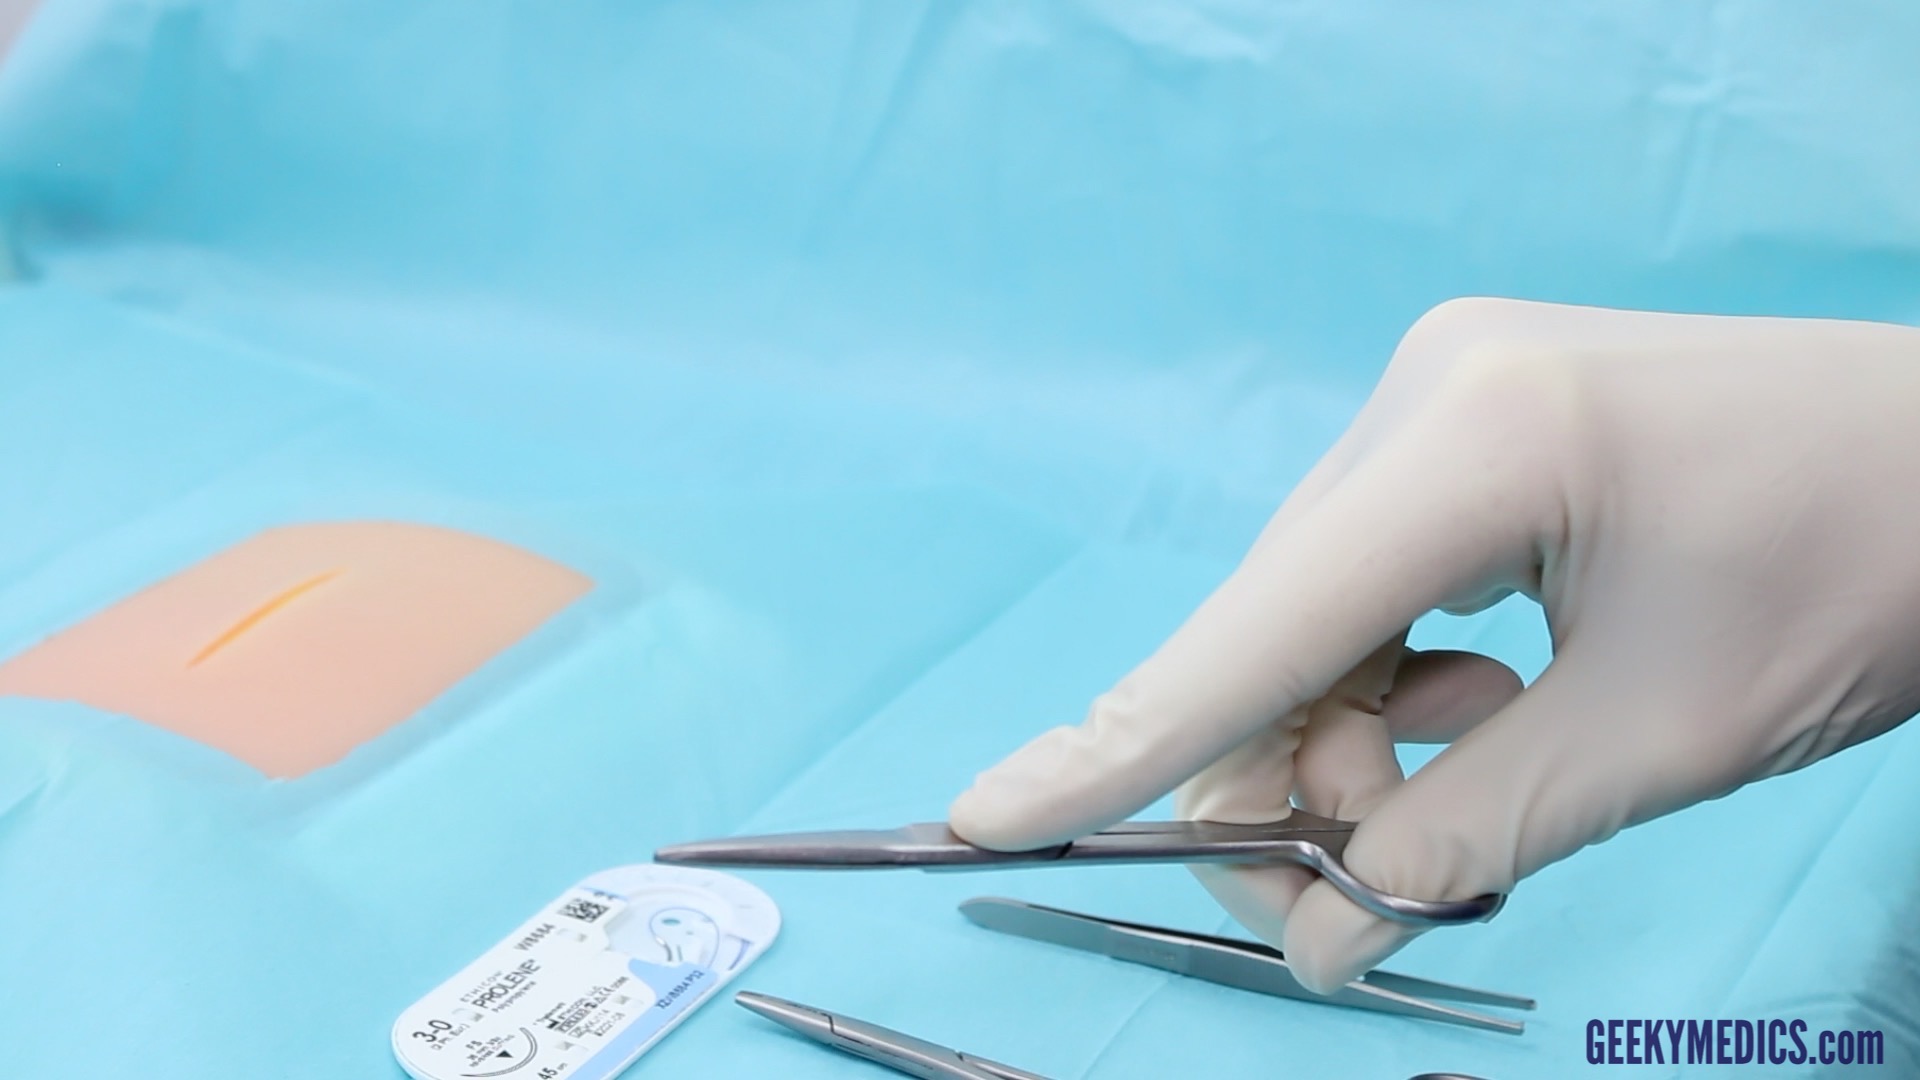
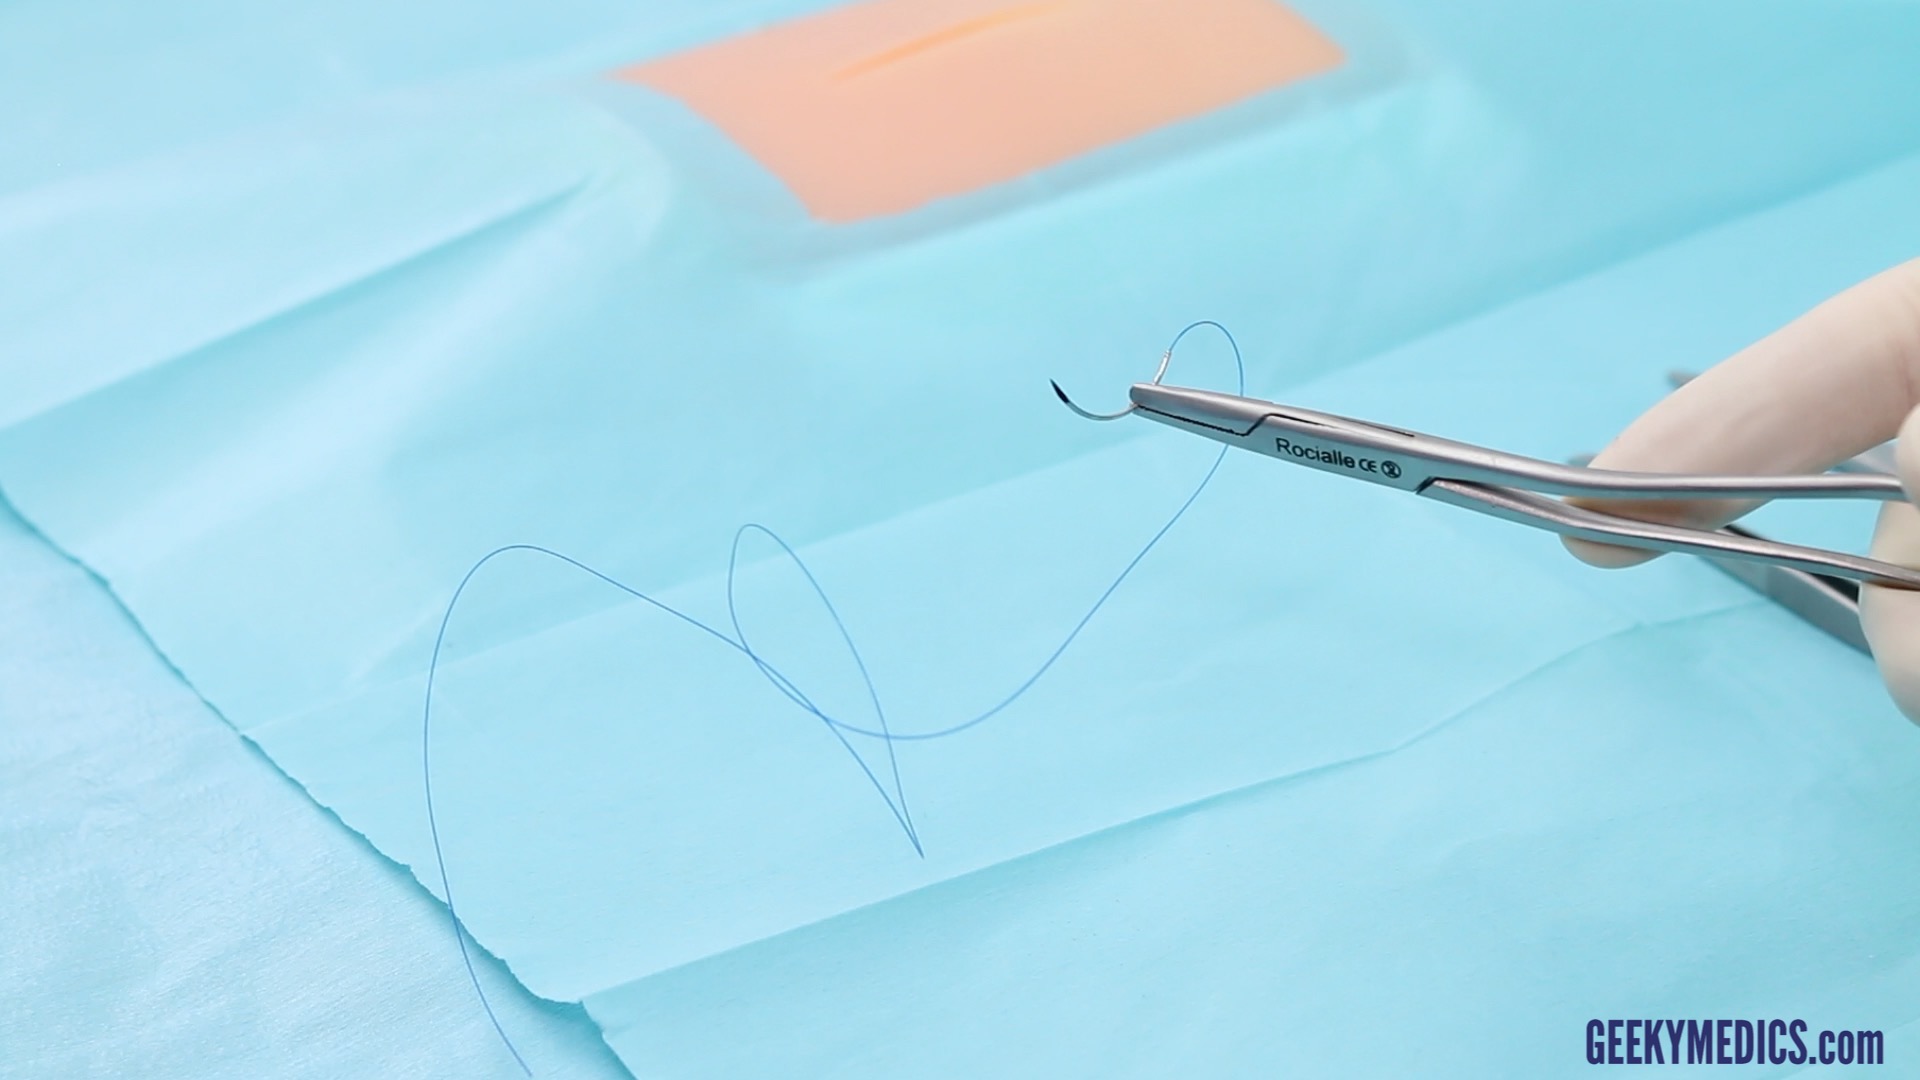
Load your needle holder by placing the needle in the tip of the holder, two-thirds of the distance from the tip to the thread.
- Load the needle between the apex of its curvature and two-thirds from the needle tip

Performing a deep dermal suture
Deep dermal sutures are utilised when closing large or gaping wounds that require a robust, layered closure. They are useful in reducing tension over the length of a wound, relying on the strength of the dermis (containing collagen and elastin fibres) as opposed to the epidermis.
The aim is to hide the suture beneath the skin. To bury the knot, one must first pass the needle from ‘deep to superficial‘, then, from ‘superficial to deep‘. This places the suture ends deep in the wound and thus hides the knot beneath the dermis.
The technique can be thought of as an ‘upside-down’ interrupted suture. As the suture is to be underneath the skin surface it is favourable for the knot to be deep in the wound, this avoids extrusion of the suture material.
1. Load the suture as detailed above and use the toothed forceps to gently evert the skin edge (without crushing the tissues).
2. Pronate your wrist and place the suture at the deep aspect of one side of the wound, this should be at the bottom of the dermis but not incorporating subcutaneous fat.
3. Supinate your wrist to bring the needle from deep in the wound towards the surface. Aim for the needle to emerge underneath the epidermis taking care not to puncture the skin surface.
4. Push the needle through with the needle holders, then grasp with the toothed forceps and pull the needle and thread through, leaving enough to tie on to at the base of the wound.
5. Re-mount the needle, this time in a position to enter the opposing side of the wound.
6. This time the needle should enter just below the epidermis at the same level as the suture exited on the first side.
7. Again, supinate your wrist so the needle passes from superficial to deep, this time emerging at the same level as the first stitch.
8. Pull the needle through.
Knot tie
When performing a deep dermal suture the knot should sit at the deep aspect of the wound.
9. Put down the forceps.
10. Pull the suture through so there is approximately 3cm of length on the opposing side.
11. Hold the suture in your non-dominant hand and the needle holder in your dominant hand.
12. Loop the suture away from you around the needle holder twice, then grasp the suture end with your needle holder. Lay the first knot by pulling the suture ends parallel to the wound. This opposes the dermis better than pulling the suture ends perpendicular to the wound (as you would do in a simple interrupted, external suture).
13. Let go of the suture with your needle holder but keep hold of it in your non-dominant hand.
14. Now loop the suture back towards you around the needle holder once and grasp the suture end with your needle holder. Pull your suture ends parallel to the wound again, this time in the opposite direction to lay the second knot. Pulling the suture ends in the opposite direction will secure your surgical ‘reef’ knot.
15. Finally, loop the suture away from you around the needle holder once, then grasp the suture end with your needle holder. Lay the final knot by pulling the suture ends parallel to the wound.
16. Cut your suture flush with the knot to prevent suture ends protruding through the skin. Your suture and knot should be completely hidden on the skin surface.
Tips
Your needle must enter and exit the dermis at symmetrical heights on each side of the wound to ensure the skin edges oppose at the same level.
If you place your deep dermal suture slightly deeper in the dermis, it will reduce the chances of suture extrusion and evert the wound edges nicely.
When laying your first knot, pull the suture ends parallel to the wound to oppose and evert the skin edges.
- 1. Evert the skin edge, aim to pass your needle from deep (below the dermis) to superficial (just below the epidermis)
 to superficial (just below the epidermis)")


.")


Wound care and safe disposal of sharps
Once you have completed suturing, you must ensure that you account for and dispose of your sharps immediately in a sharps bin.
The wound should be washed and dried, then dressed appropriately. Dressings depend on the site of the body and professional preference, below are some examples:
- Face: Cover with steristrips and Micropore tape or provide chloramphenicol 1% ointment.
- Limb: Cover with a non-adhesive dressing such as Jelonet, Mepetel, or Silflex then gauze, Velband and crepe. A small wound may be covered with an OpSite or a Mepore waterproof dressing.
- Torso: Cover with non-adhesive then Opsite or Mepore. If large you may consider gauze and Mefix.
Follow up
All wounds should be reviewed in 5-7 days and sutures removed (if non-absorbable) as per the table above.
Authors
Mr Colin Brewster
Plastic Surgery Registrar
Mr Iain Anderson
Plastic Surgery Registrar
