

- 📖 Geeky Medics OSCE Book
- ⚡ Geeky Medics Bundles
- ✨ 1300+ OSCE Stations
- ✅ OSCE Checklist PDF Booklet
- 🧠 UKMLA AKT Question Bank
- 💊 PSA Question Bank
- 💉 Clinical Skills App
- 🗂️ Flashcard Collections | OSCE, Medicine, Surgery, Anatomy
- 💬 SCA Cases for MRCGP
To be the first to know about our latest videos subscribe to our YouTube channel 🙌
This ECG recording OSCE guide provides a clear step-by-step approach to recording an ECG, with an included video demonstration.
Gather equipment
Gather the appropriate equipment:
- ECG machine: to record the ECG.
- Self-adhesive ECG electrodes: to attach the ECG leads to the patient.
- Razor: may be required to remove hair to provide adequate electrode contact with the skin.
Introduction
Wash your hands and don PPE if appropriate.
Introduce yourself to the patient including your name and role.
Confirm the patient’s name and date of birth.
Briefly explain what the procedure will involve using patient-friendly language: “I need to record an ECG which is an electrical trace of the heart. The procedure will involve placing some sticky pads onto your chest and limbs. I will then connect these sticky pads to the ECG machine’s leads to record the tracing.”
If the patient is a female, explain the need for a chaperone: “One of the female ward staff members will be present throughout the procedure, acting as a chaperone, would that be ok?”
Gain consent to proceed with ECG recording.
Adequately expose the patient’s chest for the procedure (offer a blanket to allow exposure only when required). Exposure of the patient’s lower legs and wrists is also necessary to apply the limb leads.
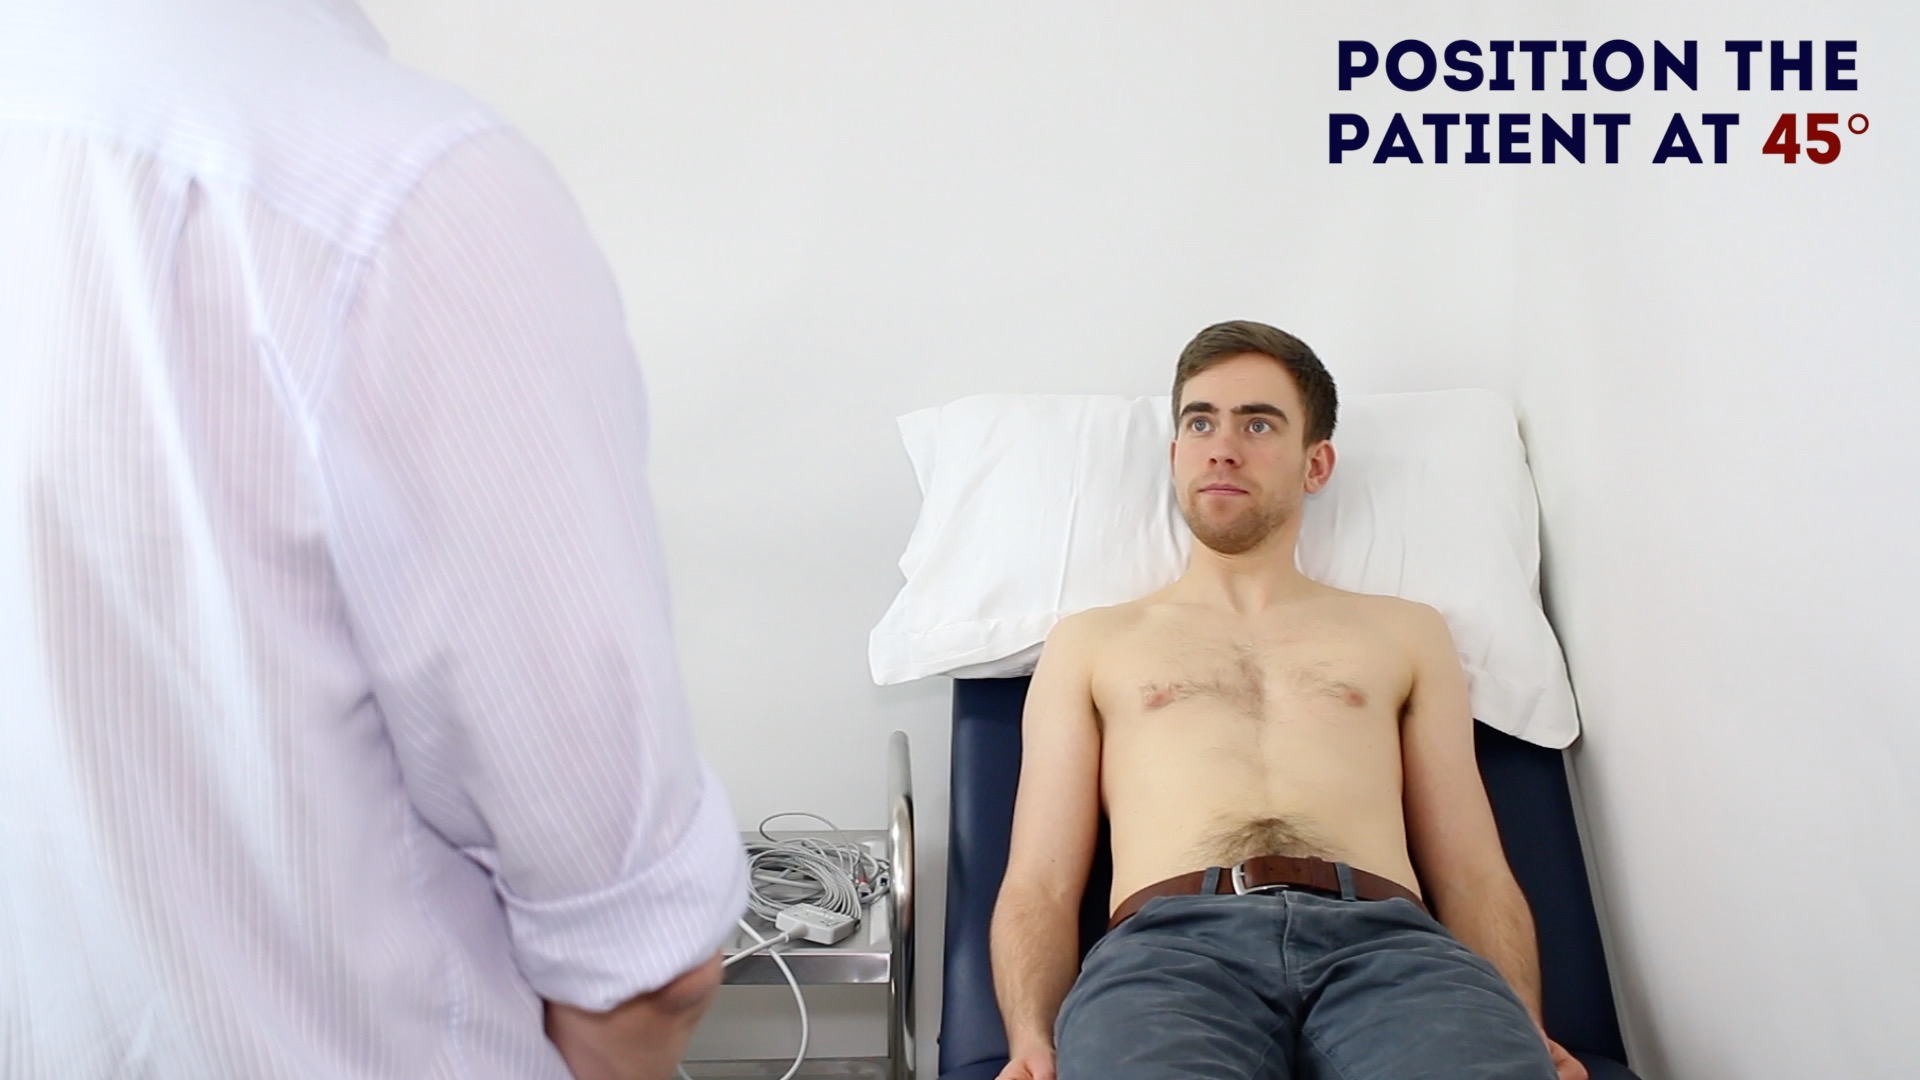
Ask the patient to lay on the clinical examination couch with the head of the couch at a 45° angle.
Check if the patient has any pain before continuing with the clinical procedure.
Electrode placement
A 12-lead ECG involves the use of 10 electrodes, six on the chest and four on the limbs.
Begin by checking the expiry date of the electrodes to ensure they are within date.
It is important to ensure each electrode has good skin contact, which may involve cleaning or shaving the areas where you need to place electrodes. If this is the case, make sure to explain this clearly to the patient and gain consent before proceeding. See below for more details on how to improve skin contact with electrodes.
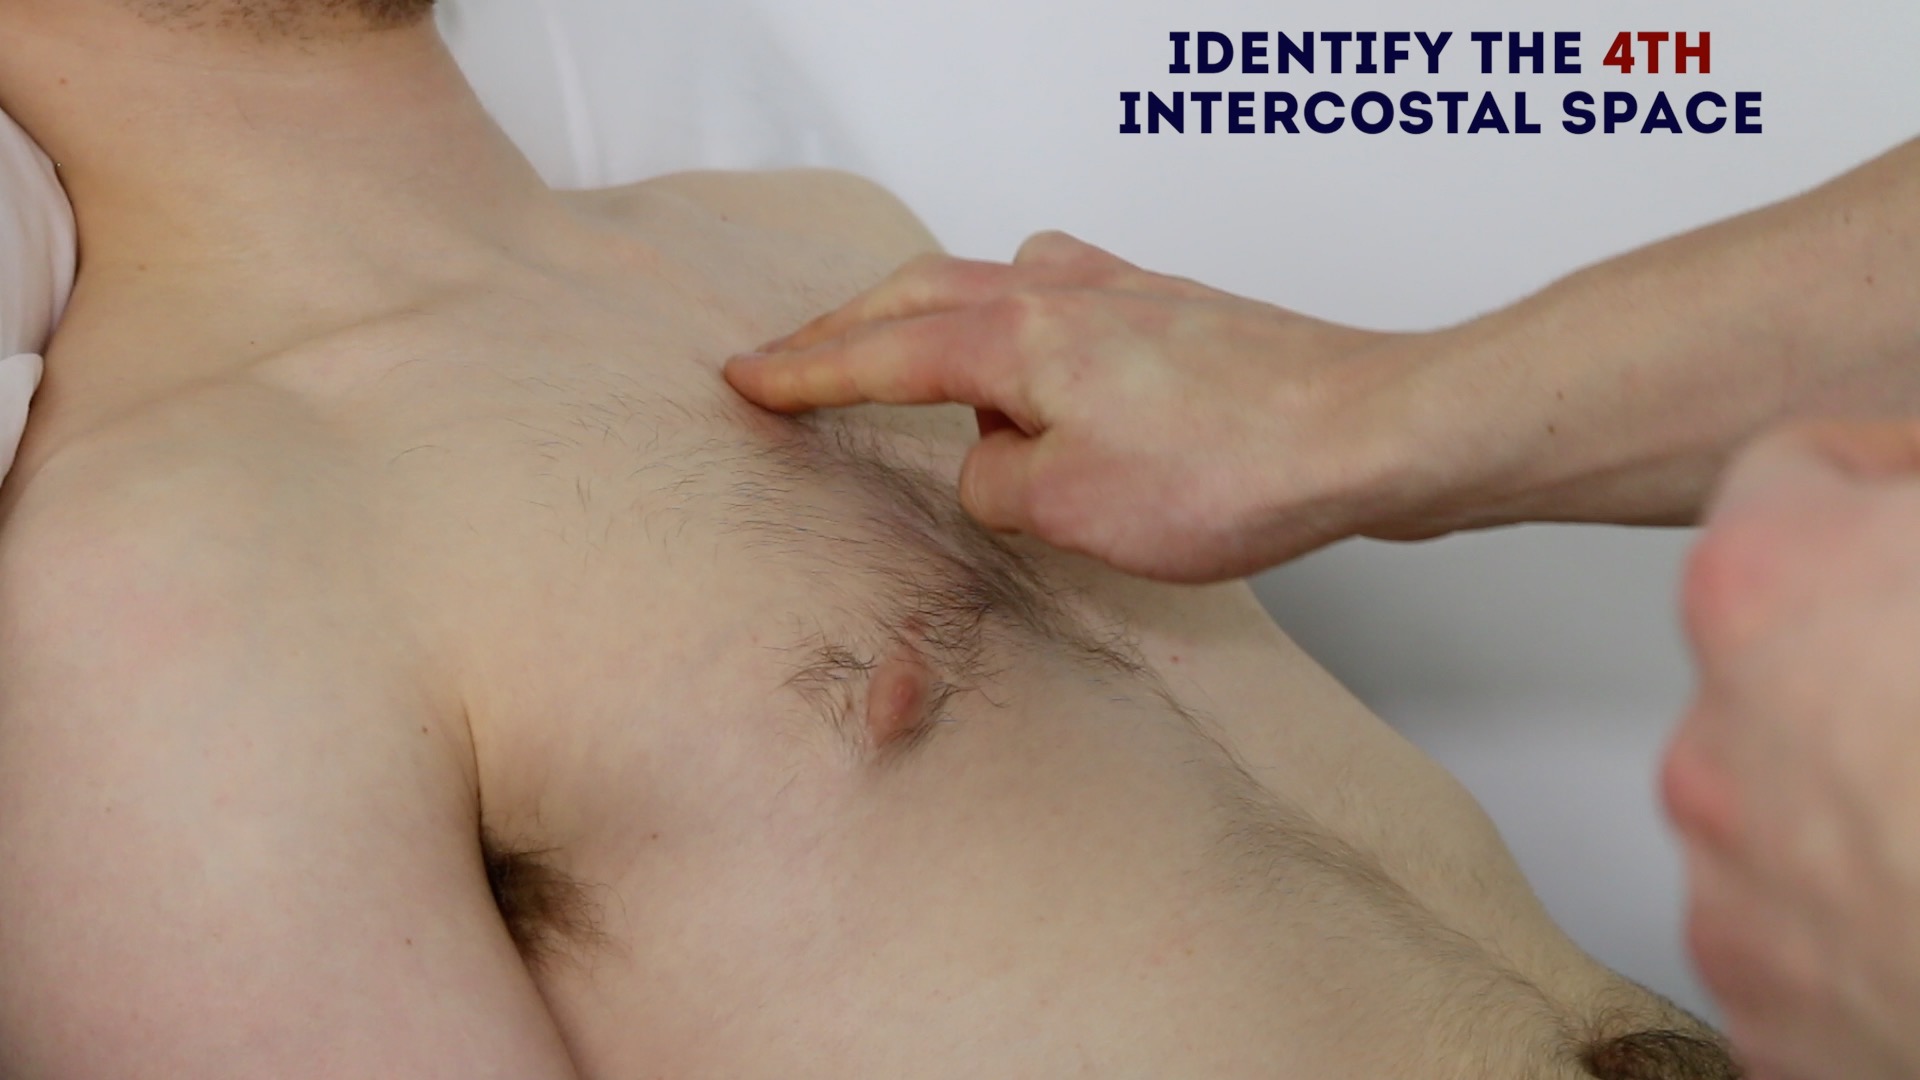
Chest electrode and lead placement (V1 – V6)
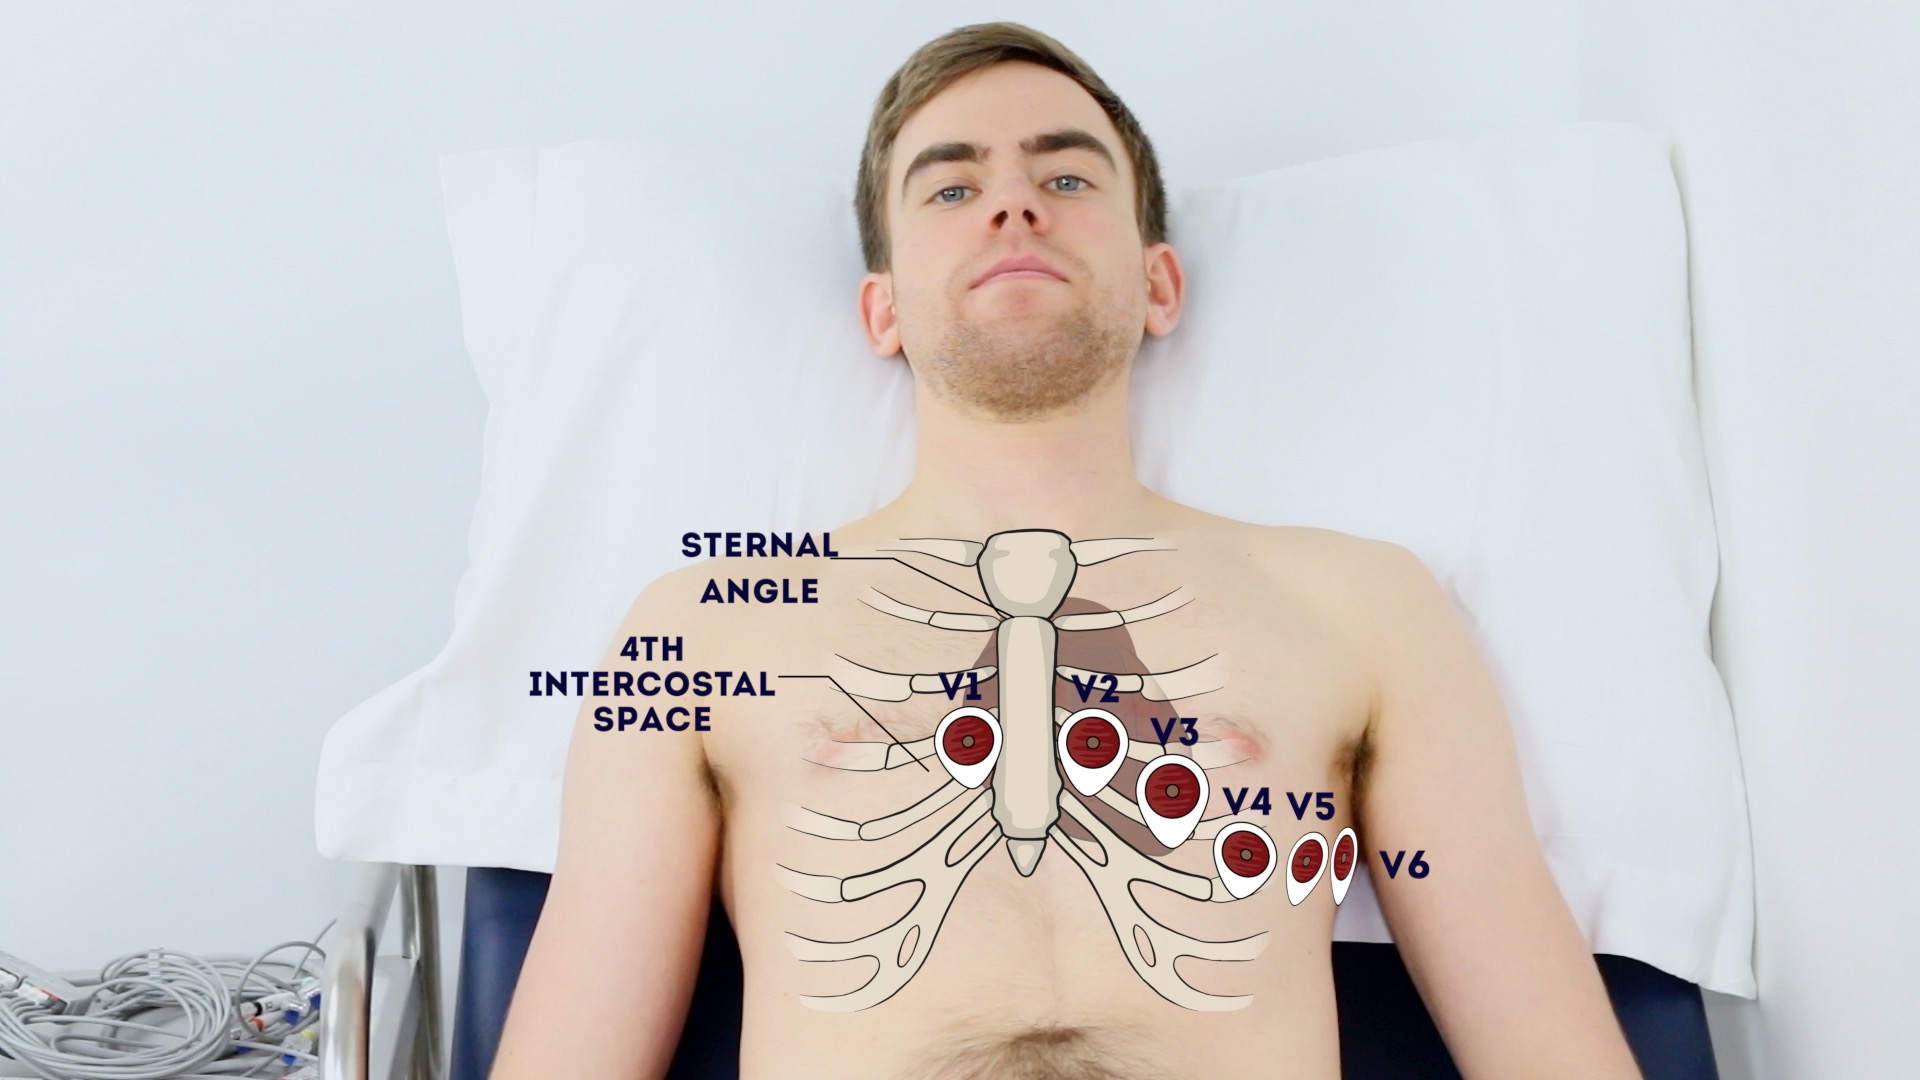
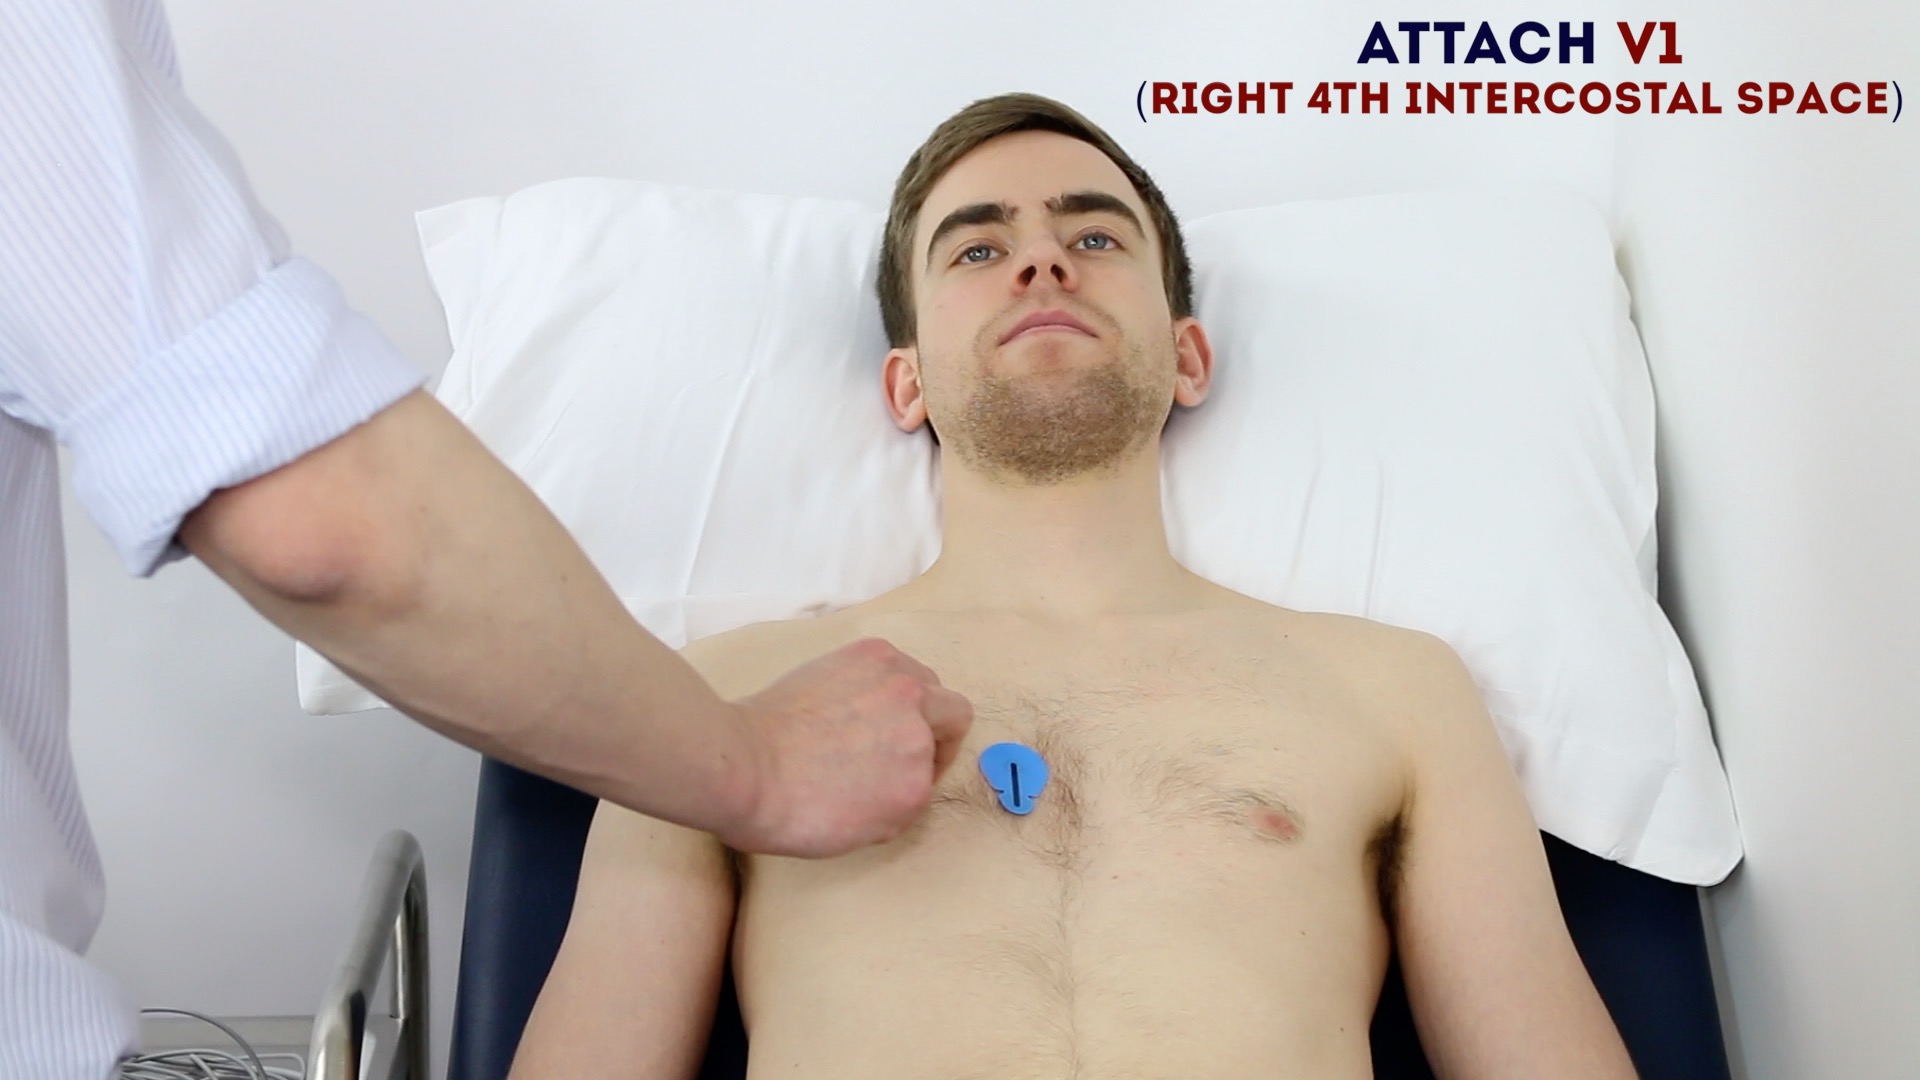
Apply the six chest electrodes in the following locations:
- V1: 4th intercostal space at the right sternal edge.
- V2: 4th intercostal space at the left sternal edge.
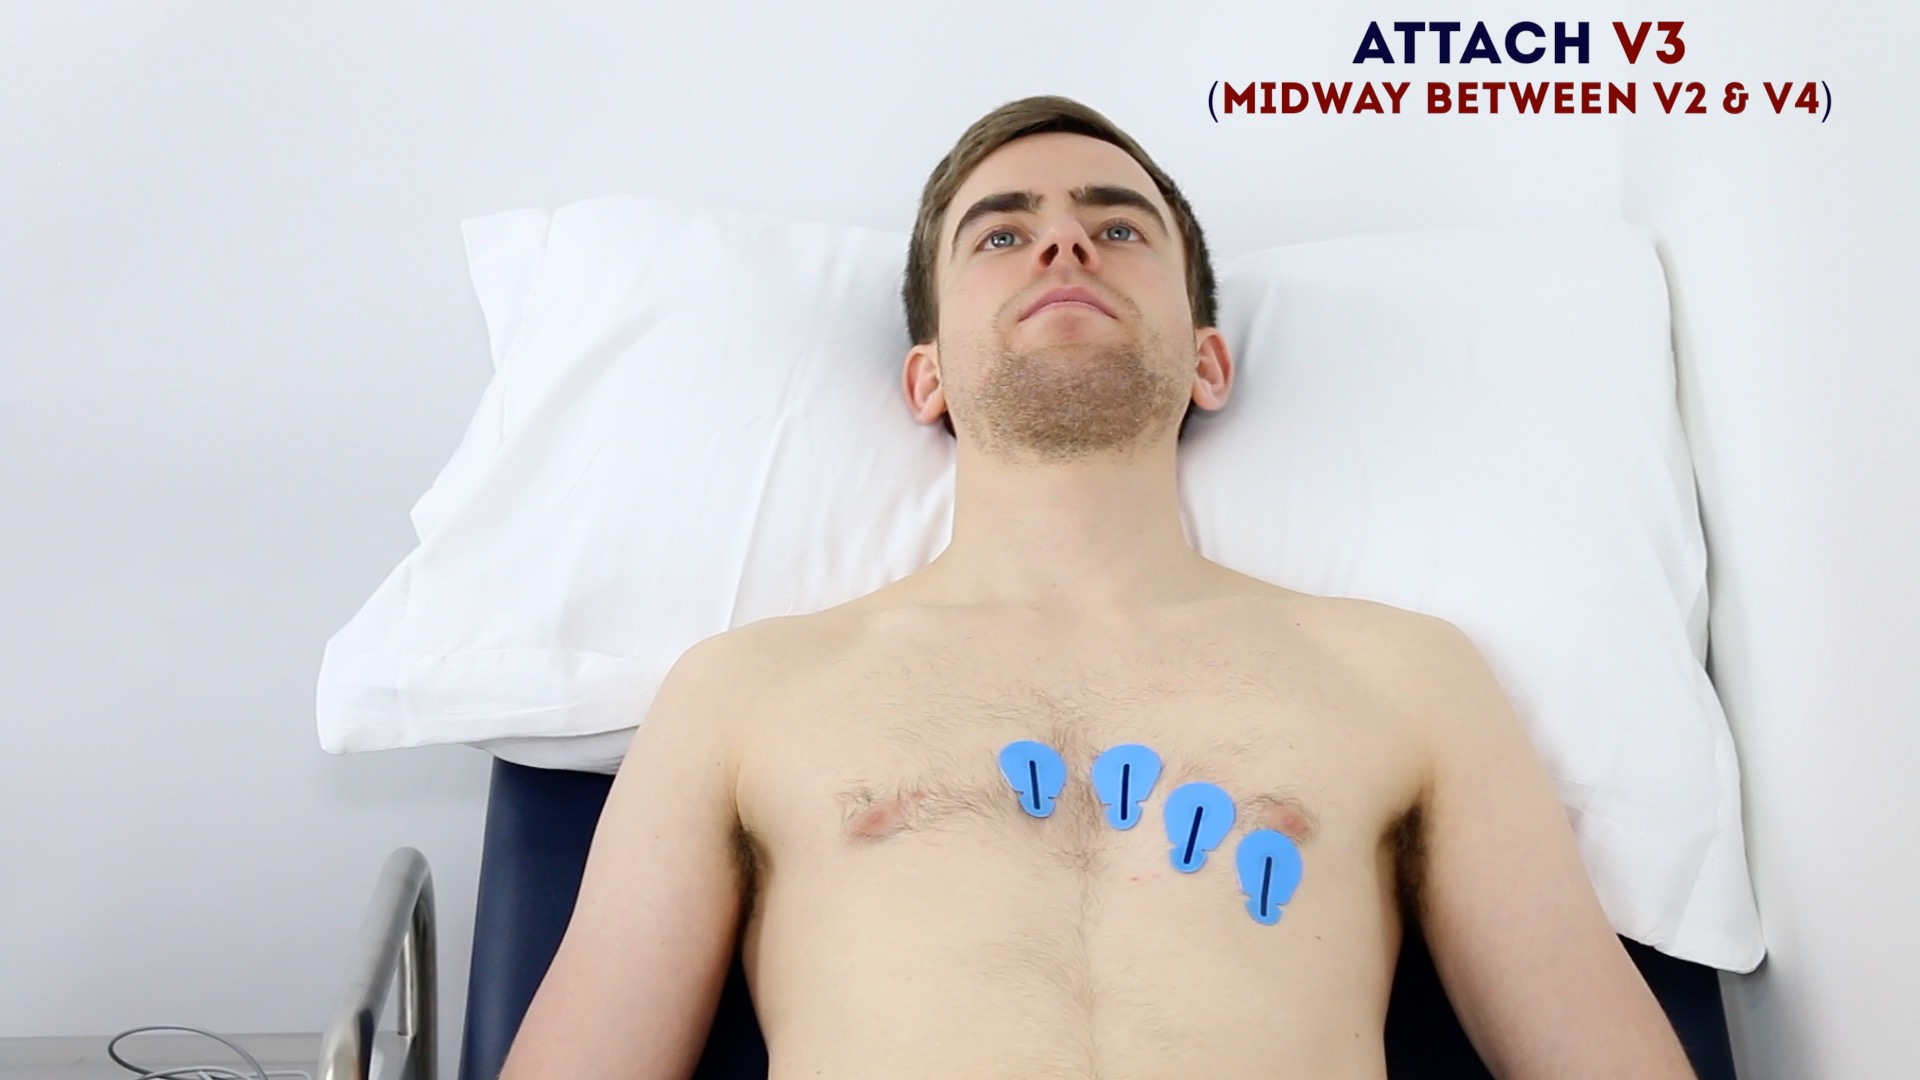
- V3: midway between the V2 and V4 electrodes.
- V4: 5th intercostal space in the midclavicular line.
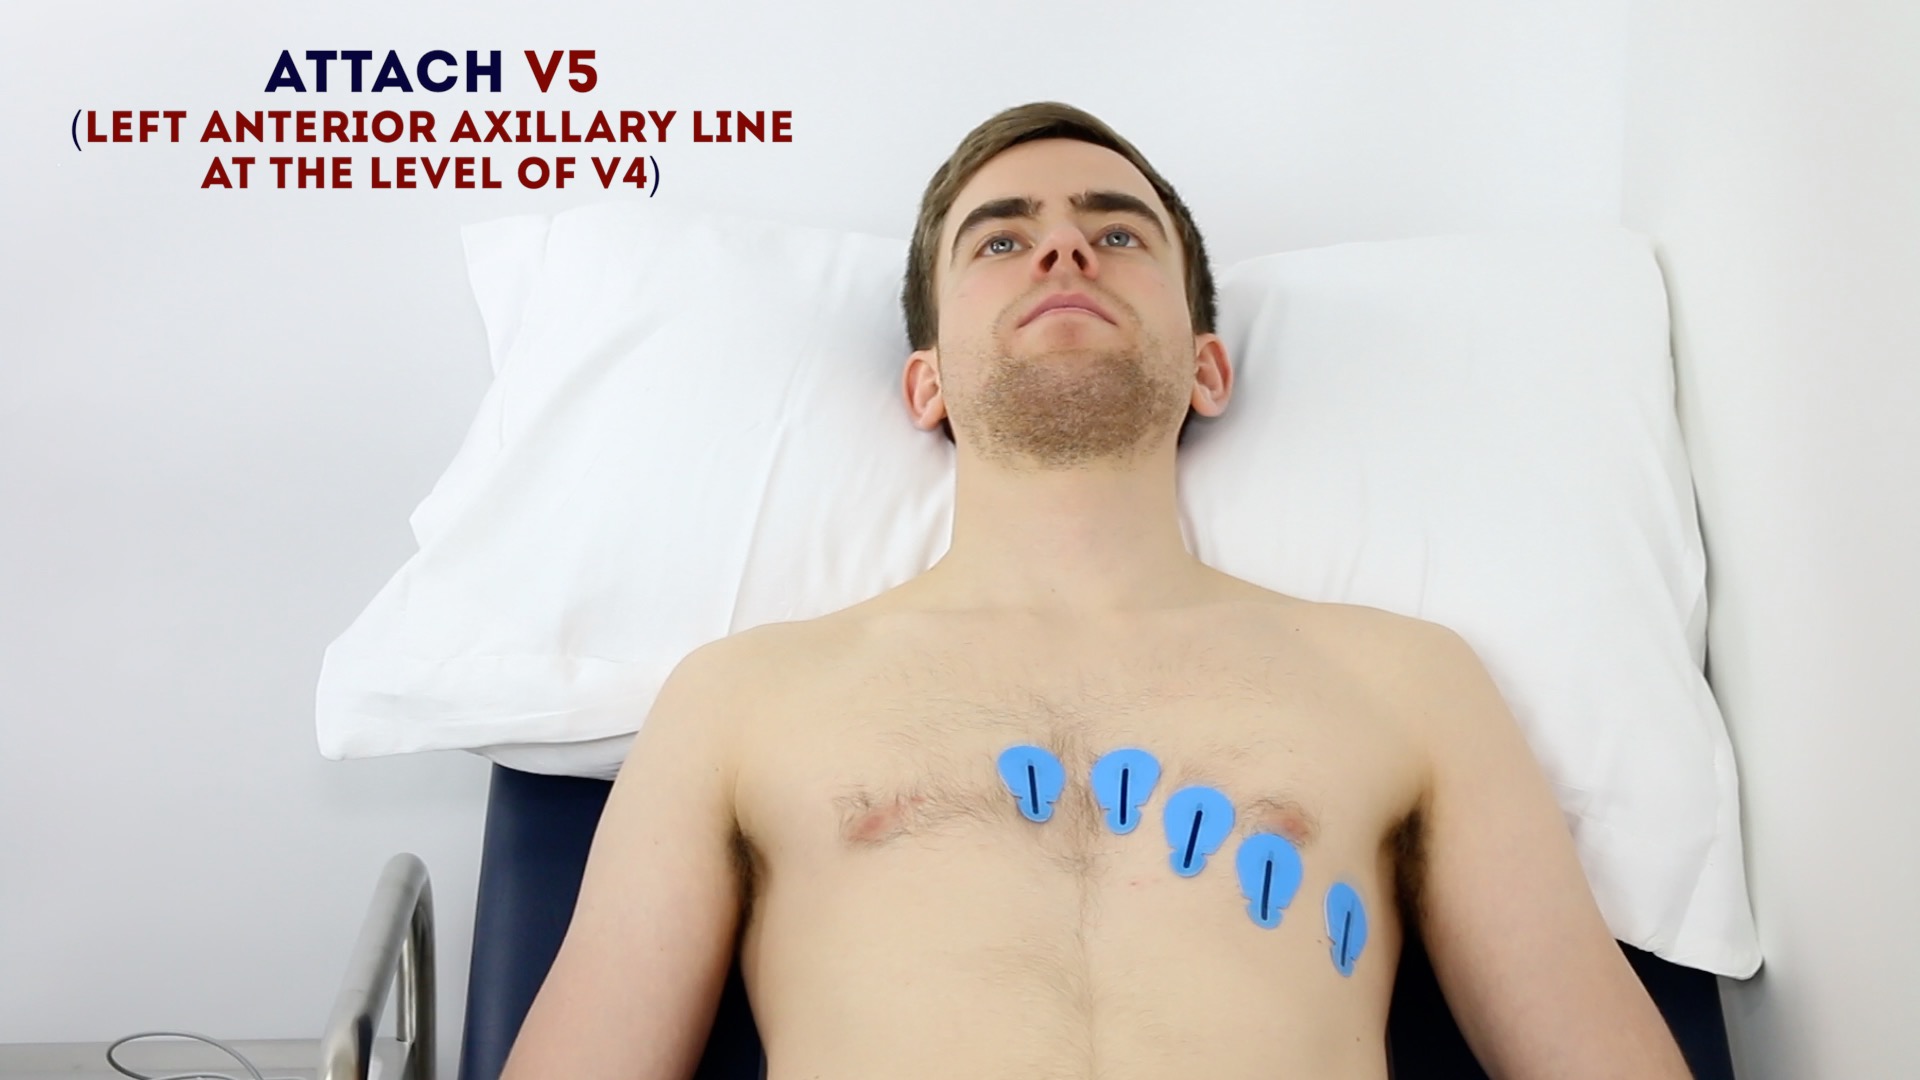
- V5: left anterior axillary line at the same horizontal level as V4.
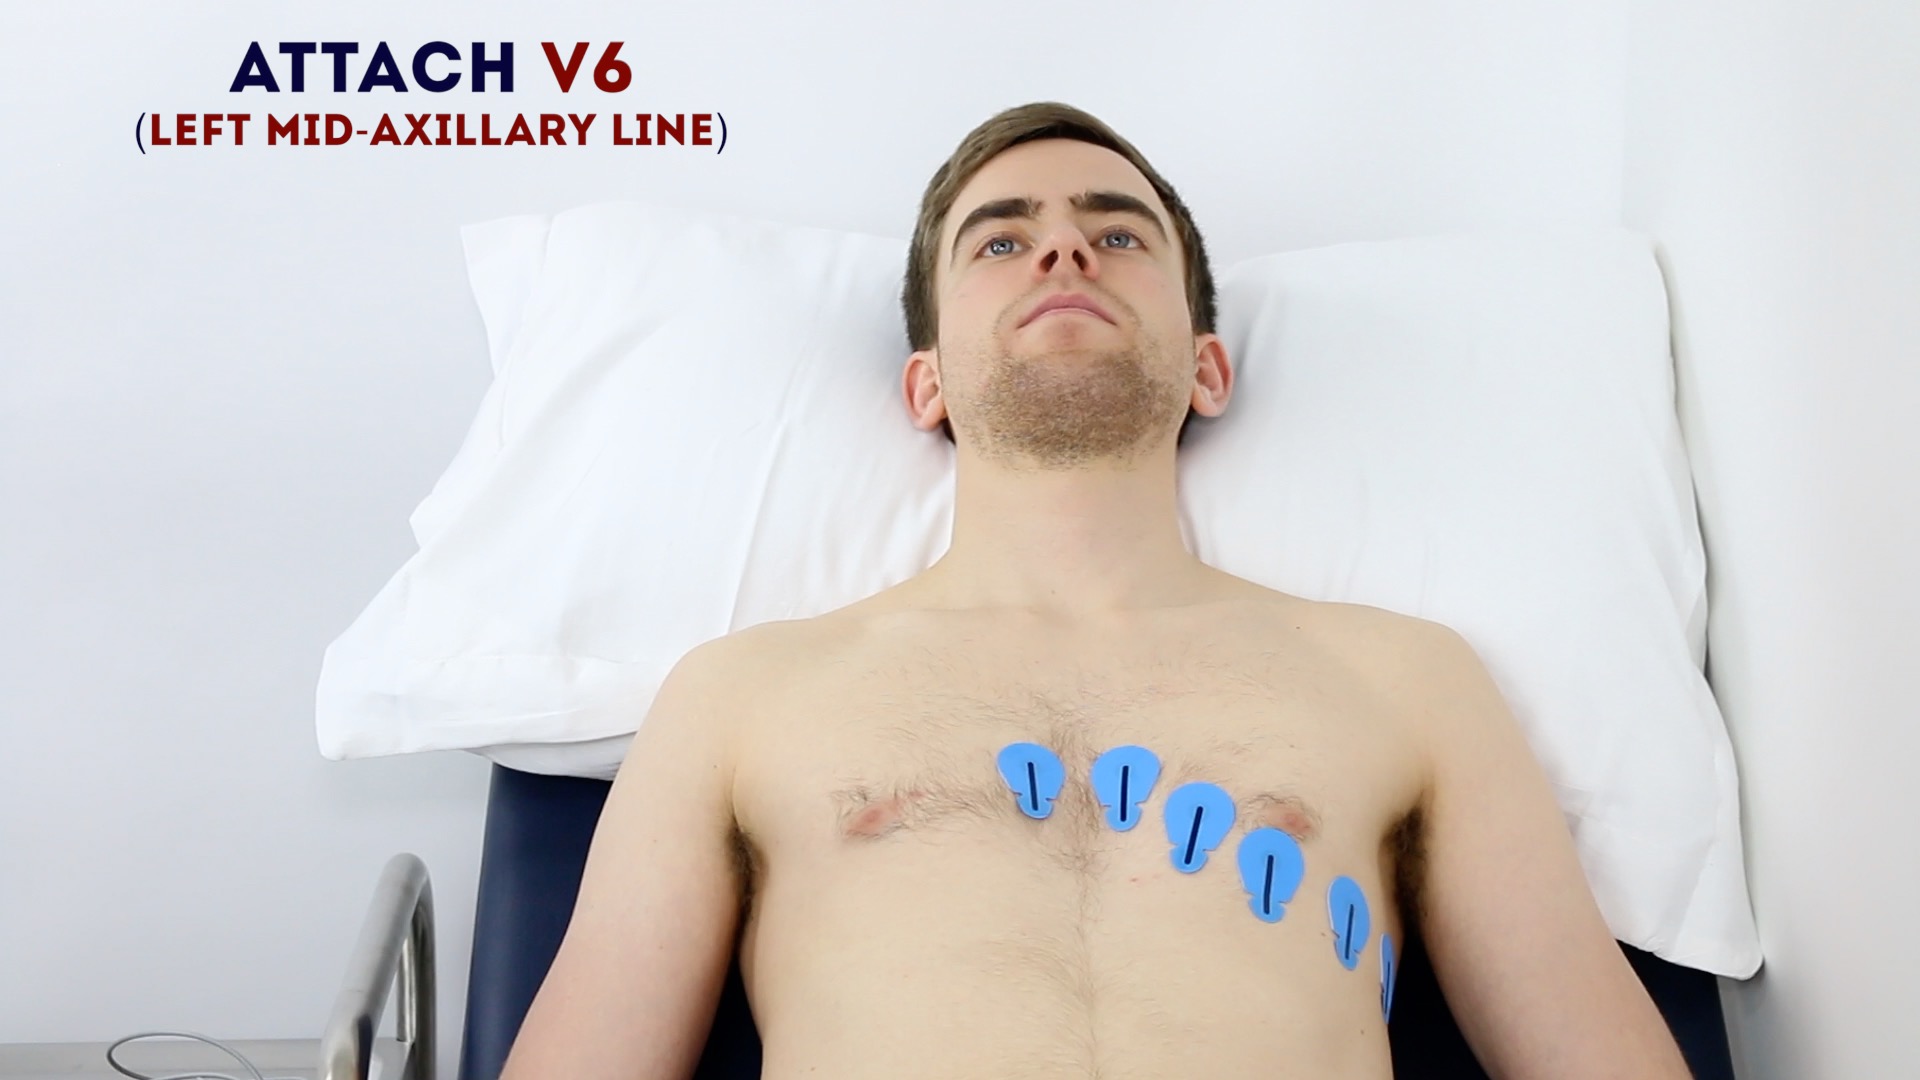
- V6: left mid-axillary line at the same horizontal level as V4 and V5.
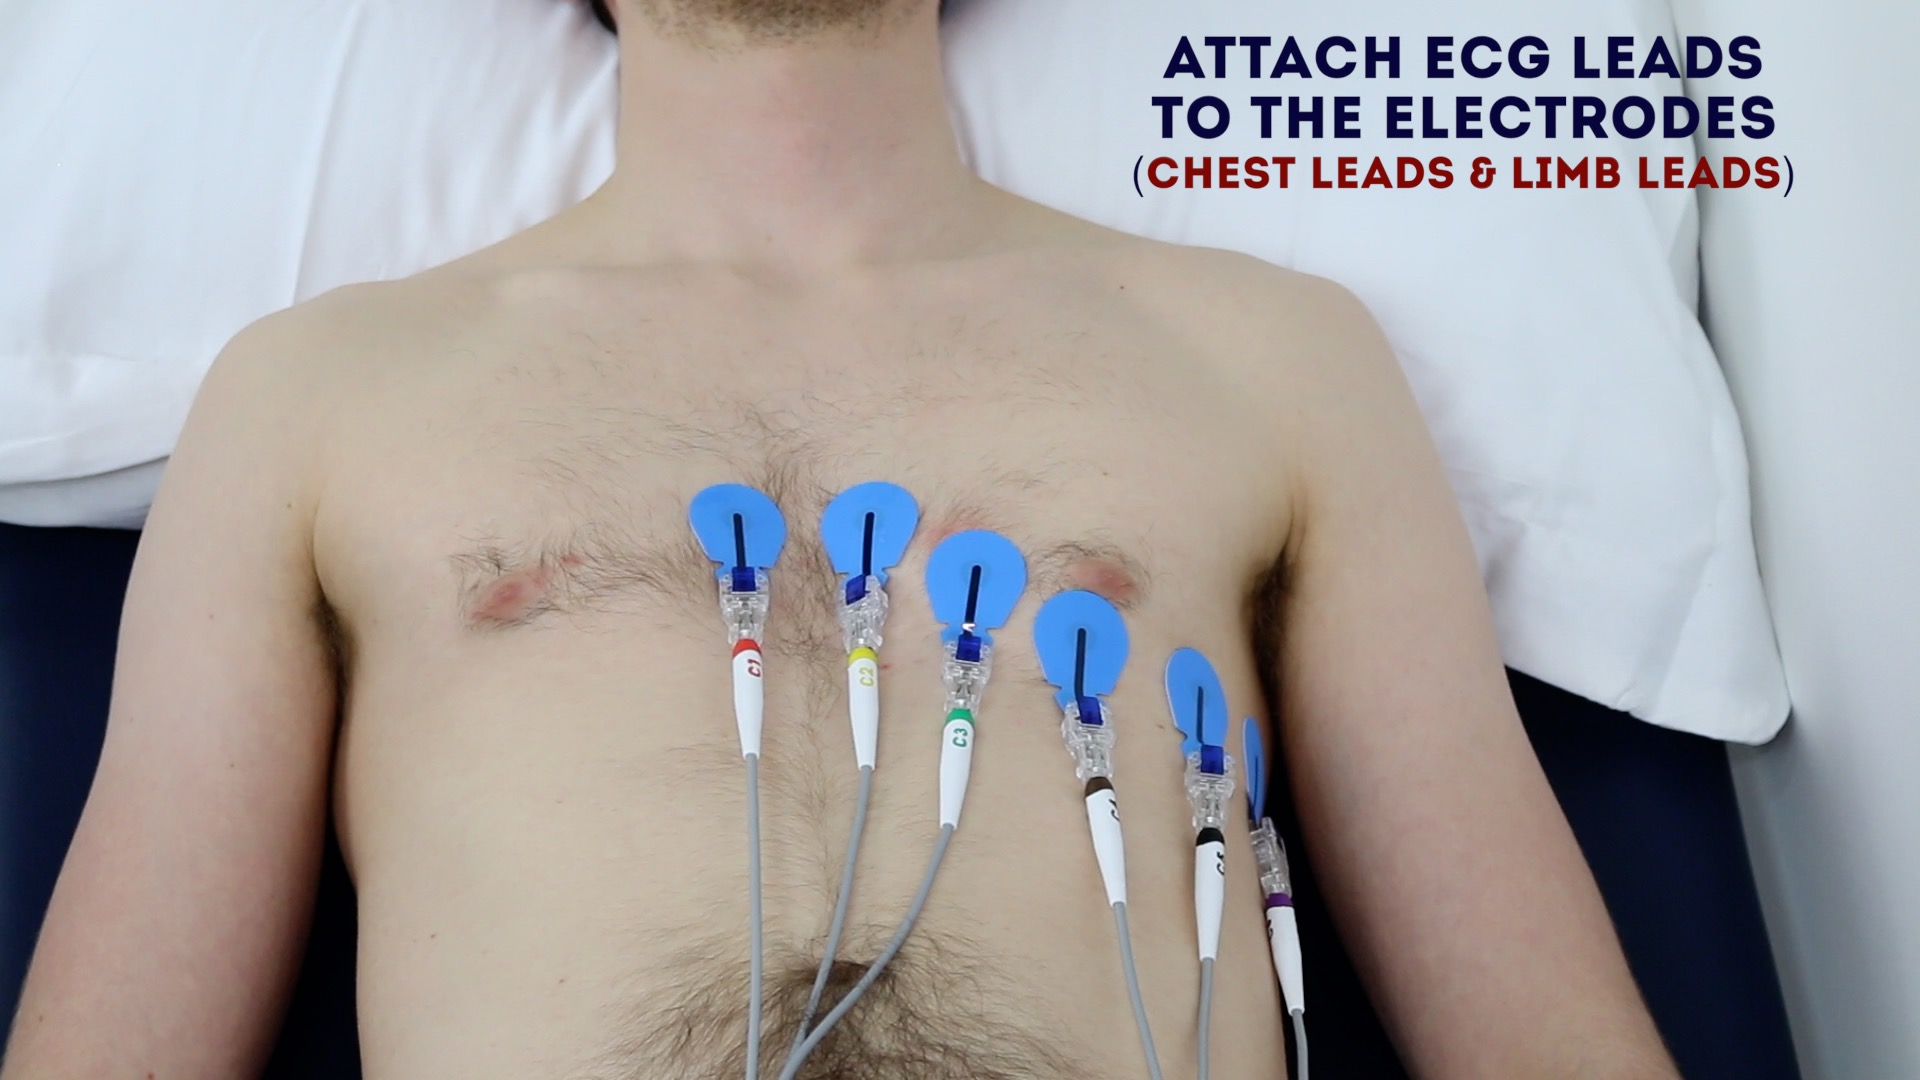
Once all electrodes have been applied, attach the associated chest leads, with the cable for each lead lying inferior to the electrode (to reduce tension on the wire).
 Position the patient at 45°


Limb electrode and lead placement
Apply the four limb electrodes in the following locations:
- Red (RA): right forearm, proximal to the wrist
- Yellow (LA): left forearm, proximal to the wrist
- Green (LL): left lower leg, proximal to the ankle
- Black (RL): right lower leg, proximal to the ankle
Avoid areas with a large amount of adipose tissue, major muscle groups or bony prominences.
Once all electrodes have been applied, attach the associated limb leads, with the cable for each lead lying inferior to the electrode (to reduce tension on the wire).
Some people find the mnemonic “Ride Your Green Bike” useful for remembering the placement of the limb leads, starting clockwise from the right wrist.
Improving skin contact with the electrodes
Hair can sometimes make it difficult to achieve good skin contact and as a result, you may need to use a razor to remove the hair at the electrode site.
If the skin is particularly oily you can clean the site with an alcohol wipe and allow to dry prior to electrode application.
If the skin is visibly soiled it should be cleaned, ideally with soap and water, then dried prior to electrode application.
Avoid pressing hard on the centre of the electrodes as this can cause the gel to spill outwards reducing the ability of the electrode to stick to the skin.
Recording the ECG trace
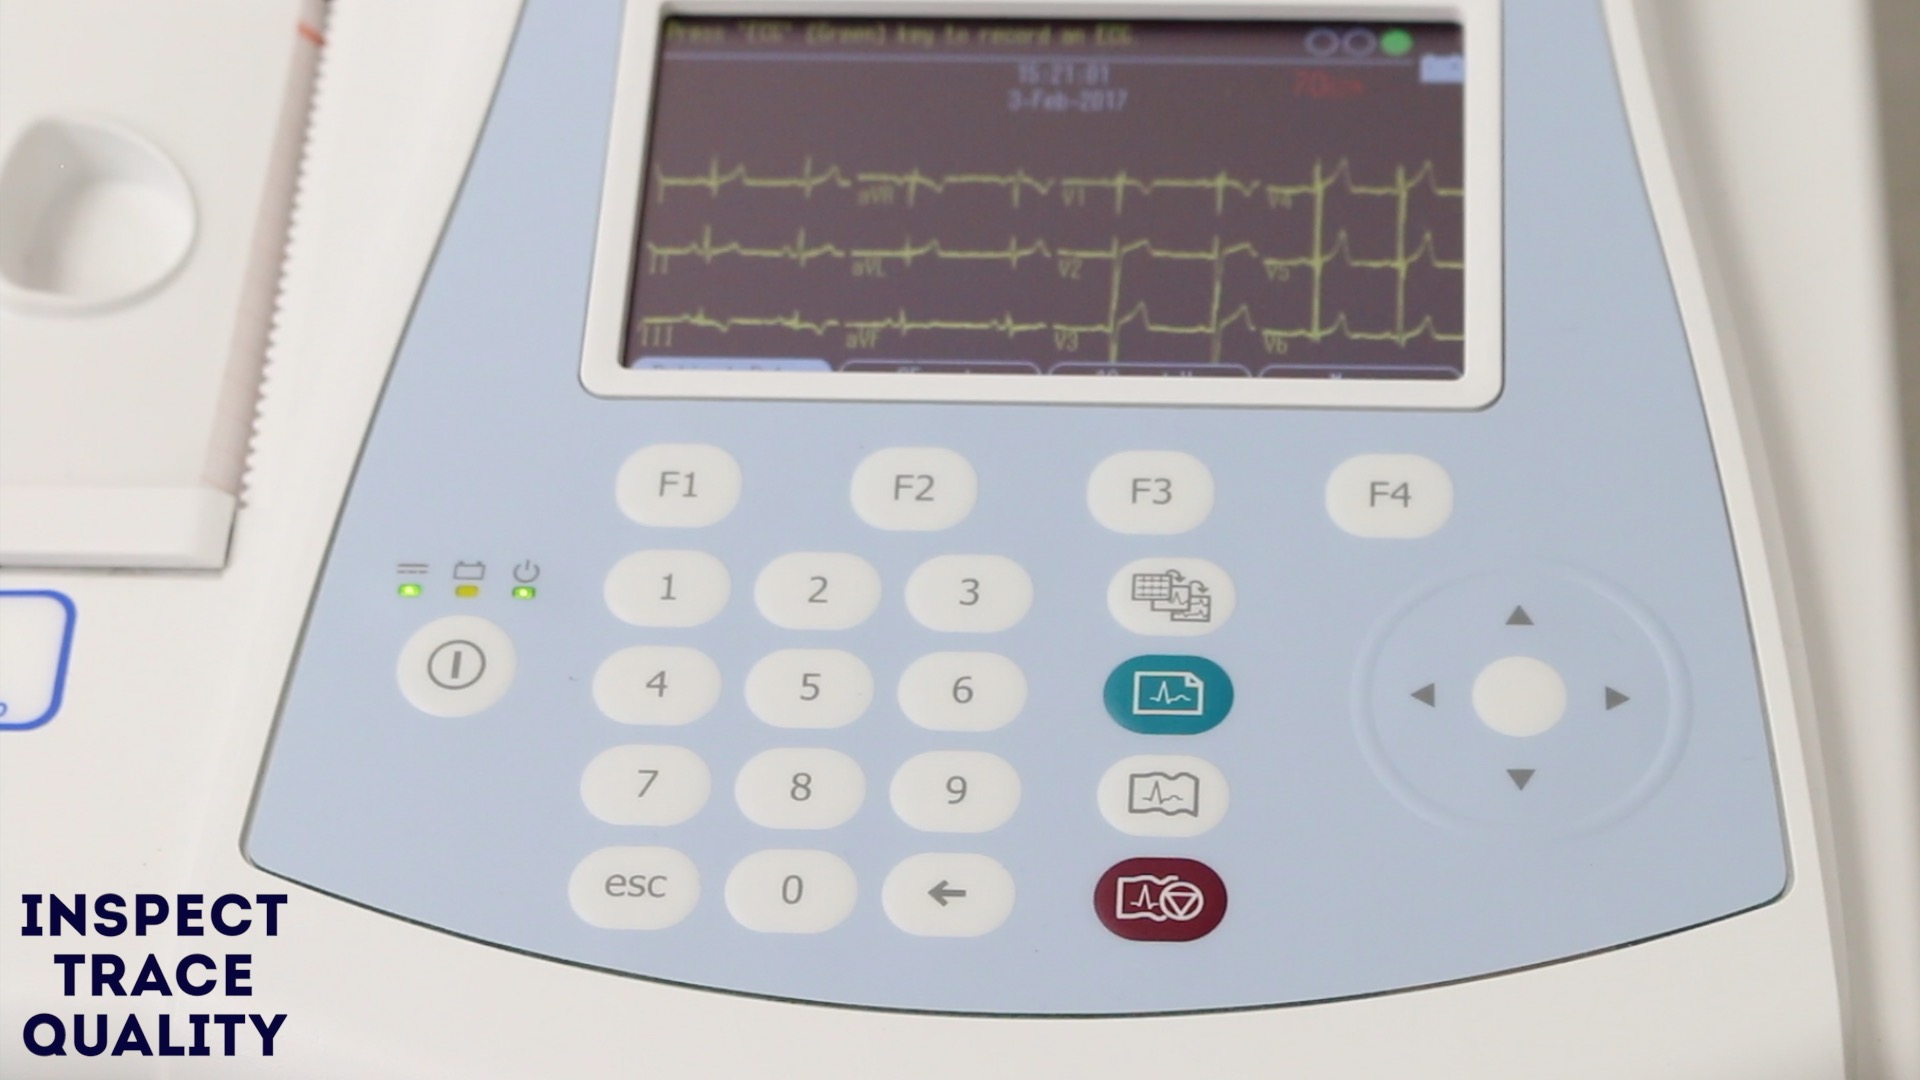
1. Turn the ECG machine on and ensure ECG paper has been loaded into the machine.
2. Double-check all the electrodes are attached in the appropriate locations.
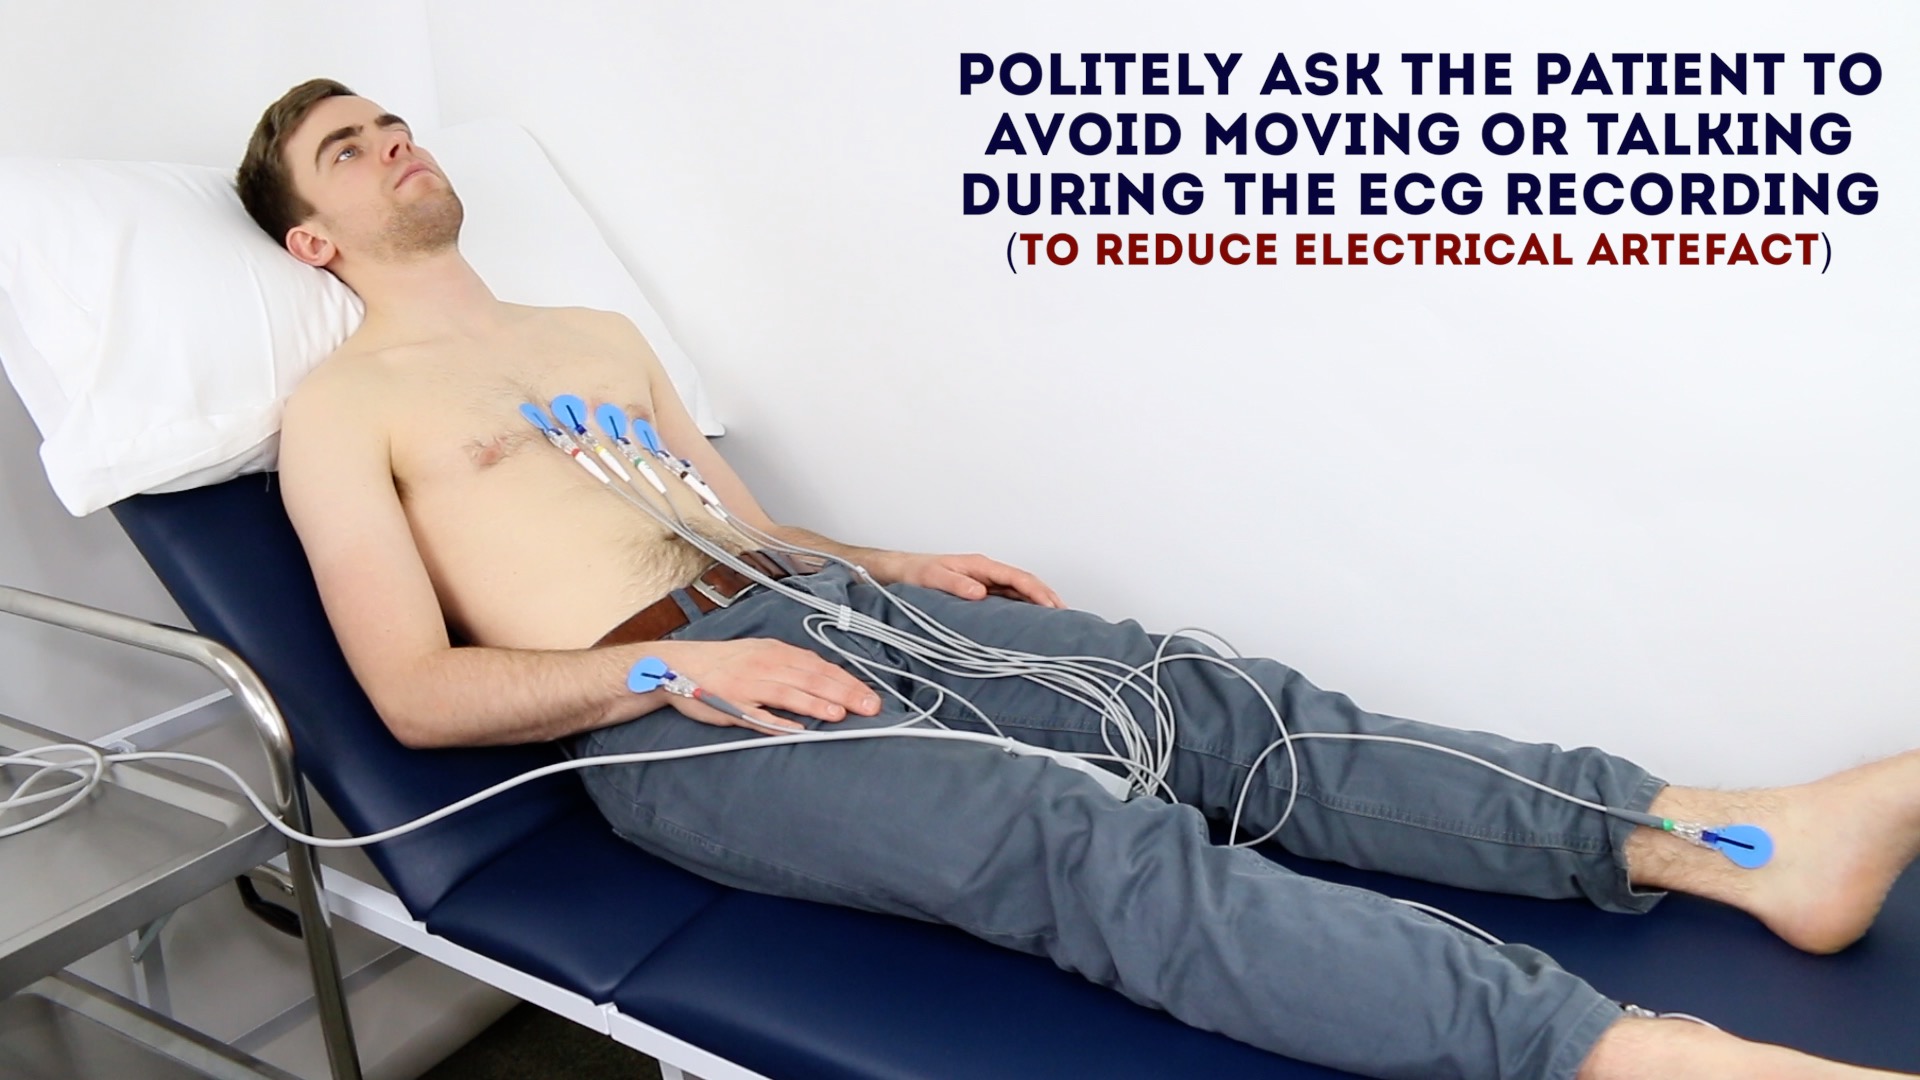
3. Politely ask the patient to remain still and not talk during the recording as muscle activity can interfere with the ECG trace.
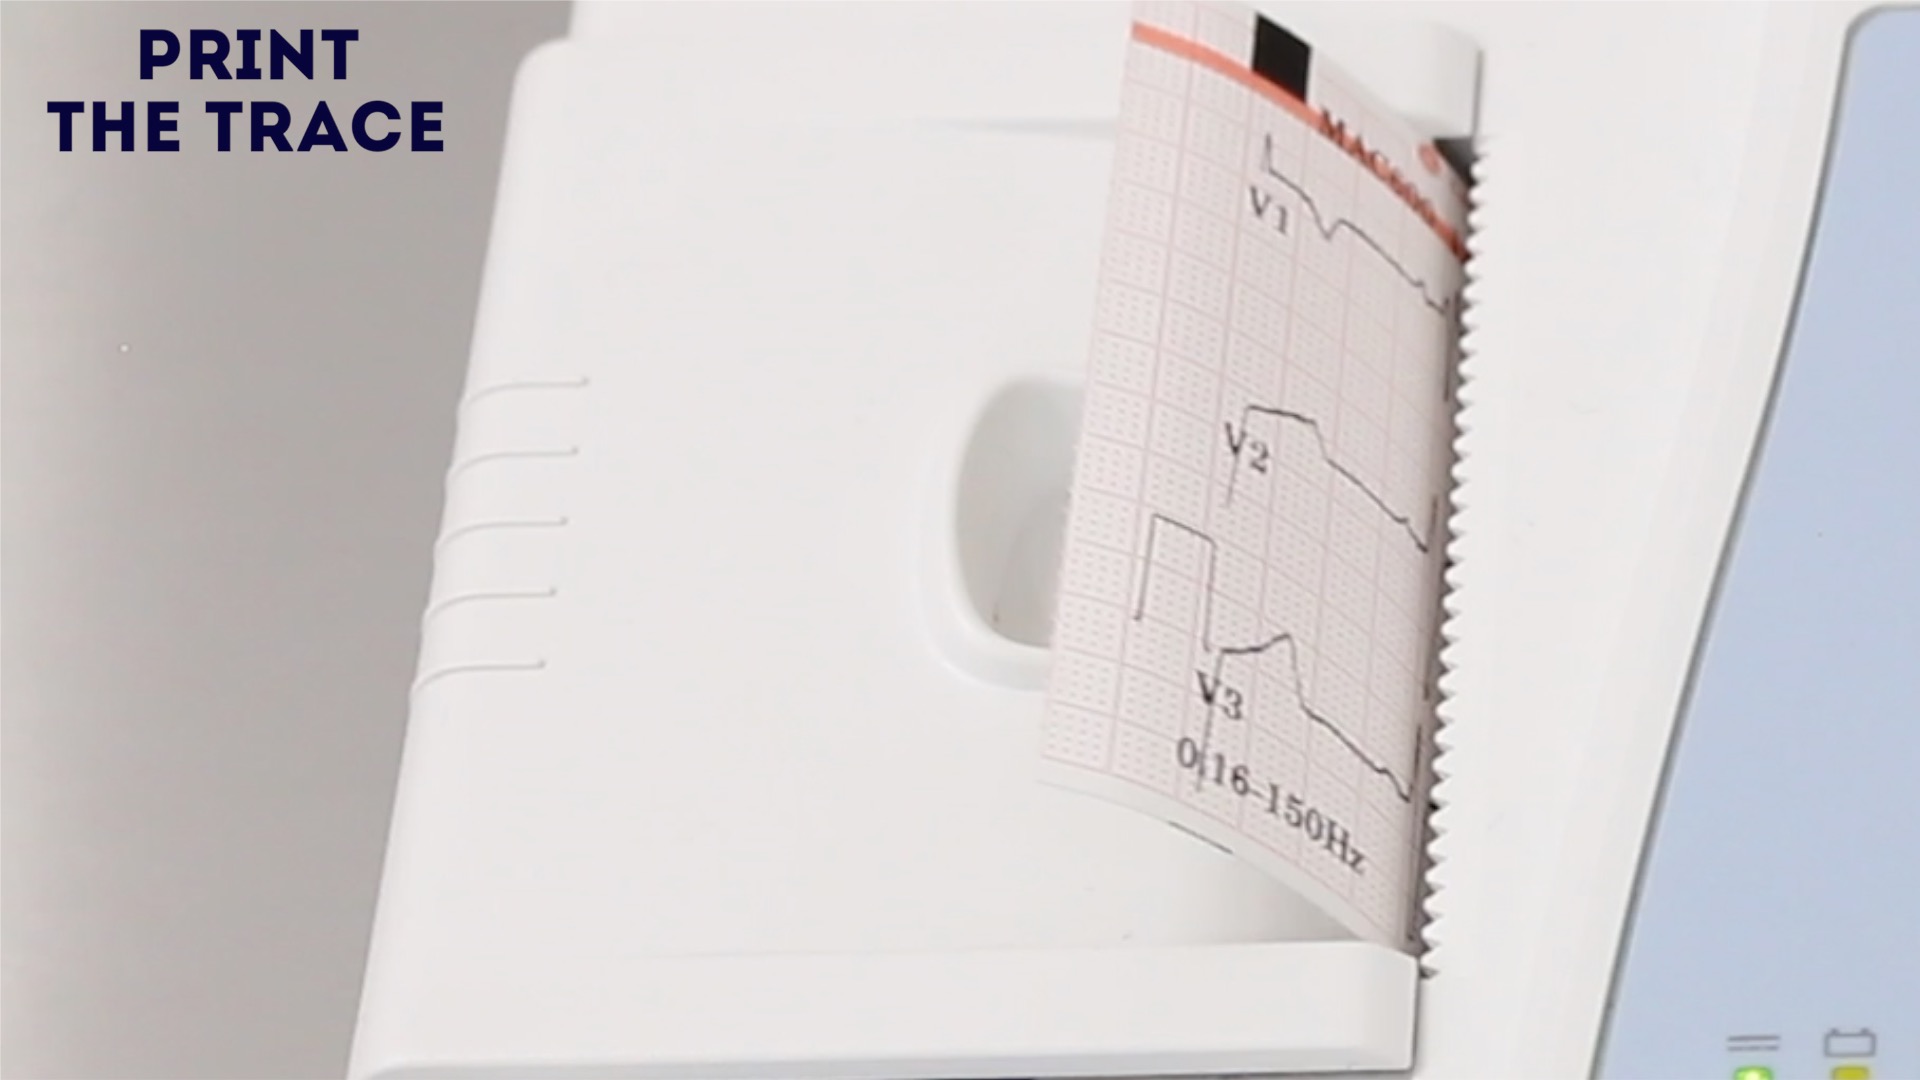
4. Press the appropriate button on the ECG machine to record the ECG trace. If the ECG trace is poor, double-check the connections to ensure there is good skin contact.
- Politely ask the patient to remain still

To complete the procedure…
Once an ECG trace has been obtained, switch off the ECG machine.
Detach the ECG leads from the electrodes and then remove the electrodes carefully, warning the patient this may feel uncomfortable.
Explain to the patient that the procedure is now complete.
Thank the patient for their time.
Label the ECG with the patient’s details:
- Name
- Date of birth
- Hospital number
- Indication for the ECG
Dispose of PPE appropriately and wash your hands.
Document your findings in the patient’s notes (see our guide to ECG documentation).
To learn about interpreting ECGs, see our how to read an ECG guide.
Reviewer
Michelle Spence
Senior nurse practitioner
