- 📖 Geeky Medics OSCE Book
- ⚡ Geeky Medics Bundles
- ✨ 1300+ OSCE Stations
- ✅ OSCE Checklist PDF Booklet
- 🧠 UKMLA AKT Question Bank
- 💊 PSA Question Bank
- 💉 Clinical Skills App
- 🗂️ Flashcard Collections | OSCE, Medicine, Surgery, Anatomy
- 💬 SCA Cases for MRCGP
To be the first to know about our latest videos subscribe to our YouTube channel 🙌
This lying and standing blood pressure guide provides a clear step-by-step approach to measuring lying and standing blood pressure to identify postural hypotension, with a video demonstration.
Gather equipment
Gather the relevant equipment for measuring lying and standing blood pressure:
- Stethoscope
- Sphygmomanometer: ensure you have an appropriately sized cuff
Introduction
Wash your hands and don PPE if appropriate.
Introduce yourself to the patient, including your name and role.
Confirm the patient’s name and date of birth.
Briefly explain what the procedure will involve using patient-friendly language: “Today, I would like to measure your blood pressure, both when you are lying down and when you stand up. This will help us detect if your blood pressure drops too low when you stand. I will first measure your blood pressure with you lying down, and then I will ask you to stand, and I will measure your blood pressure again. Please let me know if you experience any symptoms, such as dizziness, lightheadedness or visual disturbances. If you want me to stop at any point, just let me know.”
Gain consent to proceed with lying and standing blood pressure measurement.
Ask the patient to lie on the examination couch for at least five minutes before continuing.
Lying blood pressure
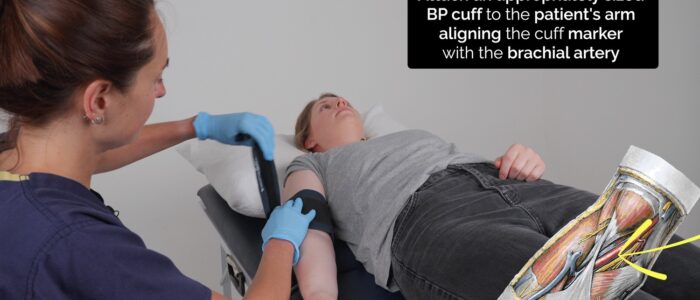
Attach the blood pressure cuff
1. Check that the blood pressure cuff size is appropriate for the patient’s arm and that it is fully deflated
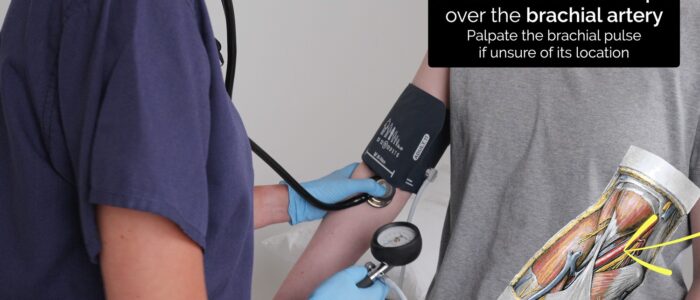
2. Confirm the location of the brachial artery by palpating medial to the biceps brachii tendon and lateral to the medial epicondyle of the humerus
3. Wrap the blood pressure cuff around the patient’s upper arm, lining up the cuff marker with the brachial artery
Estimate an approximate systolic blood pressure
To begin with, you need to determine an approximate systolic blood pressure. This helps prevent over-tightening of the cuff during the accurate measurement of blood pressure.
1. Ensure the valve on the blood pressure cuff is closed
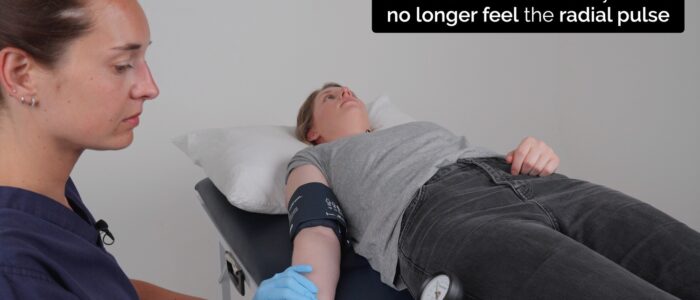
2. Palpate the patient’s radial pulse, located at the radial side of the wrist, with the tips of your index and middle fingers aligned longitudinally over the course of the artery
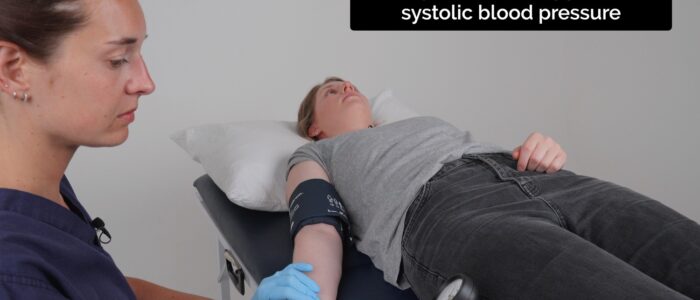
3. Inflate the blood pressure cuff until you can no longer feel the patient’s radial pulse. Note the reading on the sphygmomanometer at the point at which the radial pulse becomes impalpable. This reading is an approximate estimate of the patient’s systolic blood pressure.
4. Open the valve and deflate the blood pressure cuff
Measure the blood pressure accurately
Now that you have an approximate systolic pressure, you can accurately assess systolic and diastolic blood pressure.
1. Close the valve on the blood pressure cuff
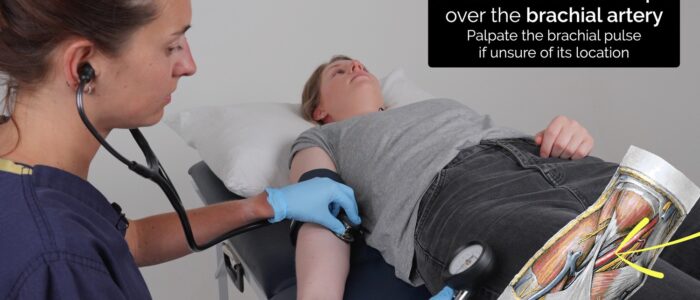
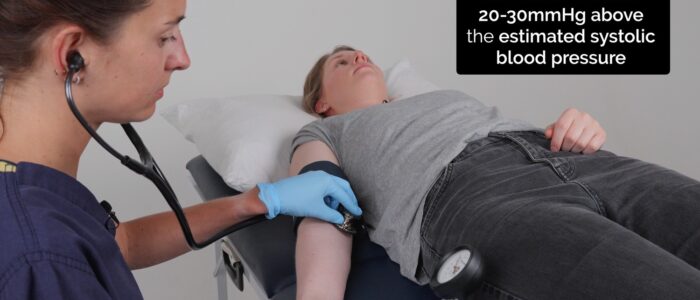
2. Position the diaphragm of your stethoscope over the brachial artery
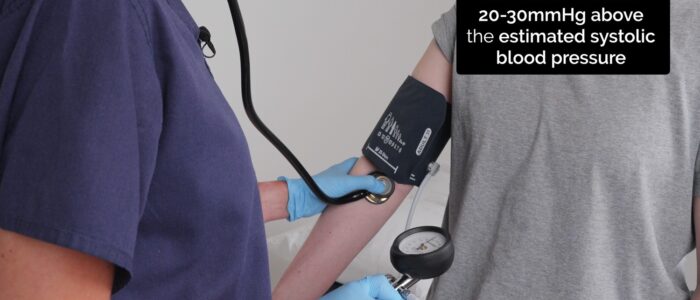
3. Re-inflate the cuff 20-30 mmHg above the systolic blood pressure you previously estimated
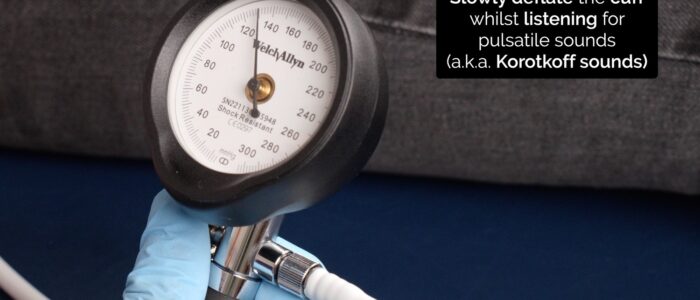
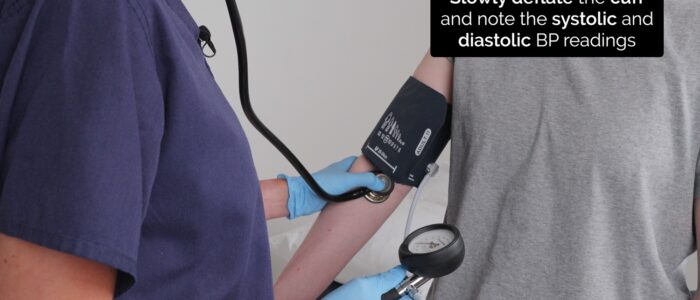
4. Then slowly deflate the cuff at around 2-3 mmHg per second
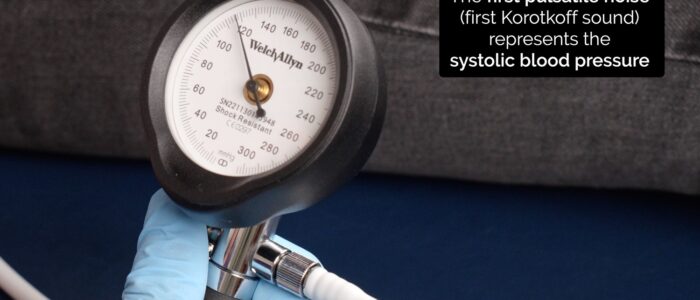
5. Using your stethoscope, listen carefully for the onset of a pulsatile noise. The first of these pulsatile noises is known as the first Korotkoff sound. The pressure at which the first Korotkoff sound becomes audible represents the patient’s systolic blood pressure.
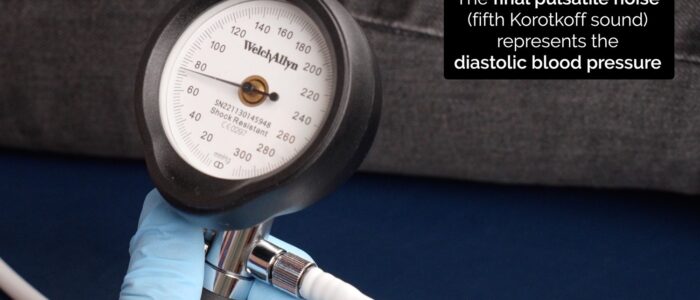
6. Continue deflating the cuff while listening through your stethoscope until the pulsatile sound completely disappears. The final pulsatile noise you hear is the fifth Korotkoff sound, representing the patient’s diastolic blood pressure.
Standing blood pressure
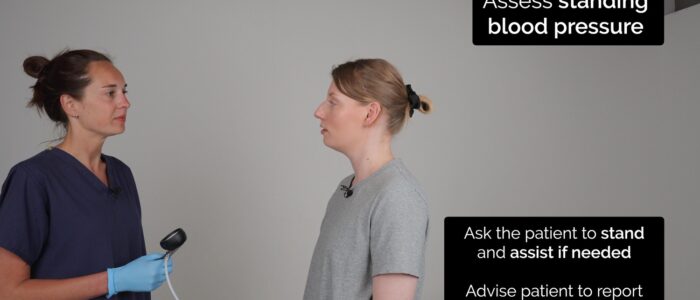
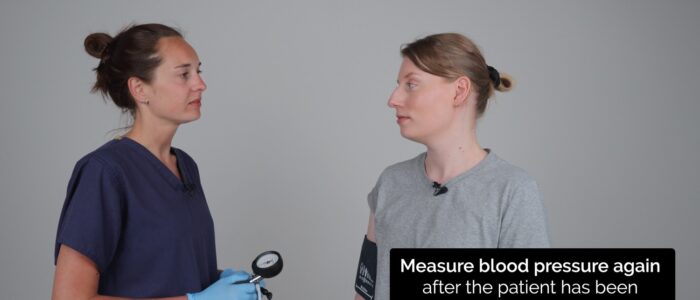
1. Ask the patient to stand and inform you if they experience any symptoms (e.g. dizziness, light-headedness, visual disturbance)
2. Measure the blood pressure within the first minute of standing by auscultating over the brachial artery, using the same technique as before
3. Measure the blood pressure after three minutes of standing
4. If blood pressure is dropping, continue to repeat the blood pressure measurements
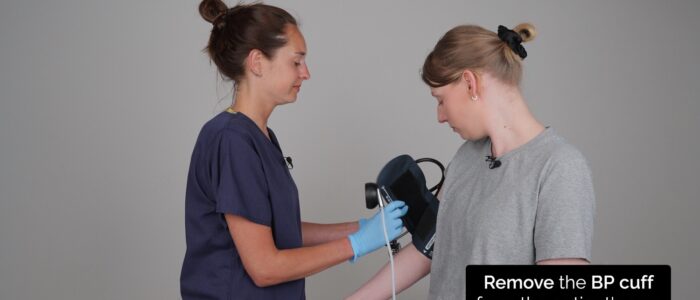
5. Remove the blood pressure cuff from the patient
Postural hypotension (orthostatic hypotension)
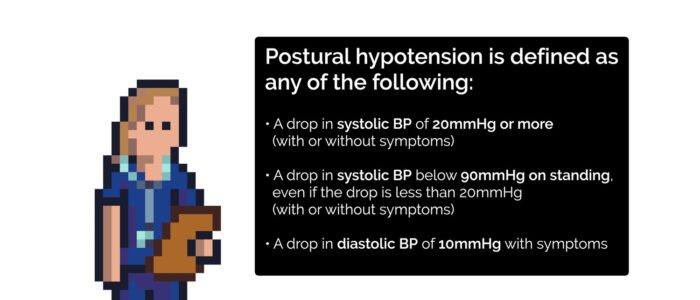
Postural hypotension, also known as orthostatic hypotension, is defined as:
- A drop in systolic BP of ≥ 20mmHg (with or without symptoms)
- A drop in systolic BP to below 90mmHg on standing, even if the actual drop is less than 20mmHg (with or without symptoms)
- A drop in diastolic BP of 10mmHg with symptoms (this is less clinically significant)
For more information on the causes and management, see the Geeky Medics guide to postural hypotension.
To complete the procedure
Explain to the patient that the procedure is now complete.
Discuss the lying and standing blood pressure results with the patient, including any further steps that may need to occur (e.g. follow-up, patient education about postural hypotension).
Thank the patient for their time.
Dispose of PPE appropriately and wash your hands.
Document the lying and standing blood pressure recording and any symptoms in the patient’s notes.
References
- Royal College of Physicians. Measurement of lying and standing blood pressure: A brief guide for clinical staff. Published in 2017. Available from: [LINK]


