
- 📖 Geeky Medics OSCE Book
- ⚡ Geeky Medics Bundles
- ✨ 1300+ OSCE Stations
- ✅ OSCE Checklist PDF Booklet
- 🧠 UKMLA AKT Question Bank
- 💊 PSA Question Bank
- 💉 Clinical Skills App
- 🗂️ Flashcard Collections | OSCE, Medicine, Surgery, Anatomy
- 💬 SCA Cases for MRCGP
To be the first to know about our latest videos subscribe to our YouTube channel 🙌
Taking an arterial blood gas (ABG) involves using a needle and syringe to directly sample blood from an artery (typically the radial artery). Below is a step-by-step guide to taking an arterial blood gas sample in an OSCE setting, with an included video demonstration.
Gather equipment
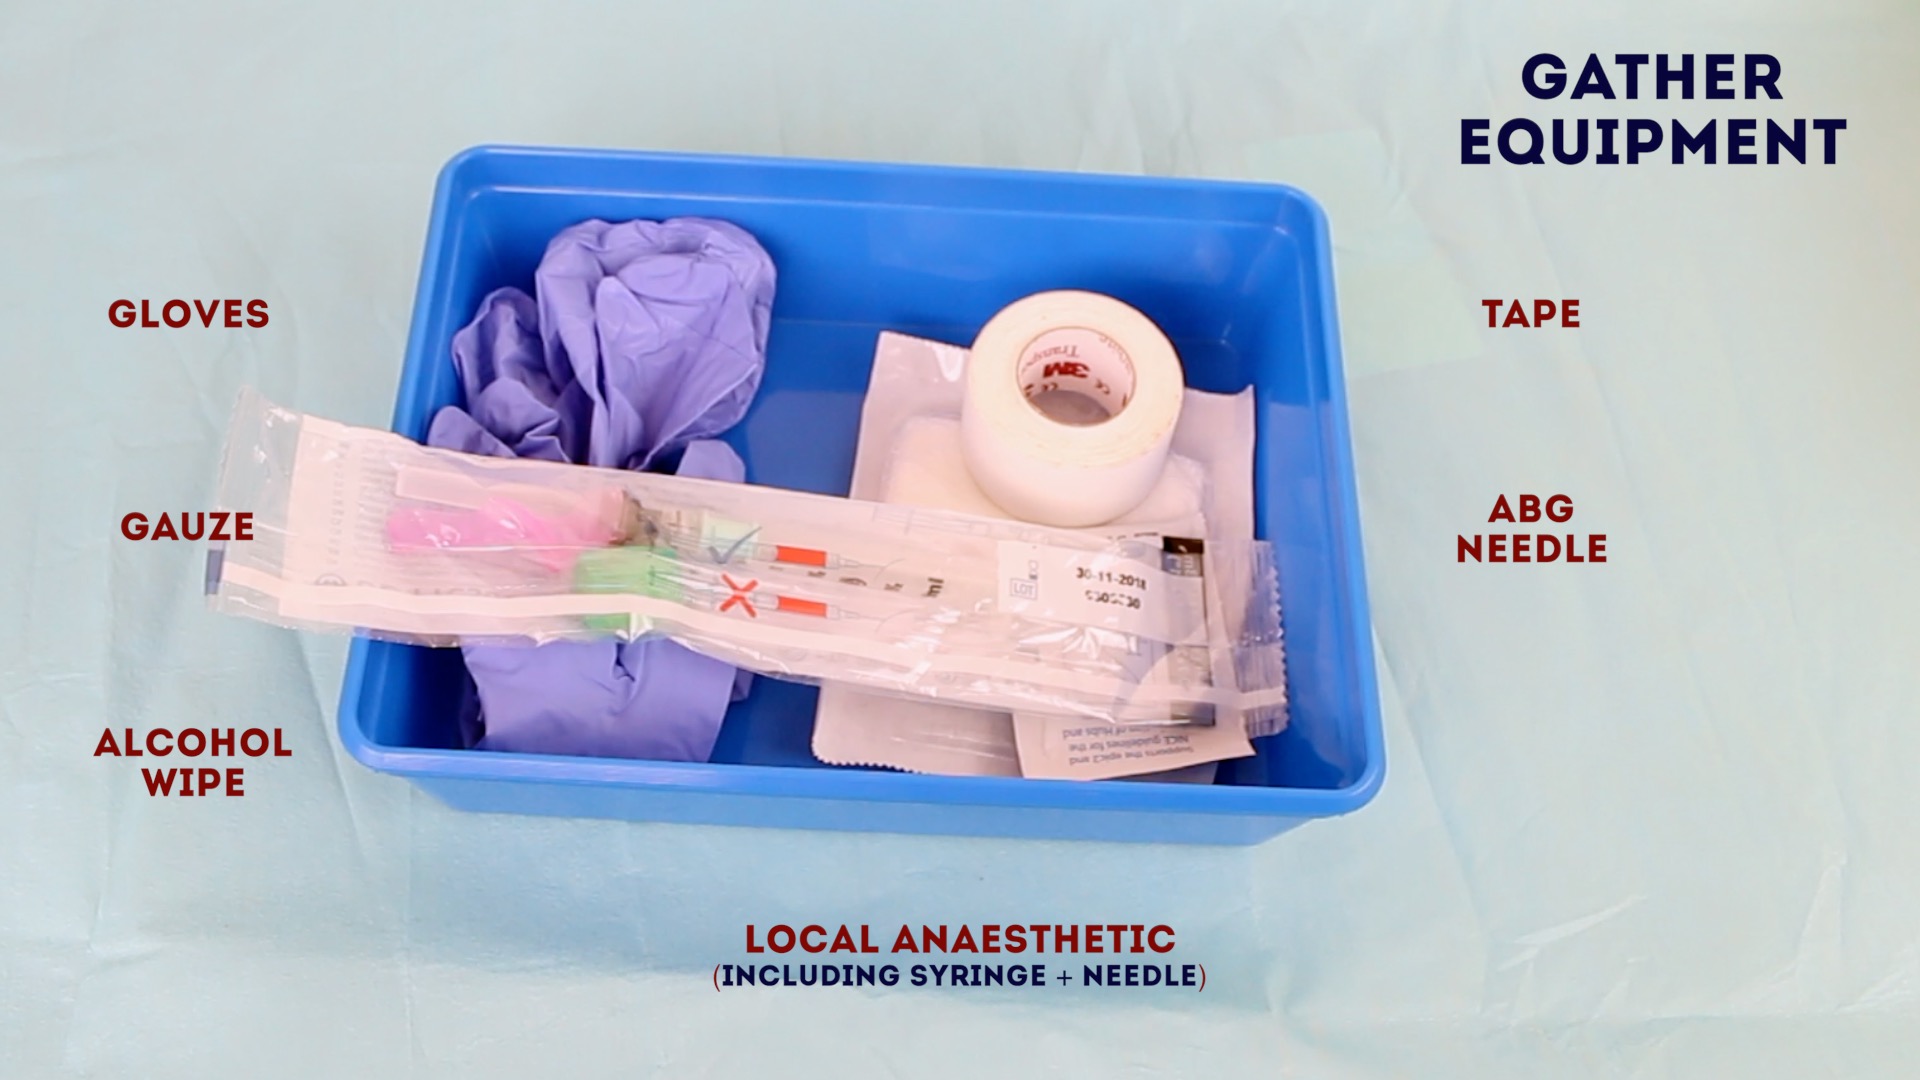
Gather the appropriate equipment:
- Gloves
- Apron
- Pre-heparinised arterial blood gas syringe and bung or cap
- Arterial blood gas needle (23 G)
- Alcohol wipe (70% isopropyl)
- Gauze or cotton wool
- Tape
- Lidocaine 1% (1 mL)
- Subcutaneous needle (25-27 G)
- Small syringe for lidocaine (1-2 ml)
- Sharps container
 Gather ABG equipment
Introduction
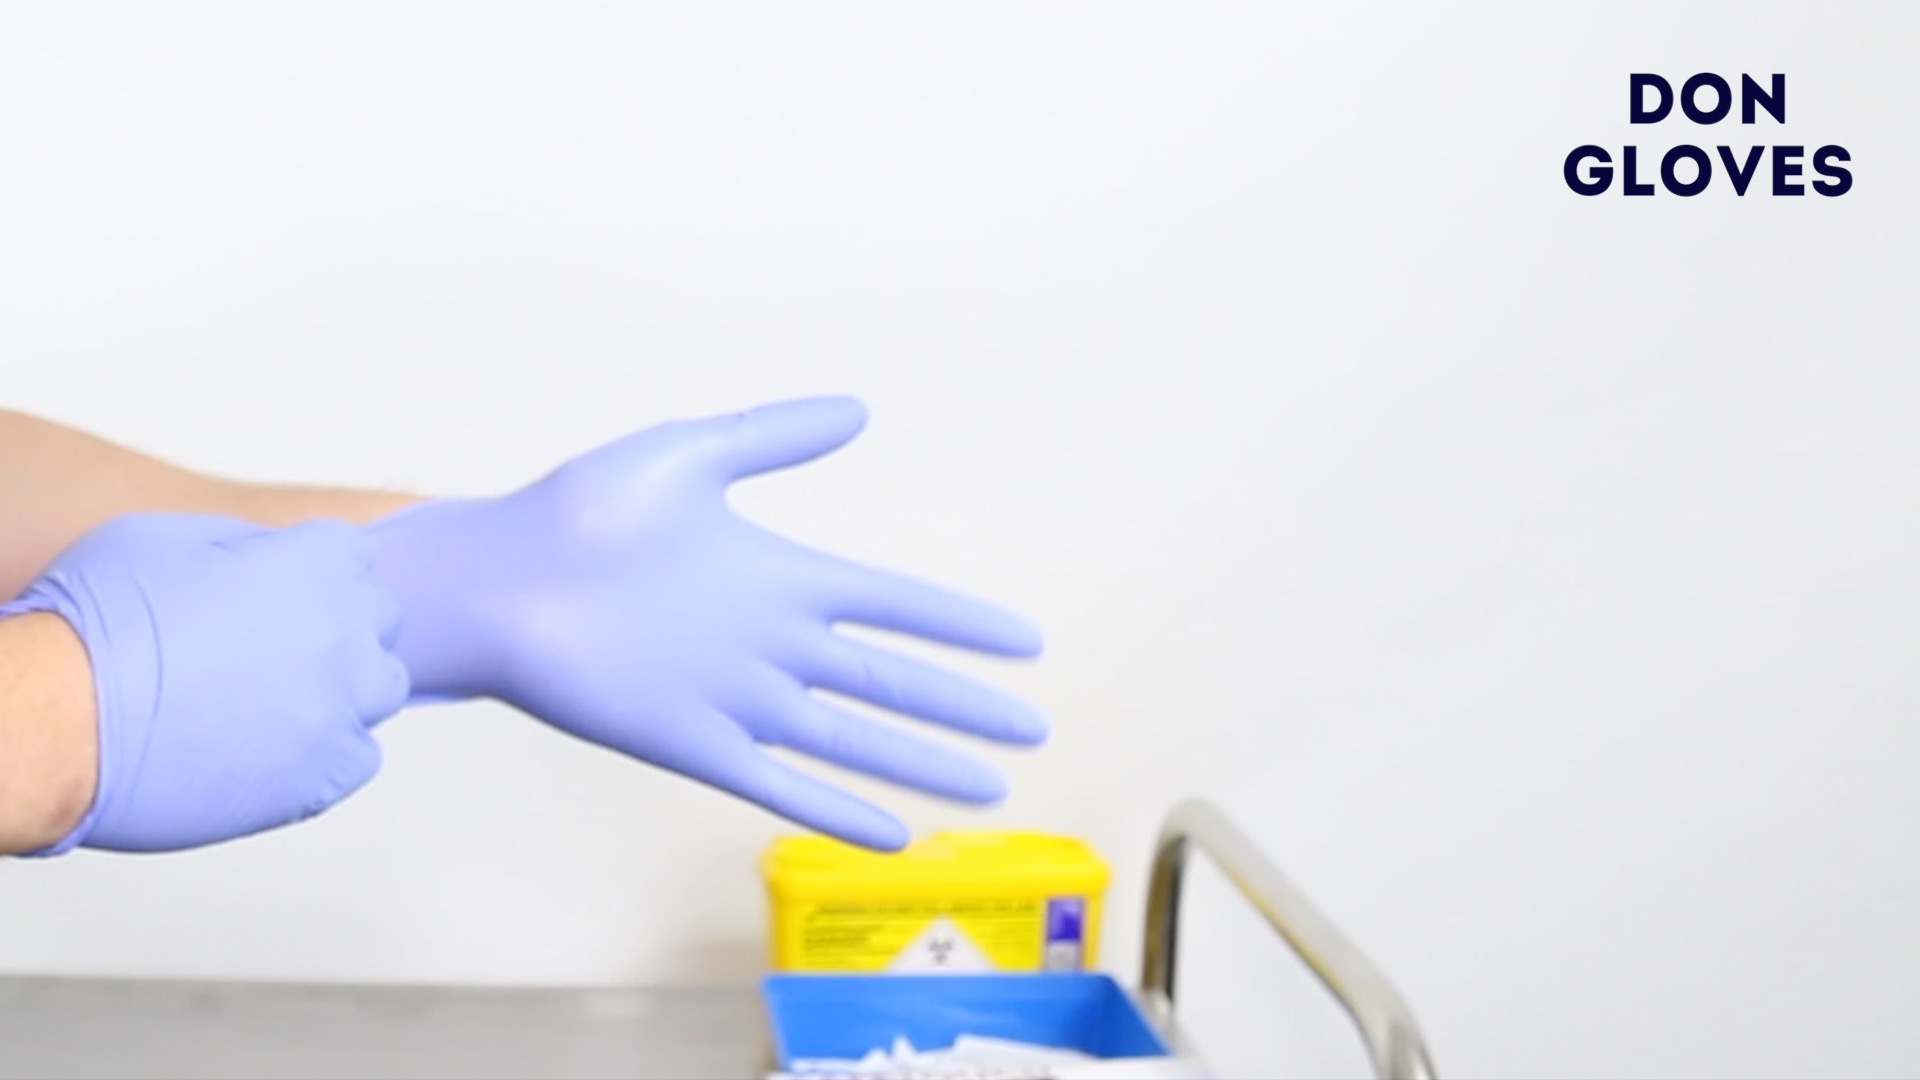
Wash your hands and don PPE if appropriate.
Introduce yourself to the patient including your name and role.
Confirm the patient’s name and date of birth.
Briefly explain what the procedure will involve using patient-friendly language: “I need to take a sample of blood from an artery in your wrist to accurately assess your oxygen levels. The procedure will be a little painful, however, it should only take a short amount of time. If you want me to stop at any point, just let me know. The procedure does involve some risks which include bleeding, bruising, infection and very rarely permanent damage to the artery being sampled from.“
Check for any contraindications to arterial blood gas sampling:
- Absolute contraindications: peripheral vascular disease in the limb, cellulitis surrounding the site or arteriovenous fistula.
- Relative contraindications: impaired coagulation (e.g. anticoagulation therapy, liver disease, low platelets <50).
Check if the patient has an allergy to local anaesthetic (e.g. lidocaine).
Gain consent to proceed with arterial blood gas sampling.
Adequately expose the patient’s wrist for the procedure.
Position the patient so that they are sitting comfortably, ideally with their wrist supported by a pillow. If a bed is available, the patient can lay down for the procedure (this is sometimes preferable, particularly if the patient is prone to vasovagal syncope).
Ask the patient if they have any pain before continuing with the clinical procedure.
How oxygen therapy impacts ABG results
- PaO2 should be greater than 10 kPa when oxygenating on room air in a healthy patient.
- If the patient is receiving oxygen therapy their PaO2 should be approximately 10kPa less than the % inspired concentration FiO2 (so a patient on 40% oxygen would be expected to have a PaO2 of approximately 30kPa).
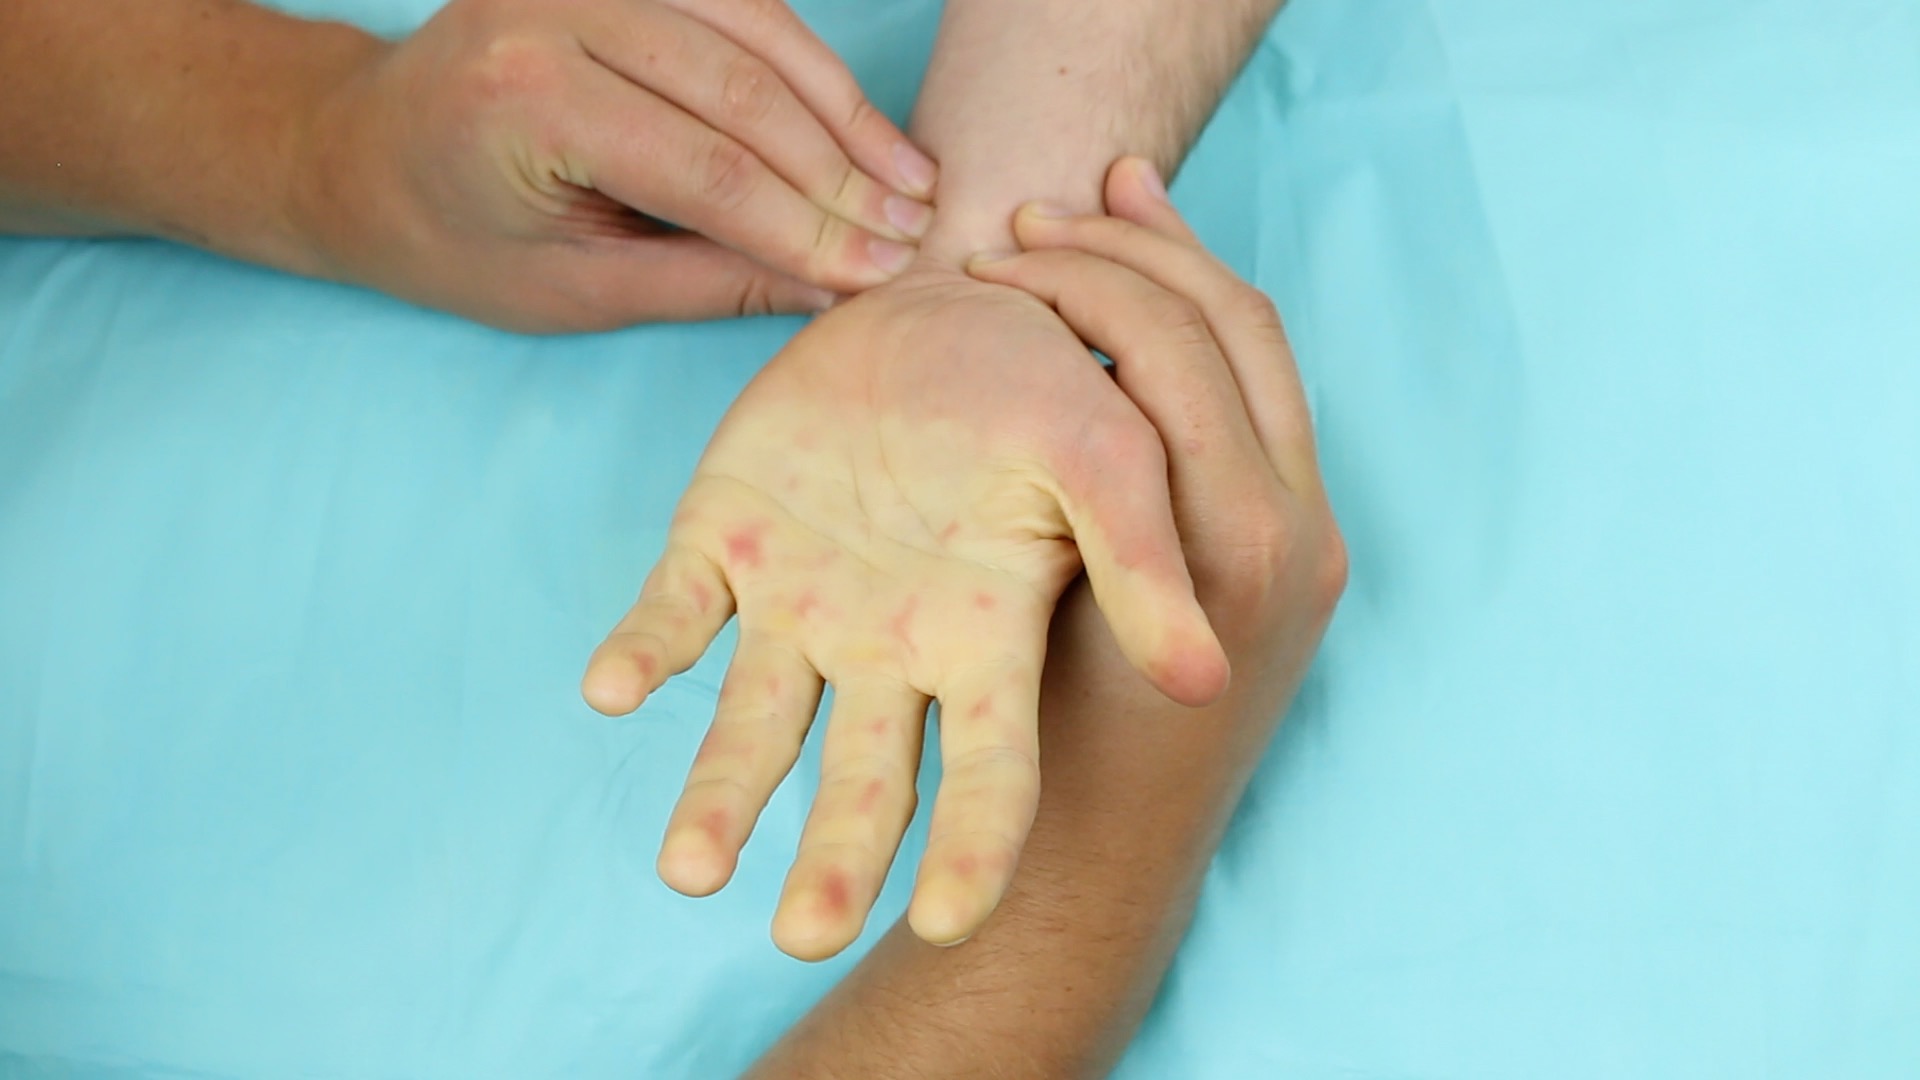
Modified Allen’s test
Before taking a sample from the radial artery, a modified Allen’s test should be performed to assess the collateral arterial supply of the hand from the ulnar artery. The idea behind this assessment is to make sure the patient’s hand isn’t exclusively reliant on the radial artery for its blood supply, in which case sampling should be avoided.
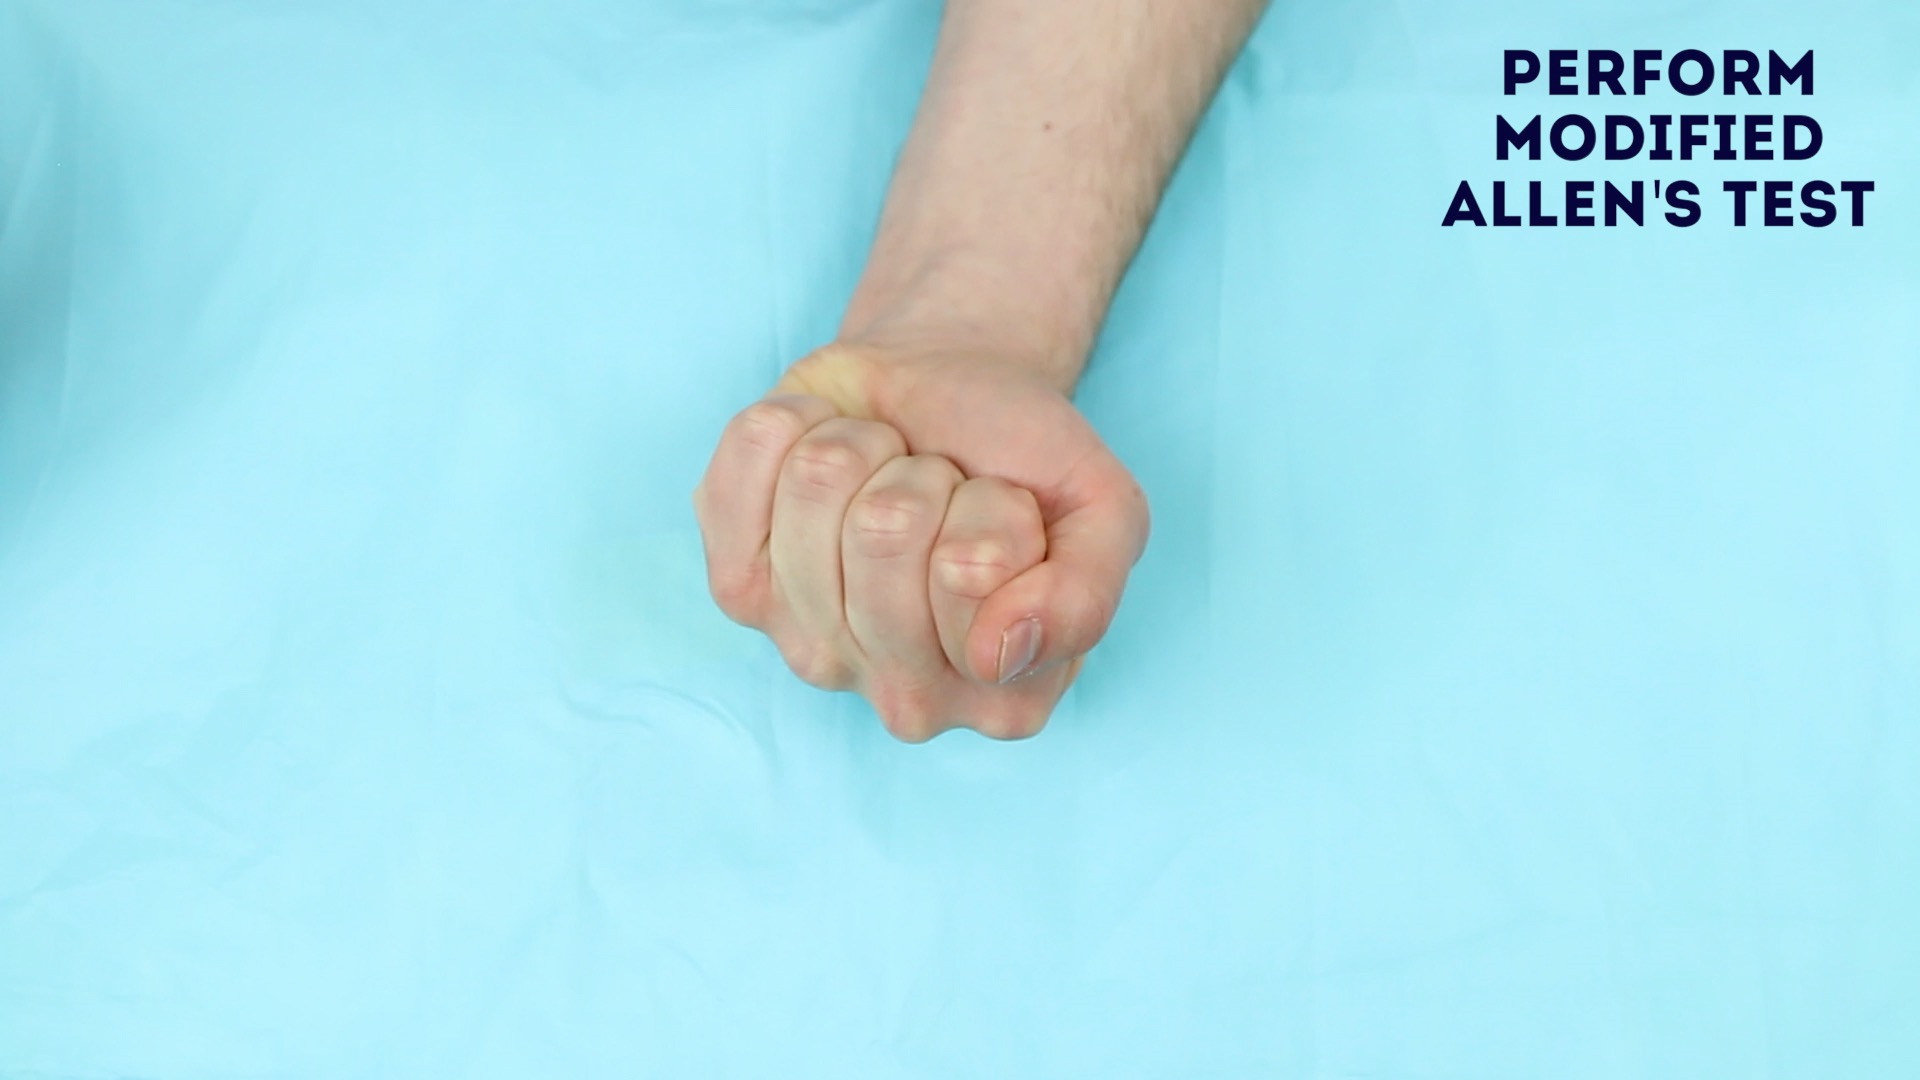
To perform a modified Allen’s test:
1. Ask the patient to clench their fist.
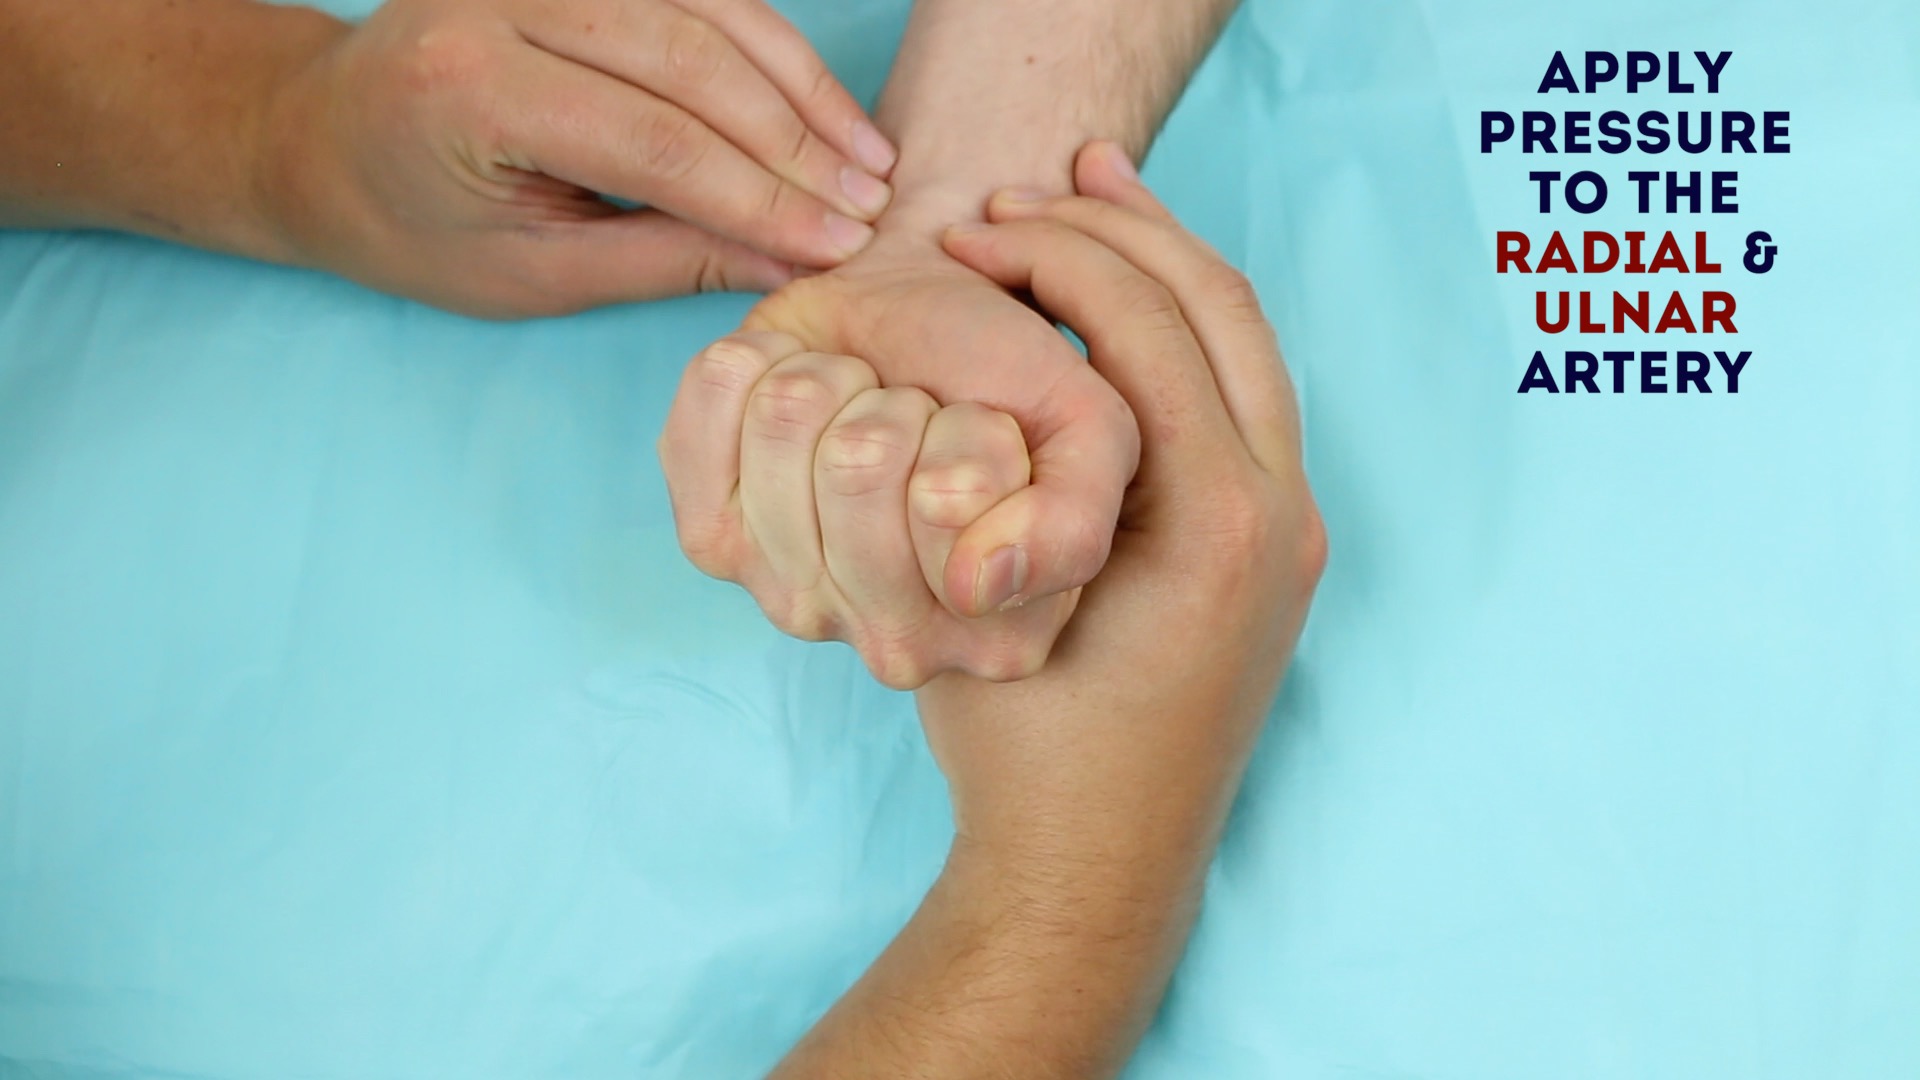
2. Apply pressure over the radial and ulnar artery to occlude both vessels.
3. Ask the patient to open their hand, which should now appear blanched. If the hand does not appear it suggests you are not completely occluding the arteries with your fingers.
4. Remove the pressure from the ulnar artery whilst maintaining pressure over the radial artery.
5. If there is adequate blood supply from the ulnar artery, the normal colour should return to the entire hand within 5-15 seconds. If the return of colour takes longer, this suggests poor collateral circulation Do not perform arterial blood gas sampling on a hand that does not appear to have an adequate collateral blood supply.
It should be noted that there is no evidence performing this test reduces the rate of ischaemic complications of arterial sampling.
- Ask the patient to clench their fist


Preparation
Oxygen and body temperature
Note the patient’s body temperature and if the patient is currently receiving oxygen therapy, note the oxygen delivery device and flow rate.
These factors can significantly affect results and are taken into account by the arterial blood gas analyser.
Equipment
Remove all equipment from its packaging so that it is easily accessible during the procedure.
Attach the needle, with its protective cover intact, to the pre-heparinised ABG syringe.
Positioning
Position the patient’s hand preferably on a pillow for comfort with the wrist extended by approximately 20-30°.
Procedure
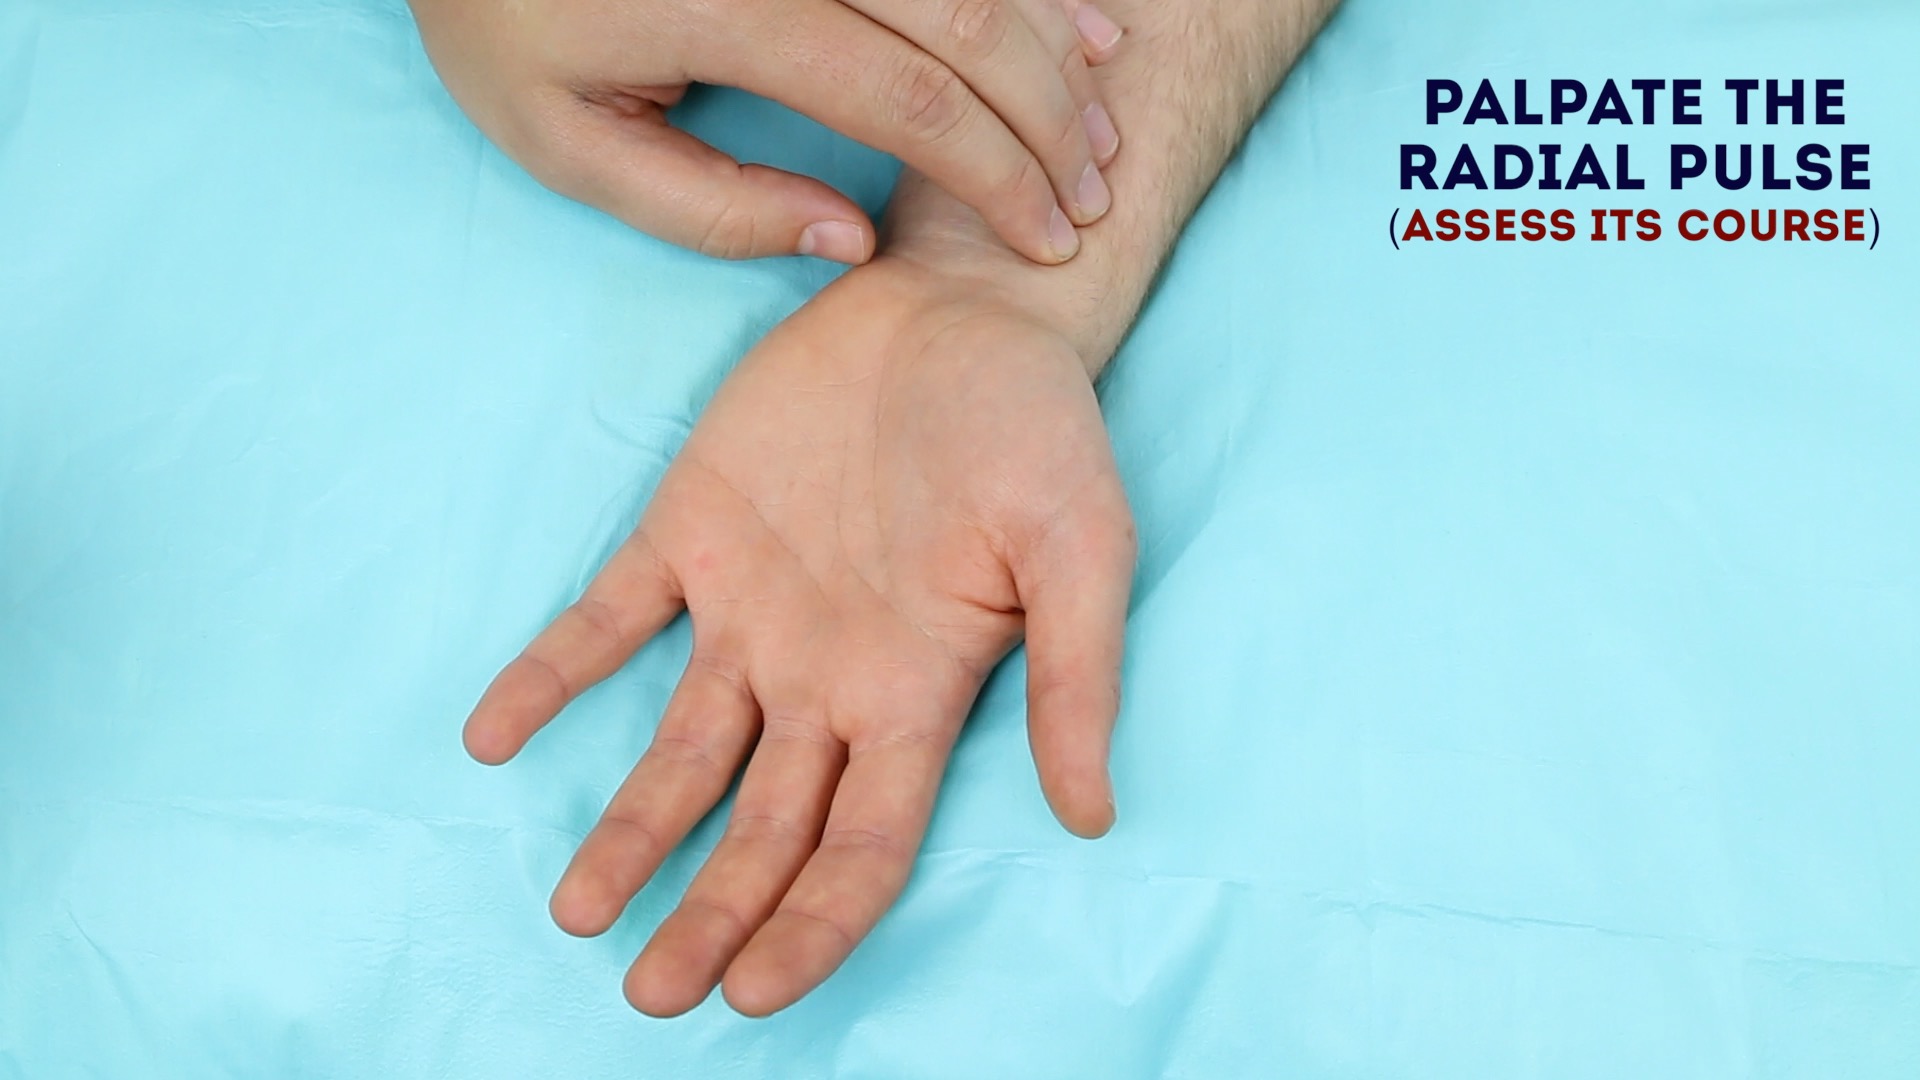
Palpation
Assess the course of the radial artery to determine where you plan to perform arterial sampling:
1. Palpate the radial artery over the wrist of the patient’s non-dominant hand to identify an ideal puncture site. You should use the tips of your fingers to clearly map out the course of the radial artery and then identify a distal site where the artery is most pulsatile. The radial artery is typically most superficial over the lateral anterior aspect of the wrist.
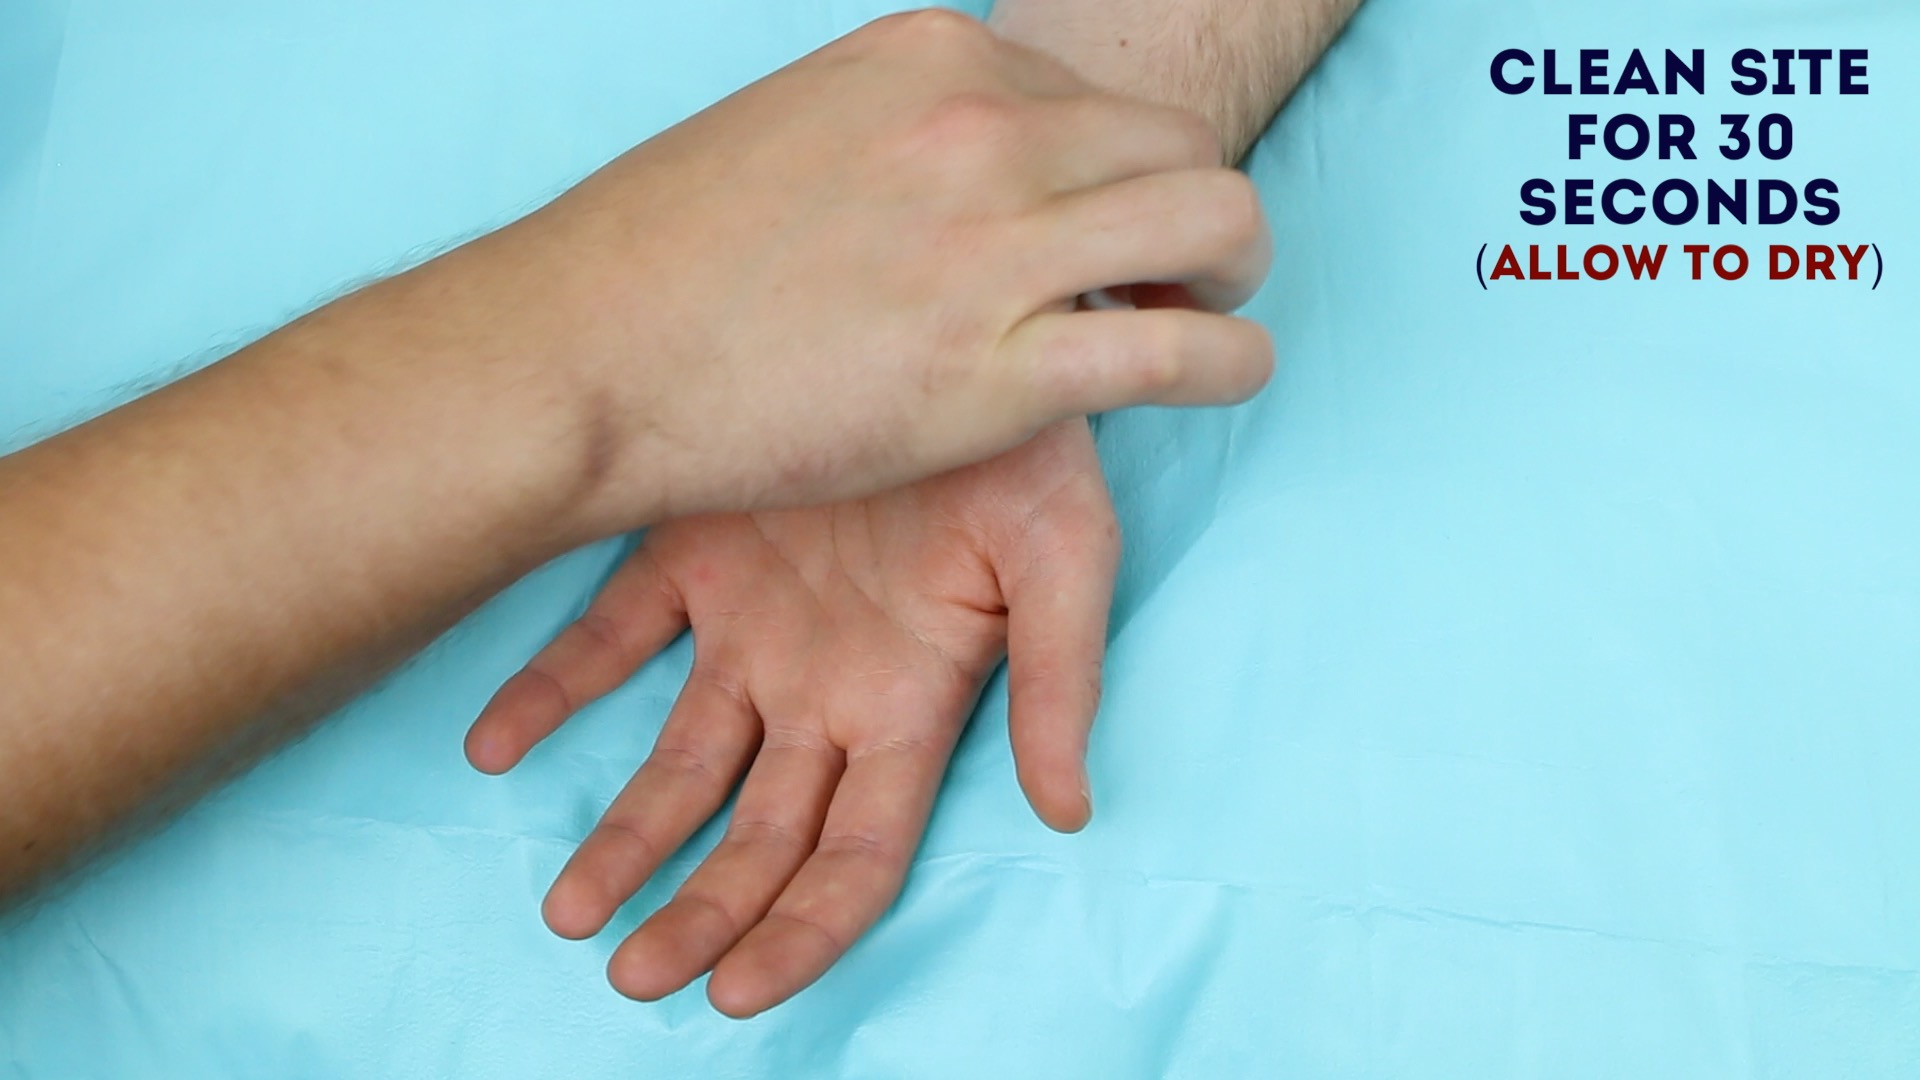
2. Once you have identified your planned puncture site, clean it with an alcohol wipe for 30 seconds and allow it to dry before proceeding.
3. Wash your hands again.
4. Don a pair of gloves and an apron.
- Palpate and assess the course of the radial artery

Local anaesthetic
Pain associated with arterial blood gas sampling can be markedly reduced by the use of subcutaneous local anaesthetic. The British Thoracic Society recommends the routine use of local anaesthetic for obtaining ABG samples except in the context of an emergency or if the patient is unconscious.
Prepare and administer lidocaine subcutaneously over the planned puncture site (aspirate to ensure you are not in a blood vessel before injecting the local anaesthetic). See our guide to subcutaneous injection for more details.
Allow at least 60 seconds for the local anaesthetic to work.
Arterial puncture
1. Remove the protective cover from the ABG needle and then flush through the heparin from the syringe.
2. Hold the patient’s wrist extended by approximately 20-30°.
3. Palpate the radial artery with your non-dominant hand’s index finger around 1cm proximal to the planned puncture site (avoiding contaminating the planned puncture site that you previously cleaned).
4. Warn the patient you are going to insert the needle.
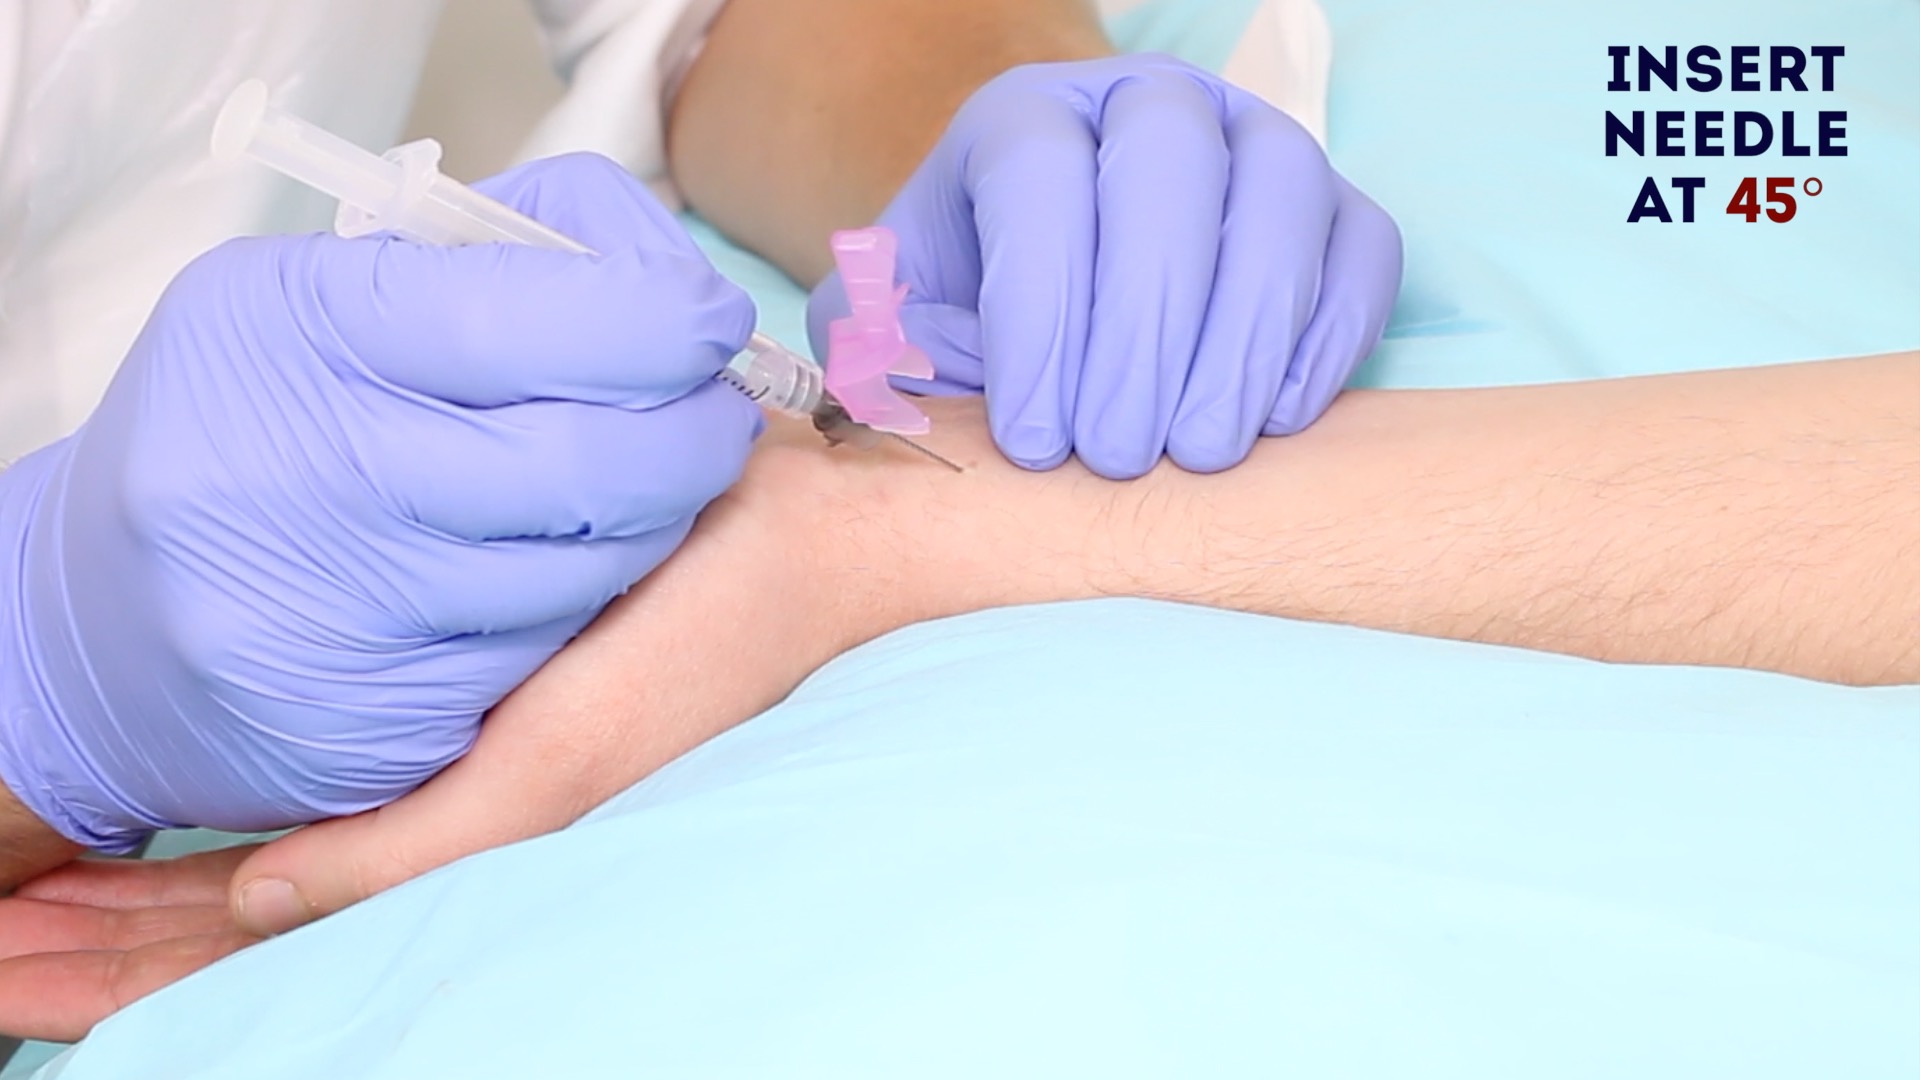
5. Holding the ABG syringe like a dart, insert the needle through the skin at the insertion site at an angle of 30-45°.
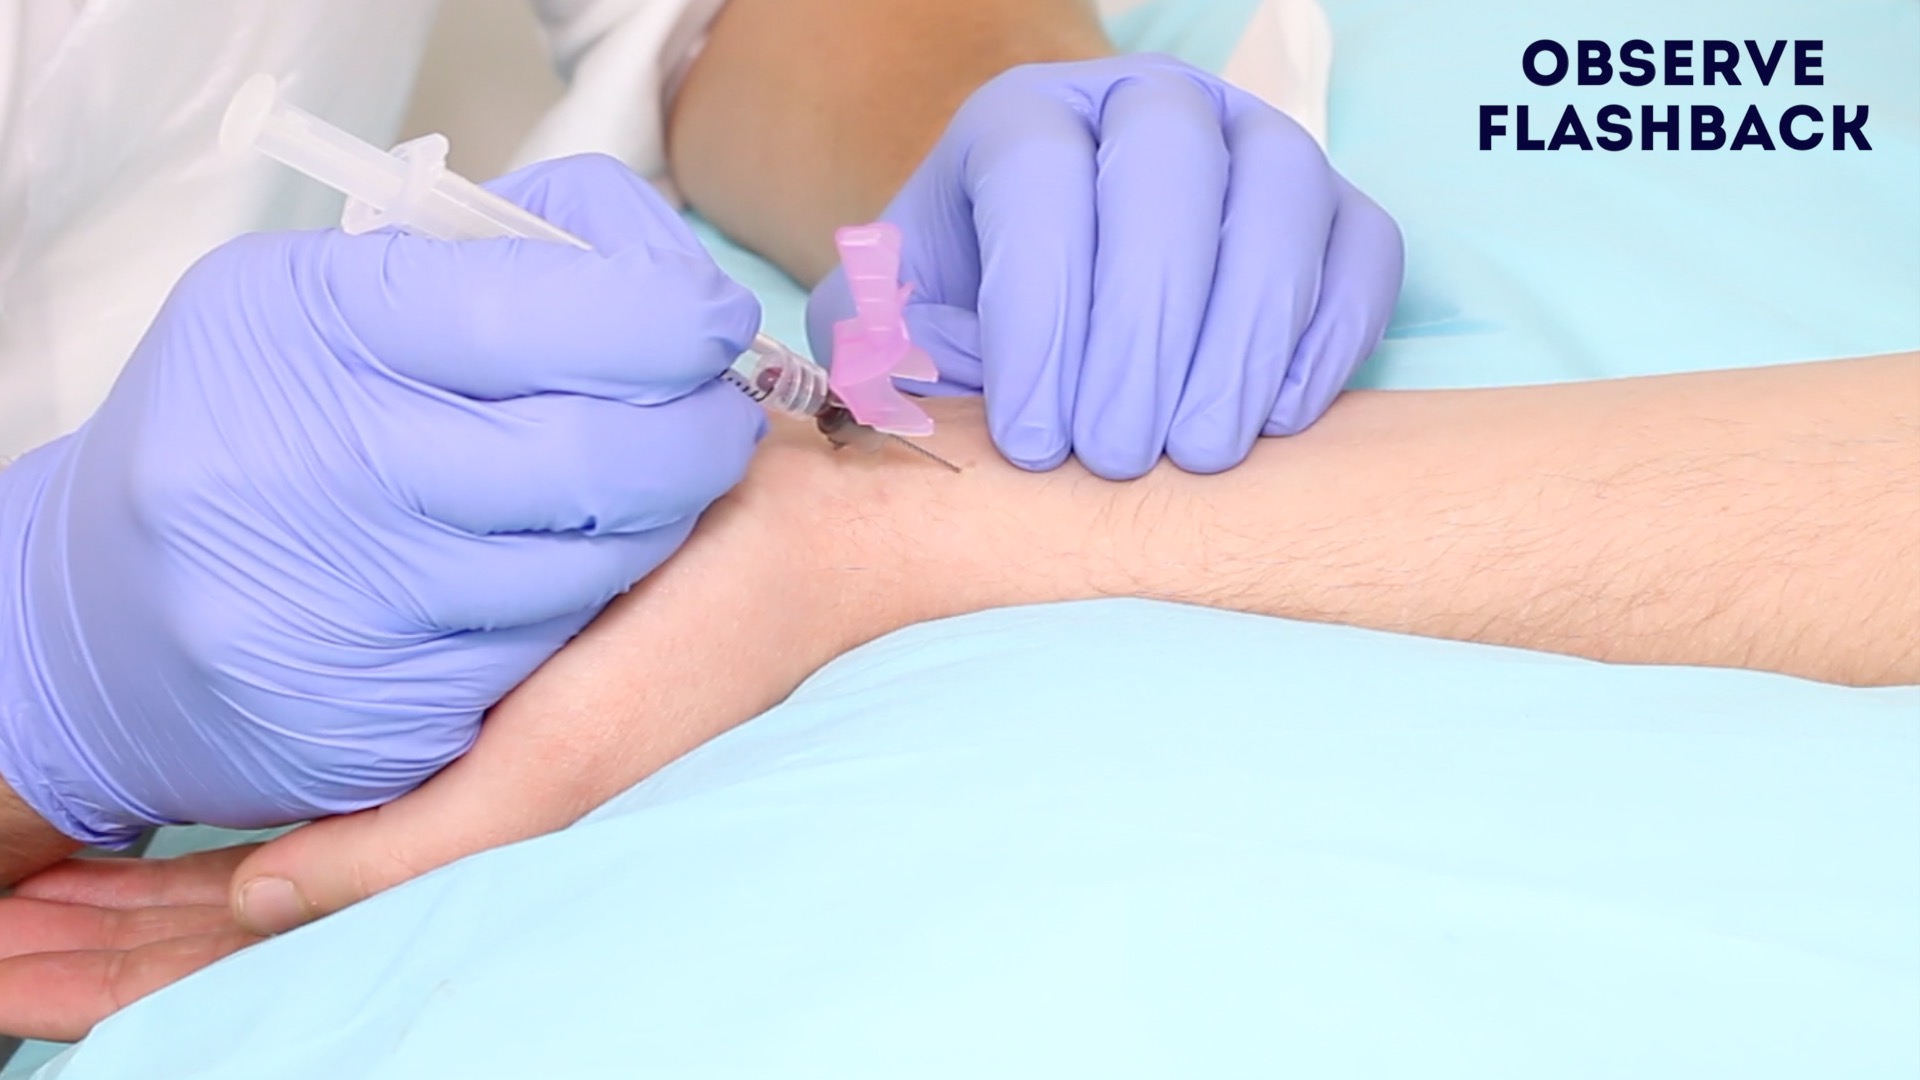
6. Continue to advance the needle slowly towards the pulsation until you feel a sudden reduction in resistance and see a rush of blood back into the ABG syringe (this is known as “flashback”).
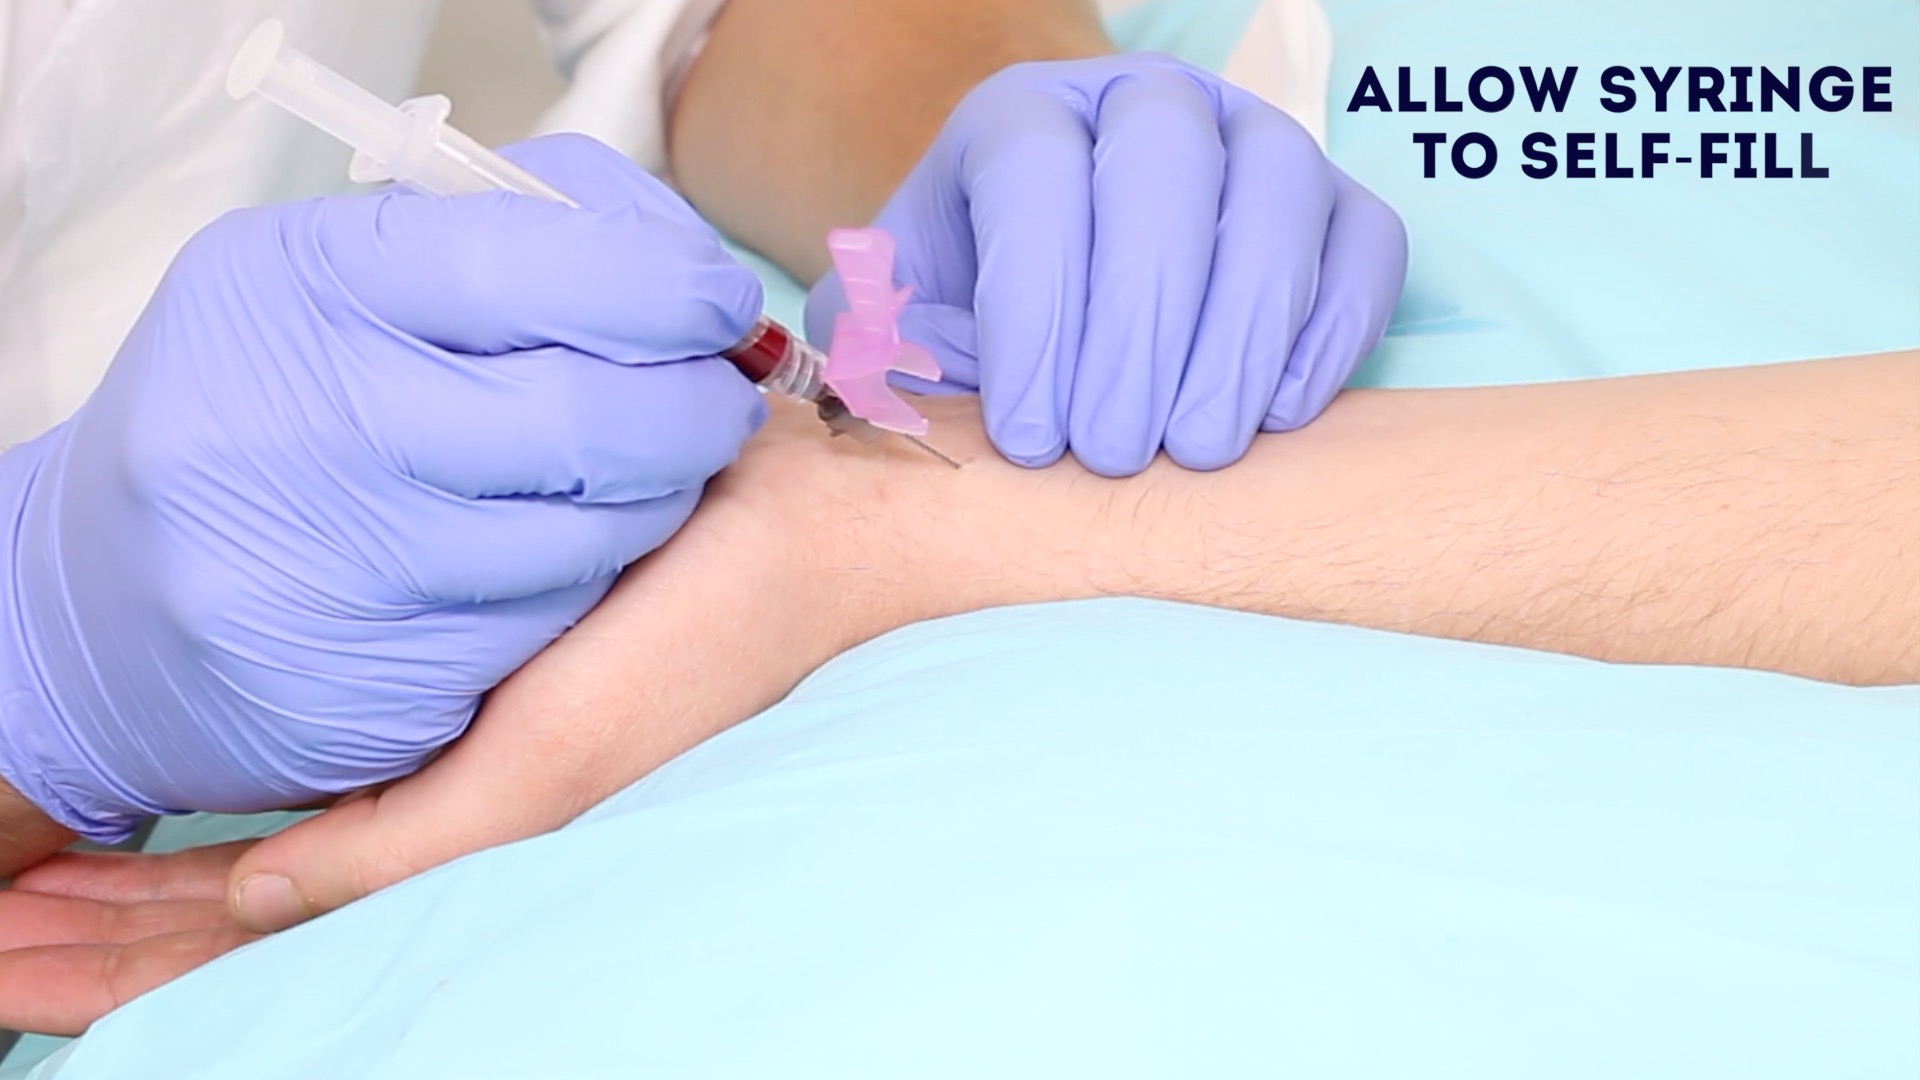
7. The ABG syringe should then begin to self-fill in a pulsatile manner. If this doesn’t happen, it may indicate you have gone through or missed the artery and therefore need to re-adjust your position based on your understanding of the course of the radial artery (e.g. change in angulation or slight withdrawal of the needle).
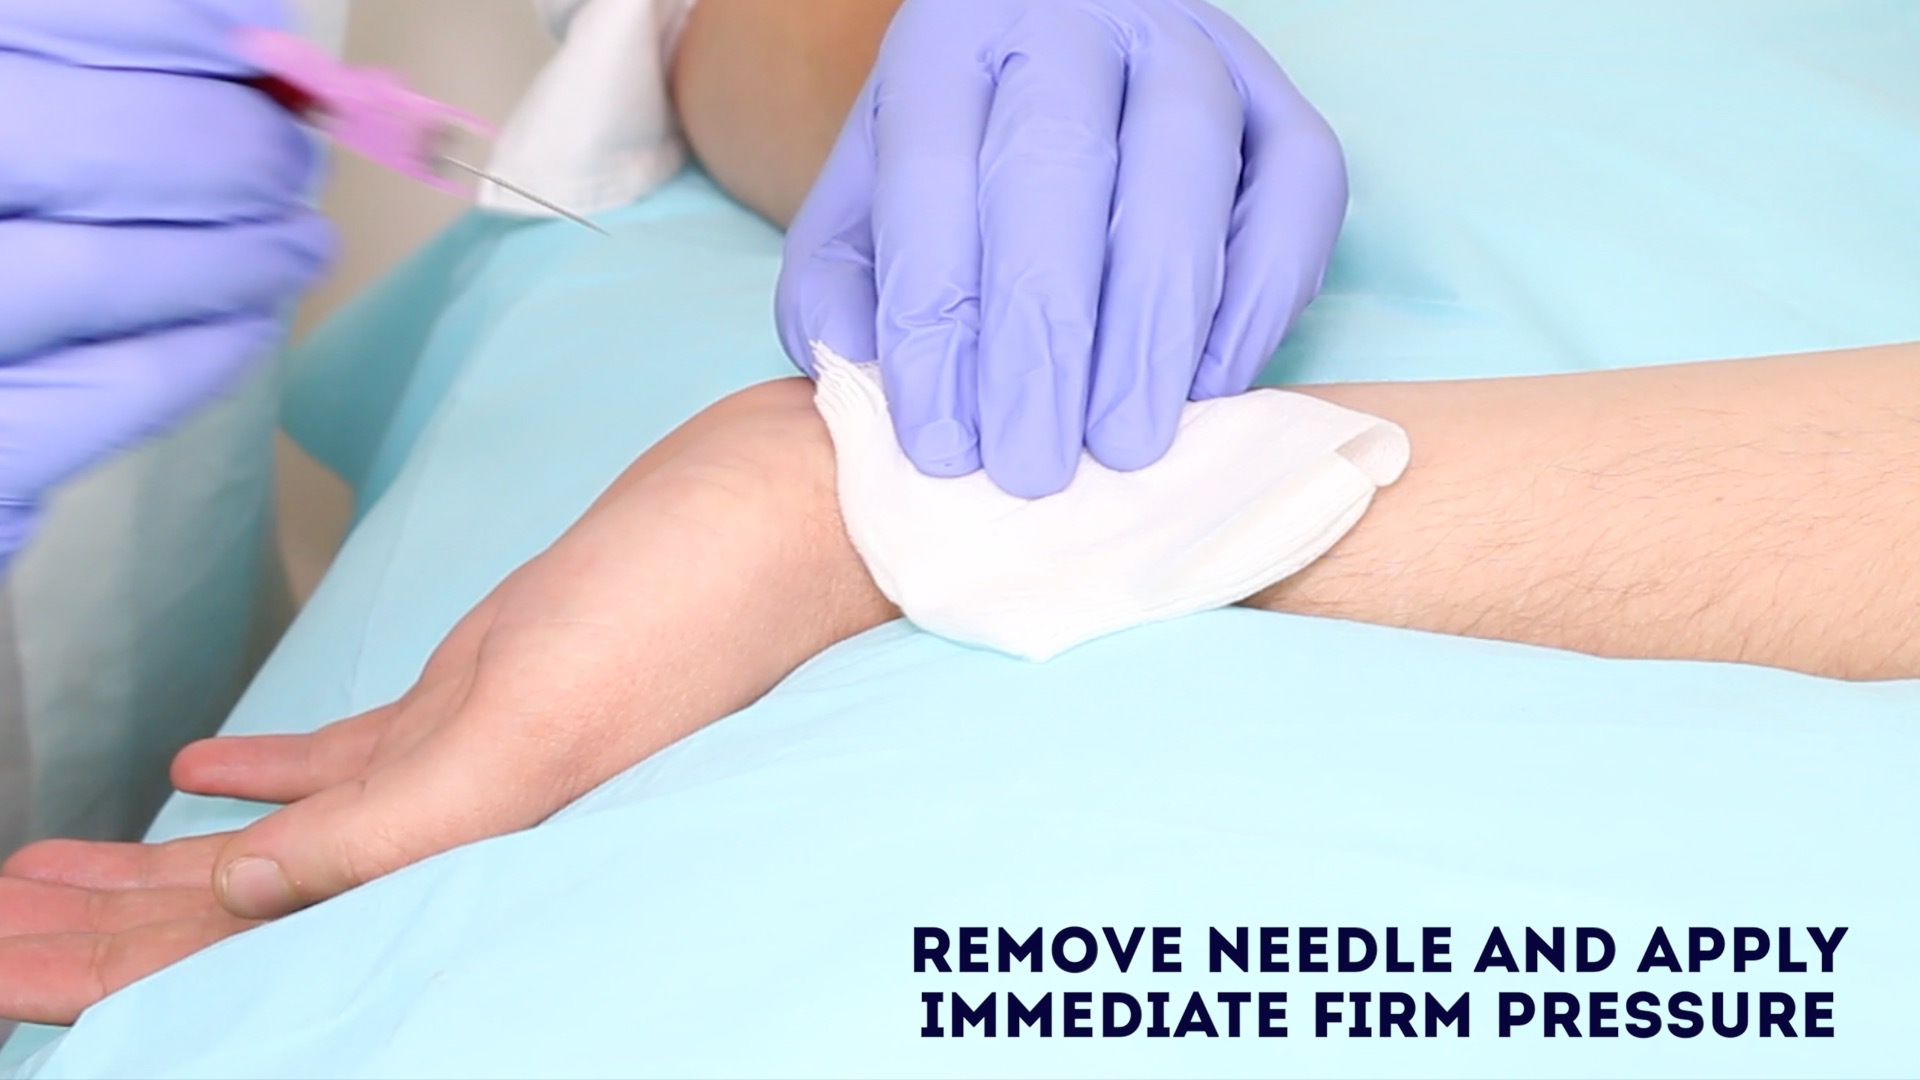
8. Once the required amount of blood has been collected, remove the needle and apply immediate firm pressure over the puncture site with some gauze. Secure the gauze with some tape and continue to apply pressure.
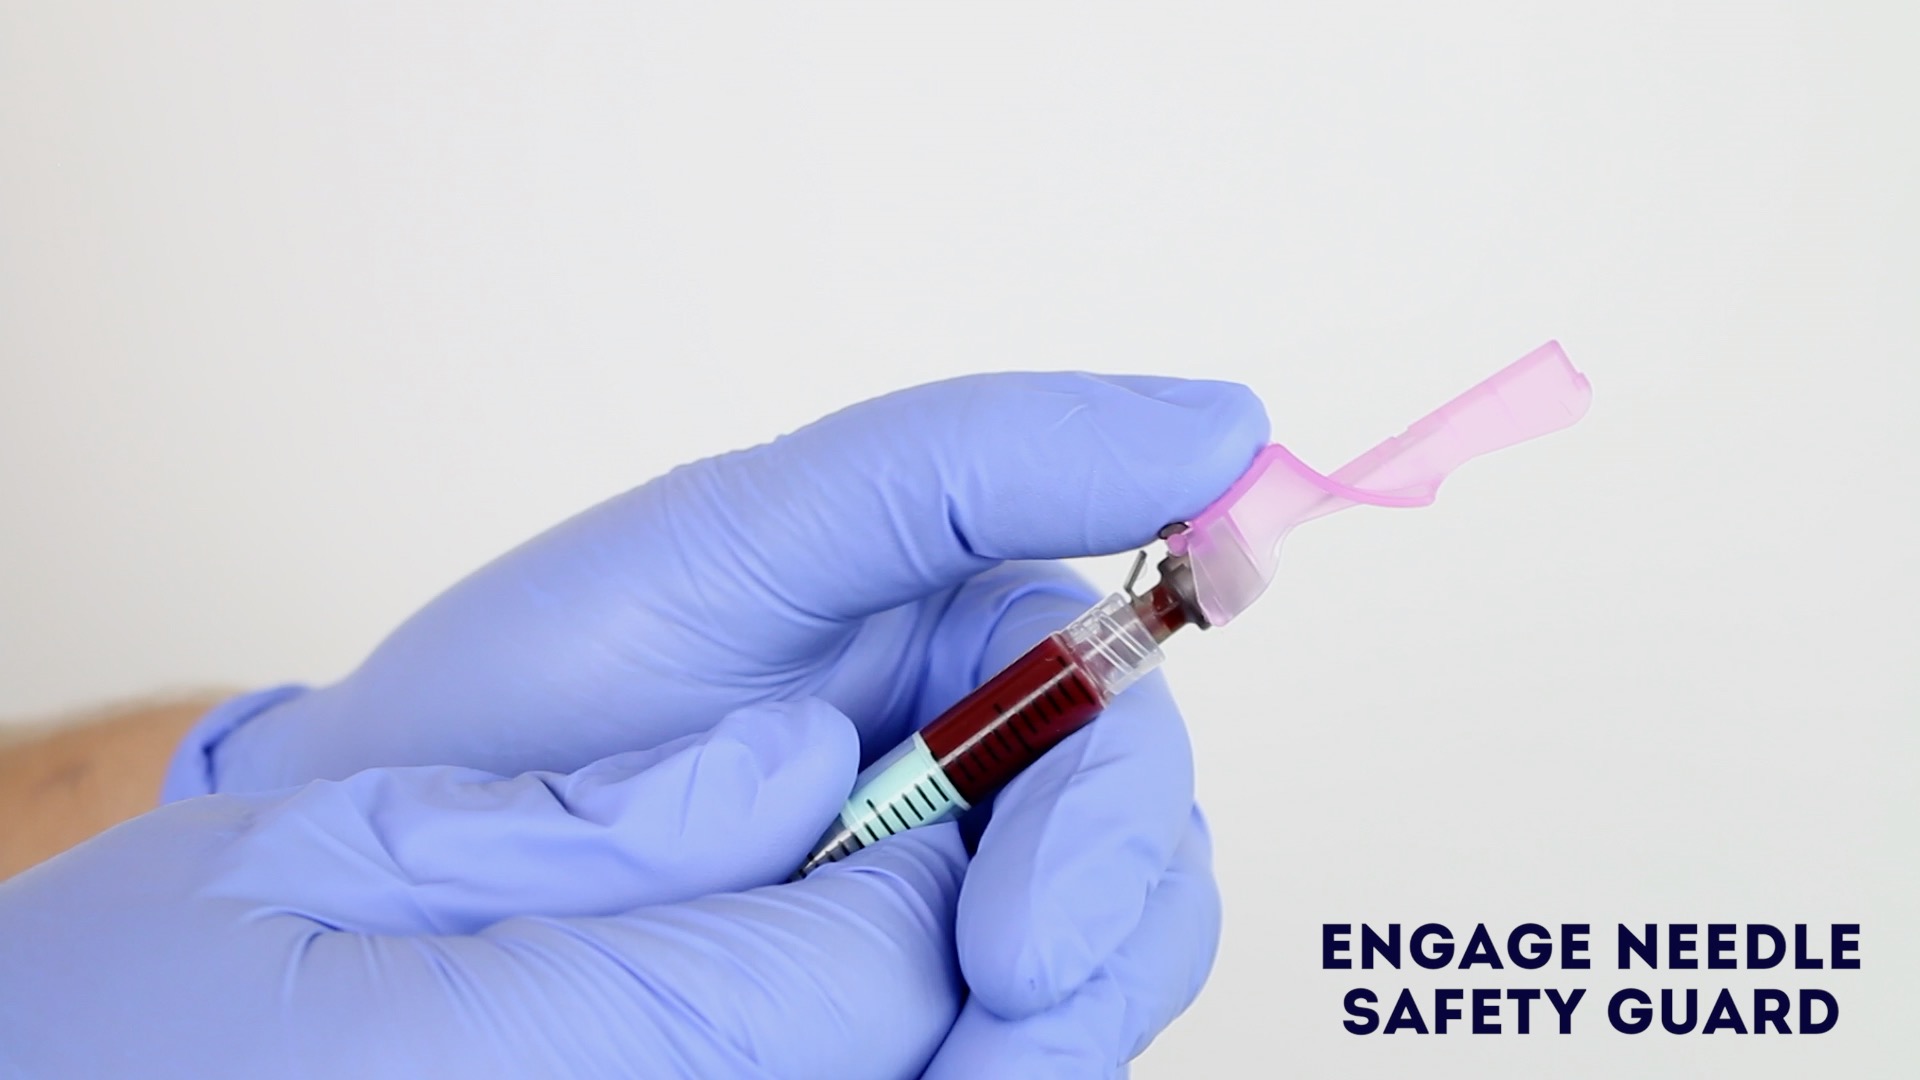
9. Engage the needle safety device (often a clip that covers the needle or a bung that the needle is inserted into).
10. Remove the ABG needle from the syringe and discard it immediately into a sharps bin.
11. Carefully expel any air from the sample if present, place a cap onto the ABG syringe and invert it gently.
12. Attach a sticker containing the patient’s details to the ABG sample.
13. Continue to apply firm pressure to the puncture site for 3-5 minutes to reduce the risk of haematoma formation.
- Flush heparin through the needle


ABG reference ranges
- pH: 7.35 – 7.45
- PaCO2: 4.7 – 6.0 kPa || 35.2 – 45 mmHg
- PaO2: 11 – 13 kPa || 82.5 – 97.5 mmHg
- HCO3–: 22 – 26 mEq/L
- Base excess (BE): -2 to +2 mmol/L
To complete the procedure…
Explain to the patient that the procedure is now complete.
Thank the patient for their time.
Dispose of your PPE and equipment into an appropriate clinical waste bin.
Wash your hands.
Take the ABG sample to be analysed as soon as possible after being taken as delays longer than 10 minutes can affect the accuracy of results.
Document the ABG results in the patient’s notes (see our guide to ABG documentation).
References
- WHO guidelines on drawing blood: best practices in phlebotomy. Published in 2010. Available from: [LINK].
